
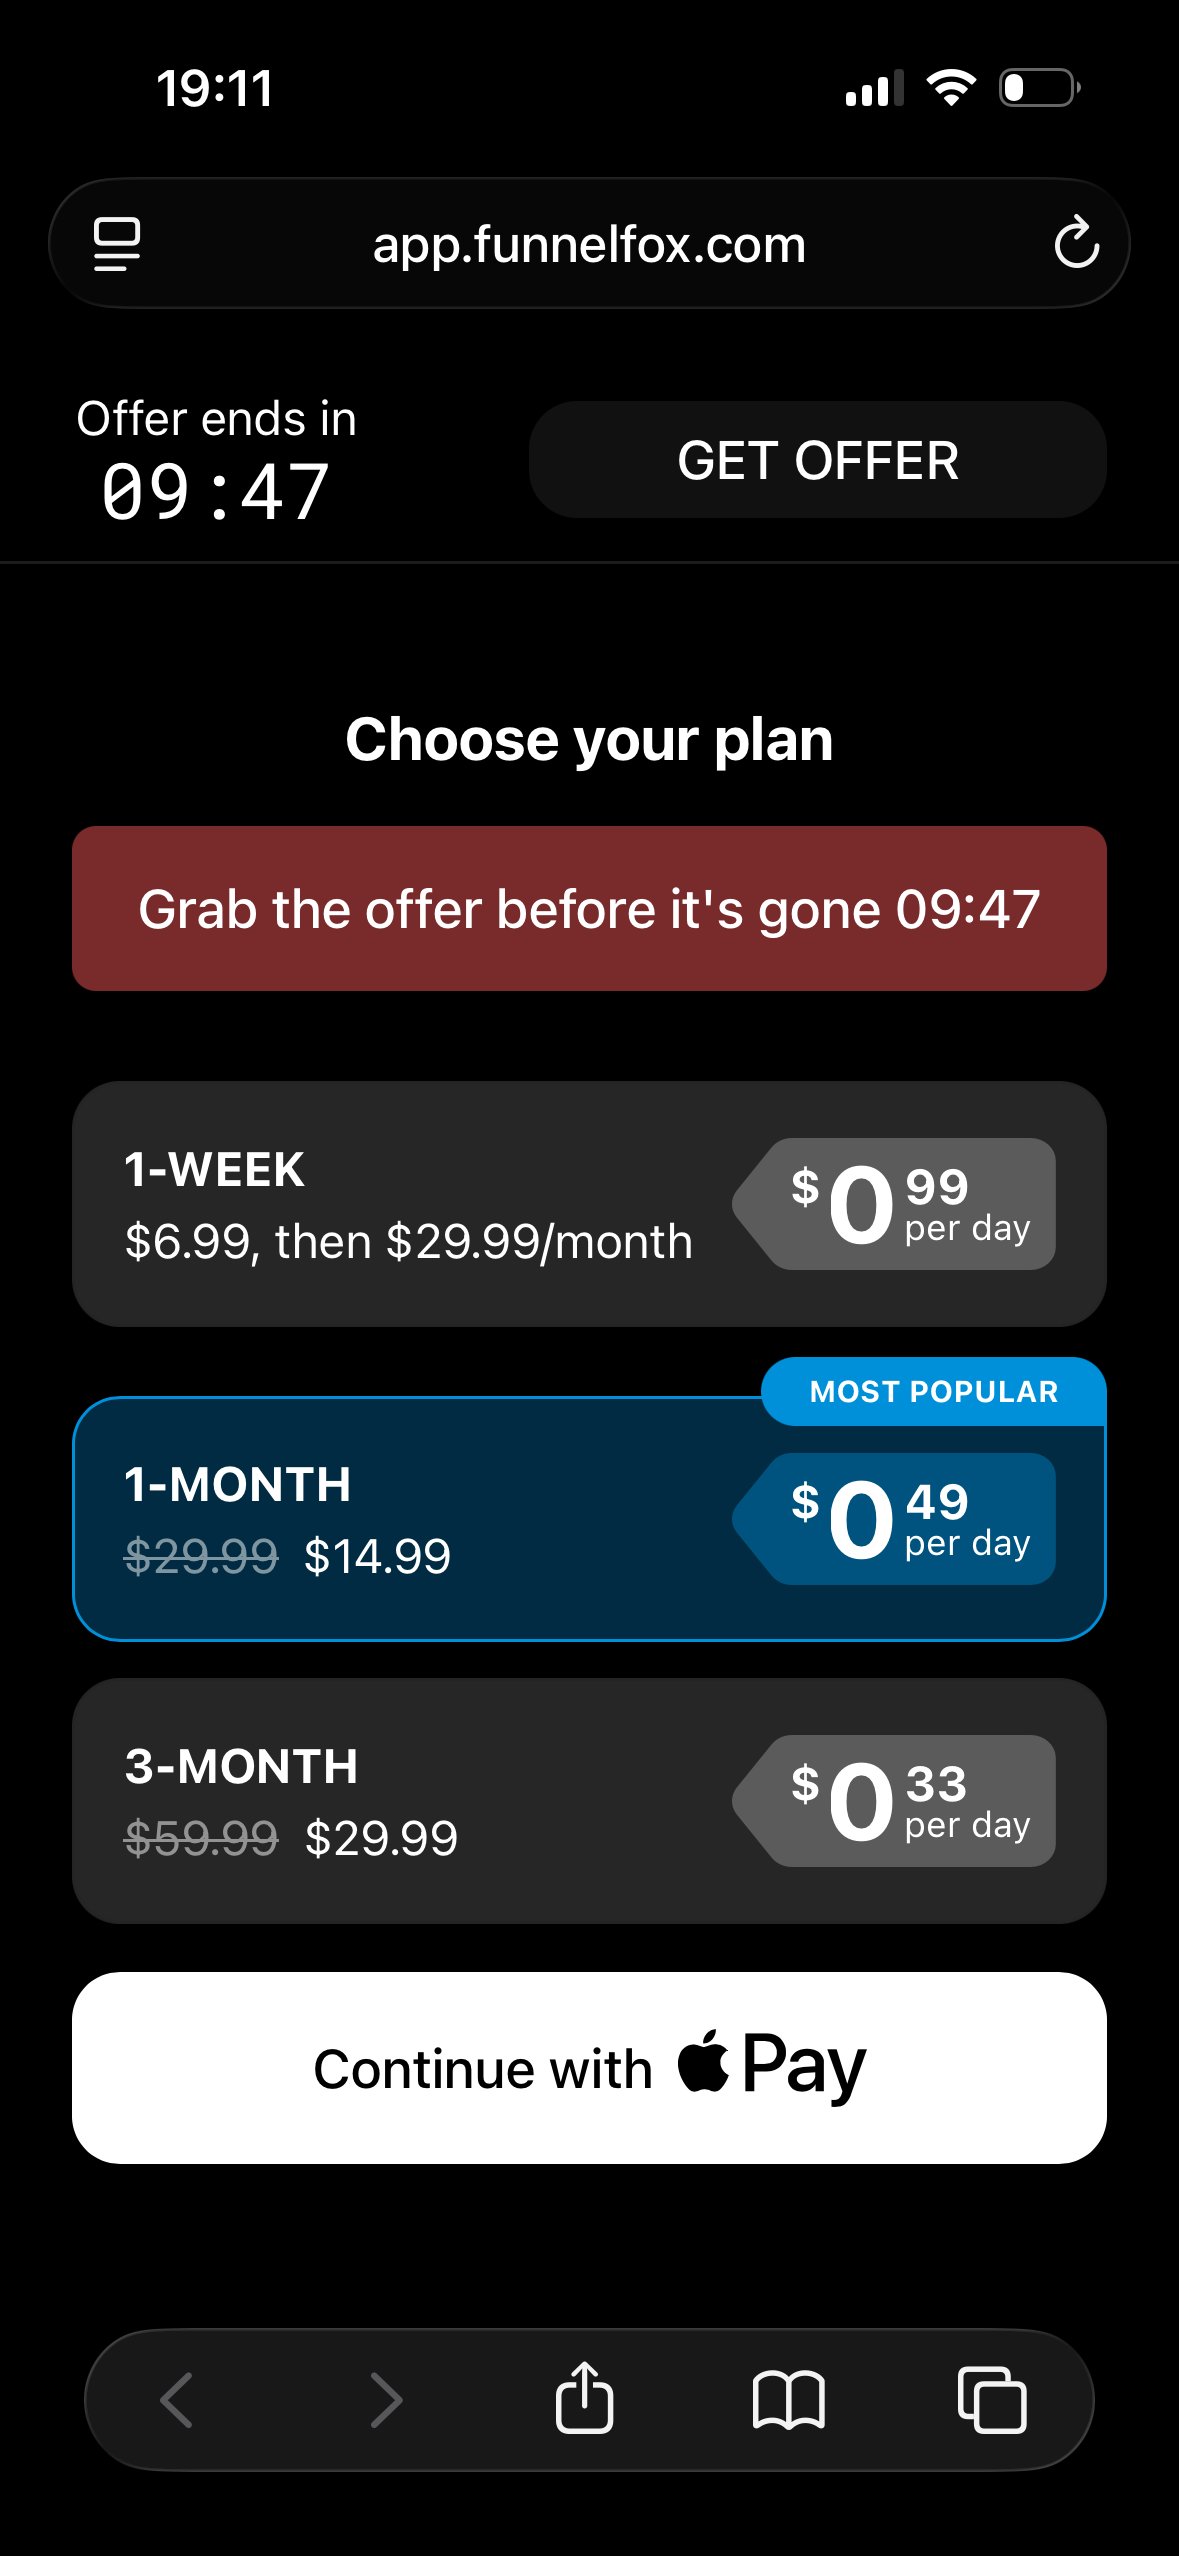
How it works
Place the Wallet button on your paywall screen alongside the Plan picker, above the Checkout element. At runtime, the Wallet button:- Detects which wallet the visitor’s device and browser support.
- Shows that wallet’s native button.
- Falls back to a regular button when no wallet is available.
If both wallets are available on the device, Apple Pay is shown.
In the Editor, the Wallet button is not rendered and always appears as a static placeholder.
Supported providers
Set up digital wallets for your payment provider before adding the Wallet button:- Stripe: Enable digital wallets and verify your domain for Apple Pay.
- Solidgate: Enable digital wallets and verify your domain for Apple Pay.
- FunnelFox Billing: Set up Apple Pay and Google Pay in your Primer account.
- Paddle: The one-tap wallet experience is implemented as Apple Pay Express Checkout in the Checkout element instead of the Wallet button. Verify your domain for Apple Pay.
Create Wallet button
To set up a Wallet button, configure digital wallets for your payment
provider first, including Apple Pay domain verification, as described
in Supported providers.
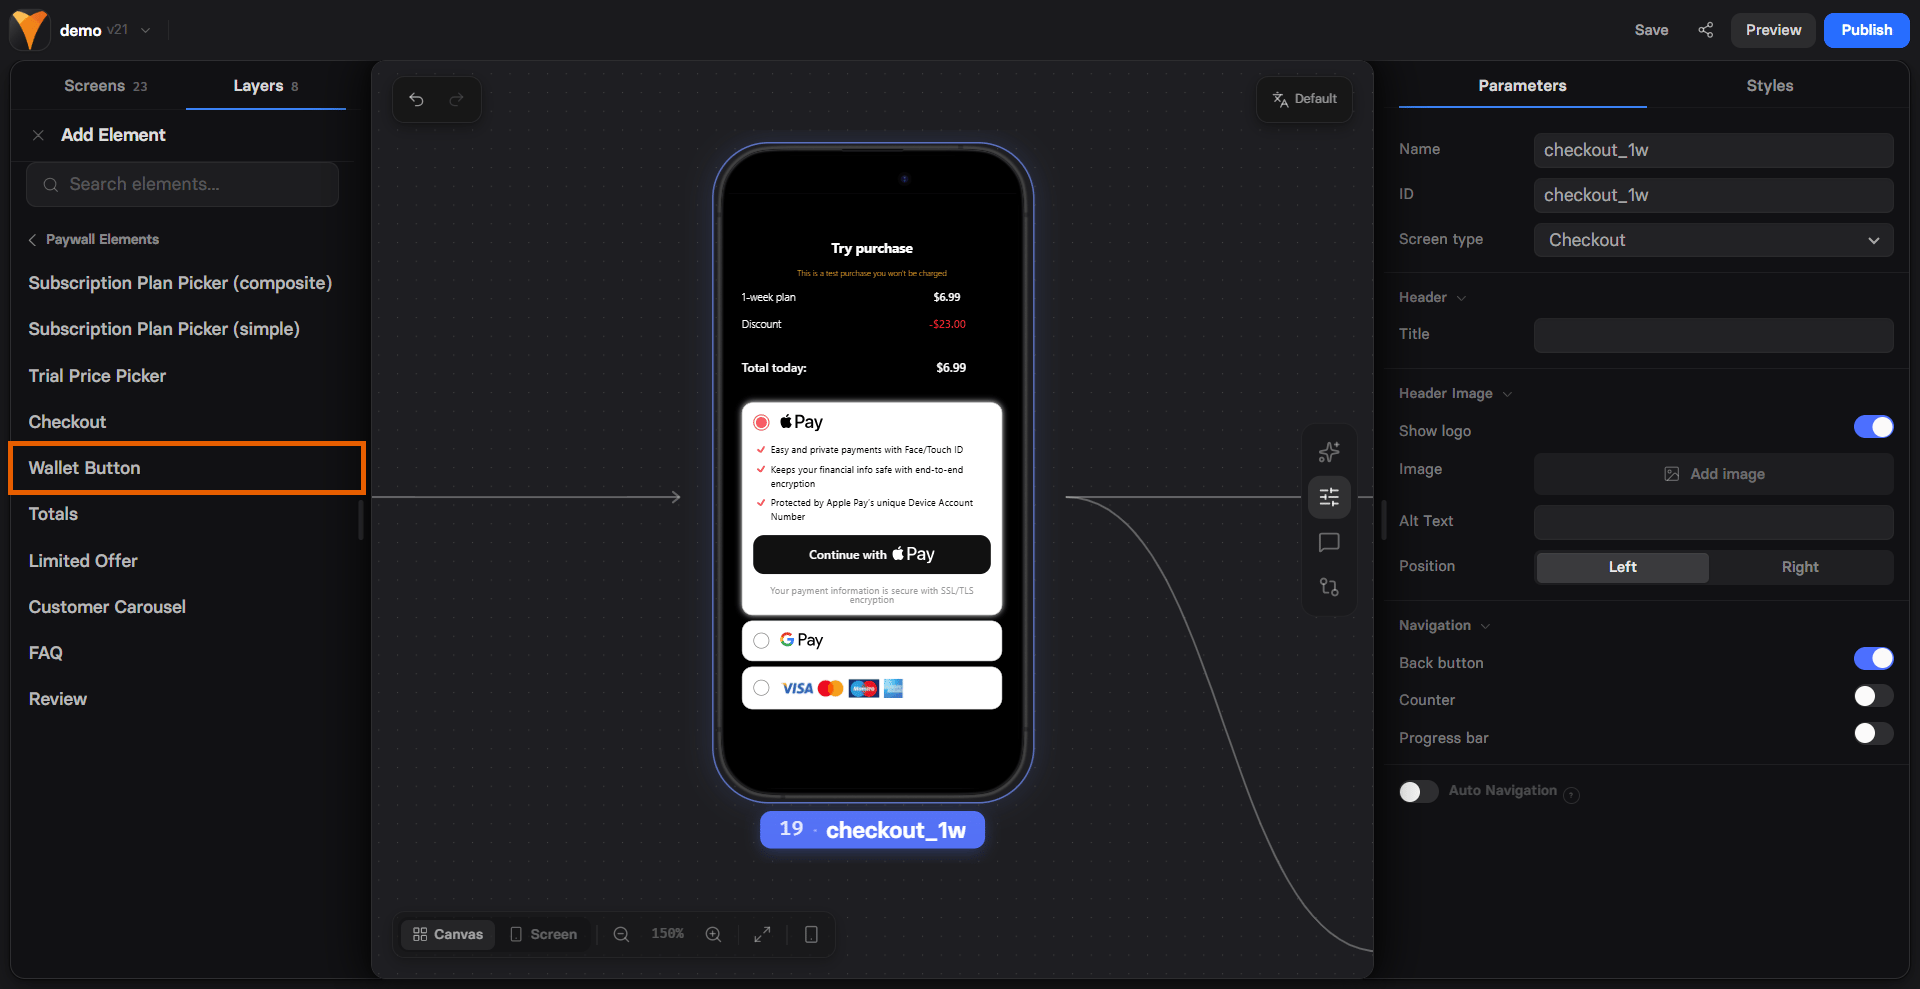
1. Payment provider
- Open Properties in the selector on the right and go to the Parameters tab of your Wallet button.
- Select your provider under Payment settings. The list shows only providers with wallet support. If you have a single wallet-capable provider, it’s selected automatically.
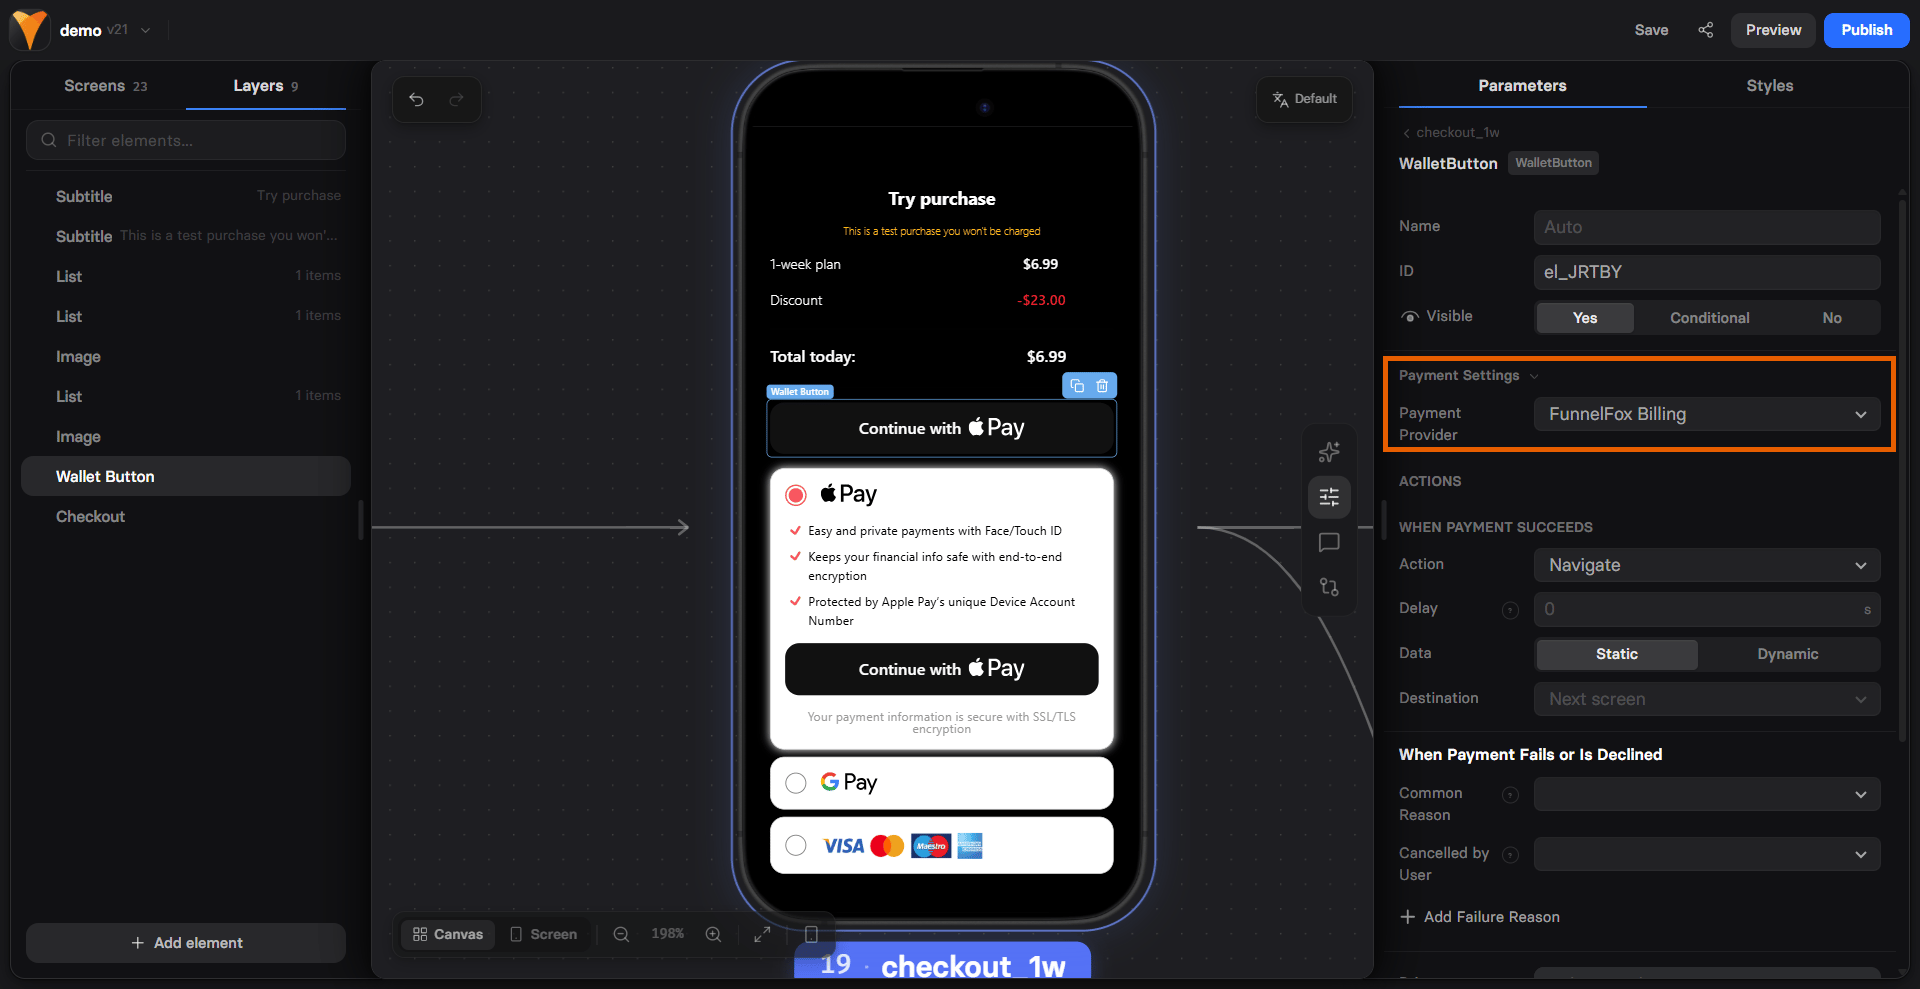
- Configure the settings under the payment provider:
- Stripe
- Solidgate
- Billing
- When payment succeeds: Navigation action to trigger when payment is completed.
- When payment fails or is declined: Navigation action that runs when the payment fails due to a decline or error, including 3DS.
- Common reason: Navigation that runs when the payment fails for any unspecified reason.
- Cancelled by user: Navigation action that runs when the user closes the payment sheet.
- Add failure reason: Configure navigation based on a specific failure reason, such as
insufficient funds,invalid card detailsordo not honor.
- Account: Your Stripe account. Learn about multiple Stripe accounts in FunnelFox.
- Total label: Text label shown next to the price in the browser’s native payment sheet.
- Collect email: Requests the customer’s email from the wallet payment sheet and saves it to their profile. It never overwrites an email already collected by your funnel and is saved only when the payment succeeds.
Collect email isn’t available with Stripe via FunnelFox Billing. Google Pay may not show the email in the payment sheet or make this option available.
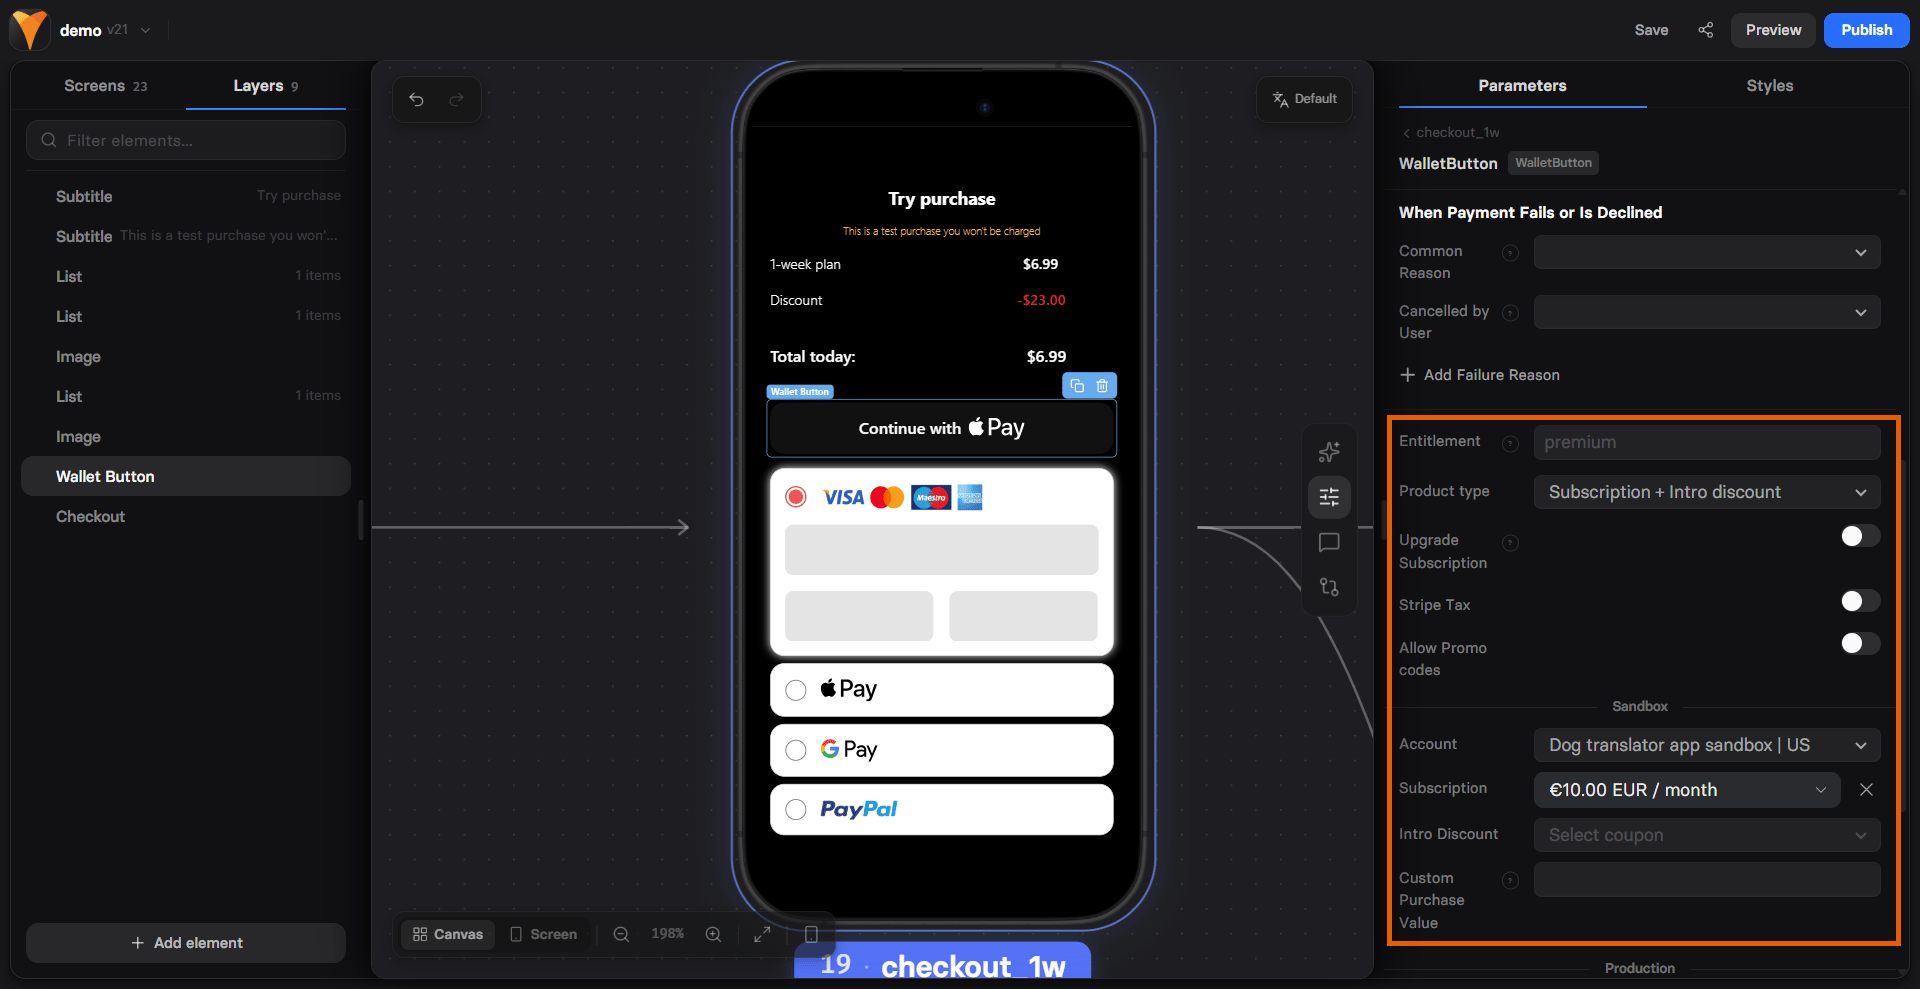
2. Product selection
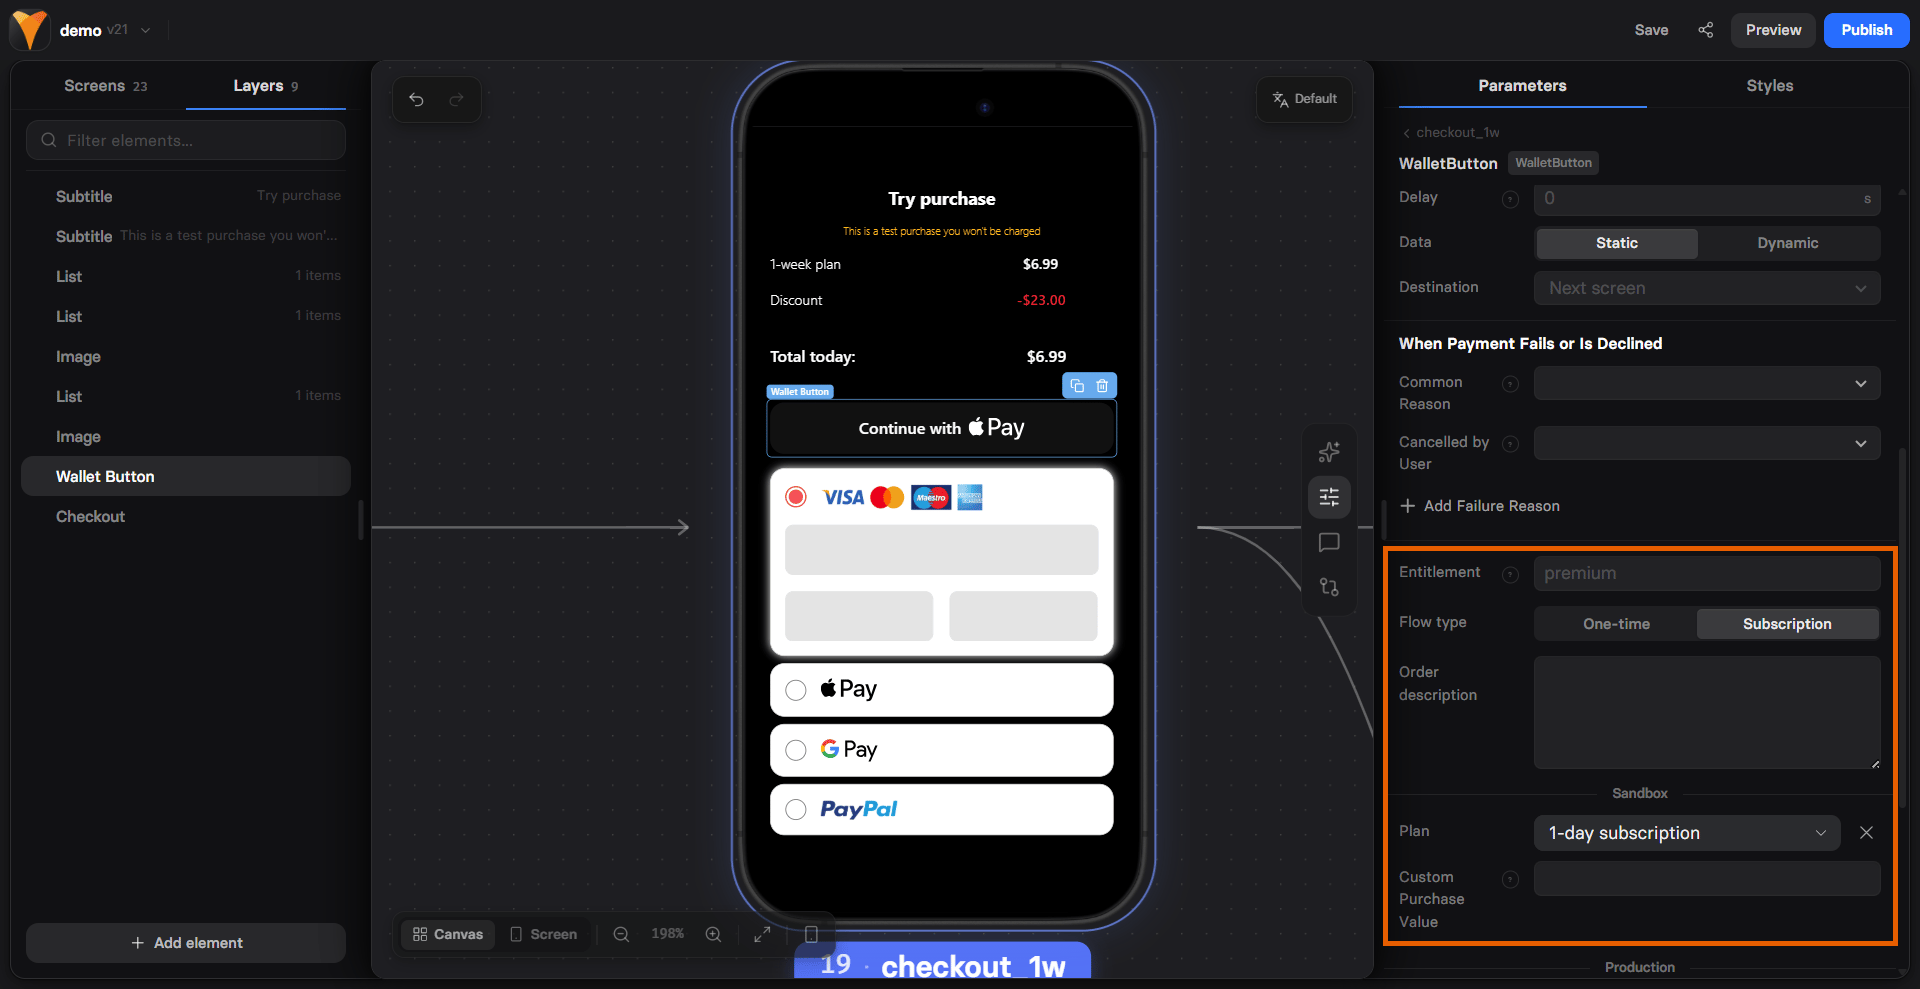
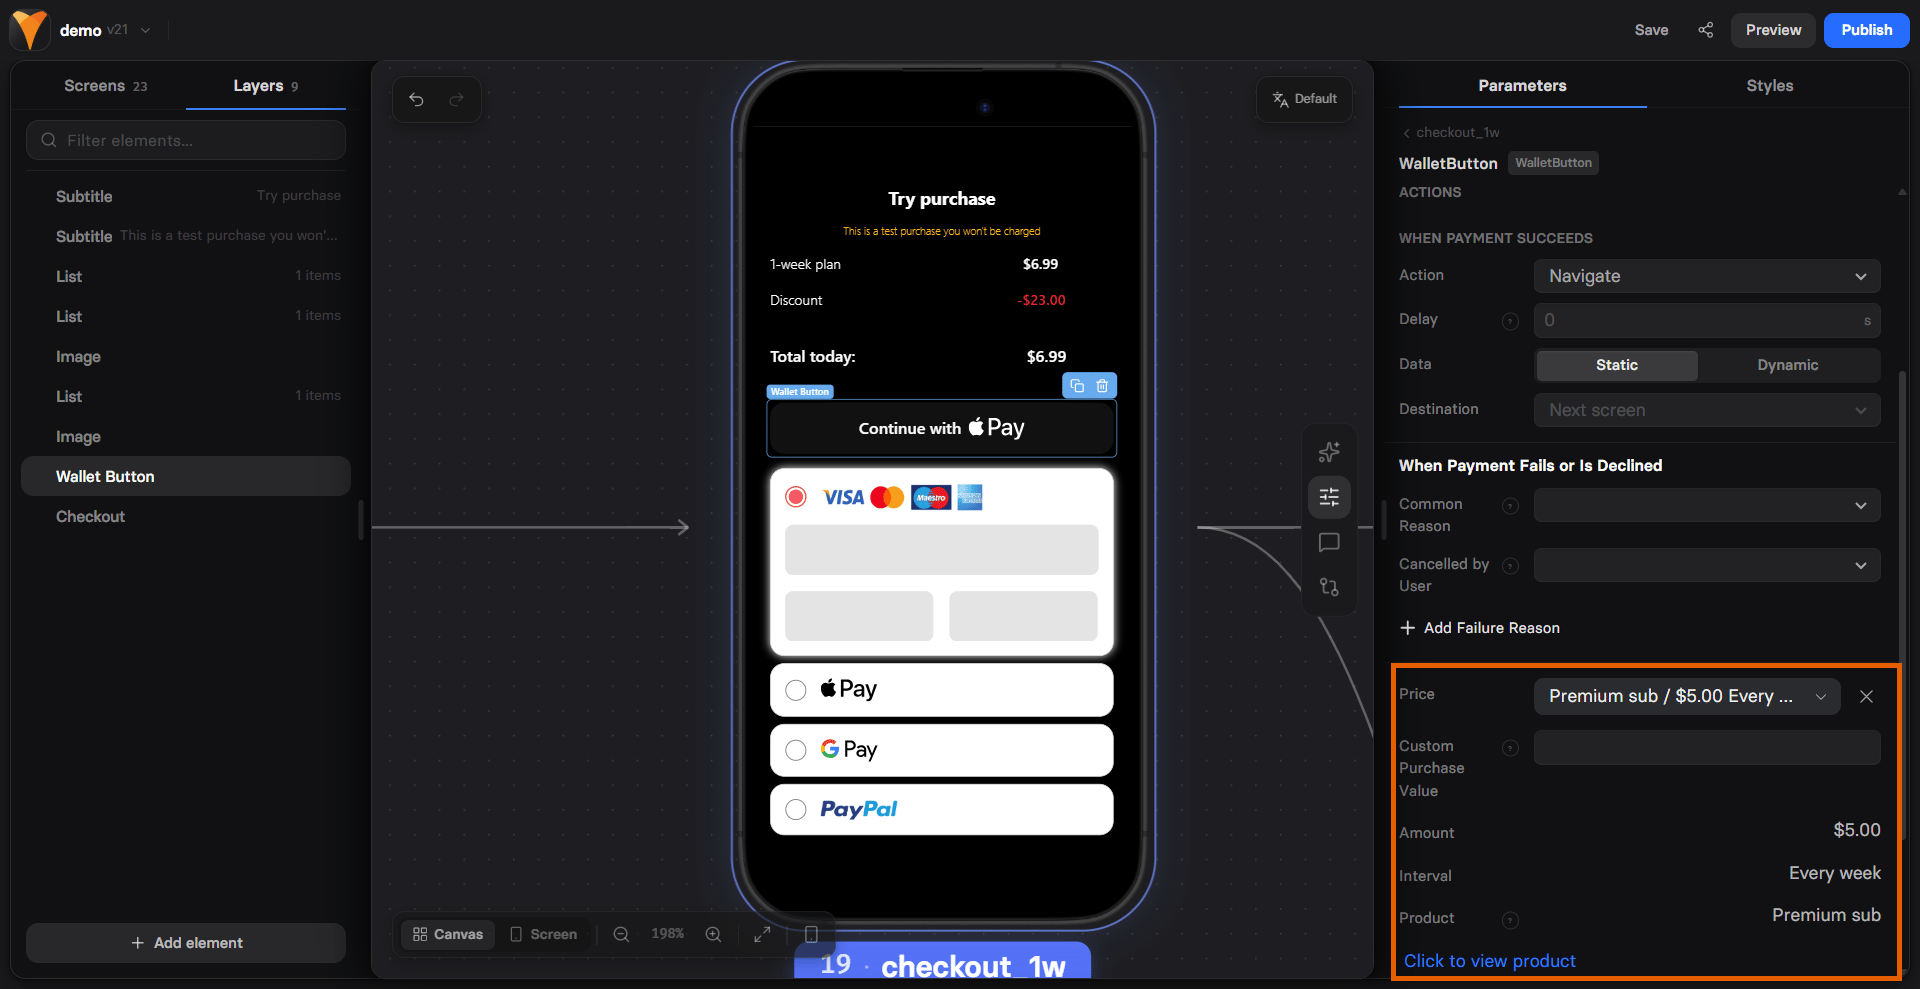
Configure the product your Wallet button sells the same way you configured it in the Checkout element.- Stripe
- Solidgate
- Billing
3. Fallback
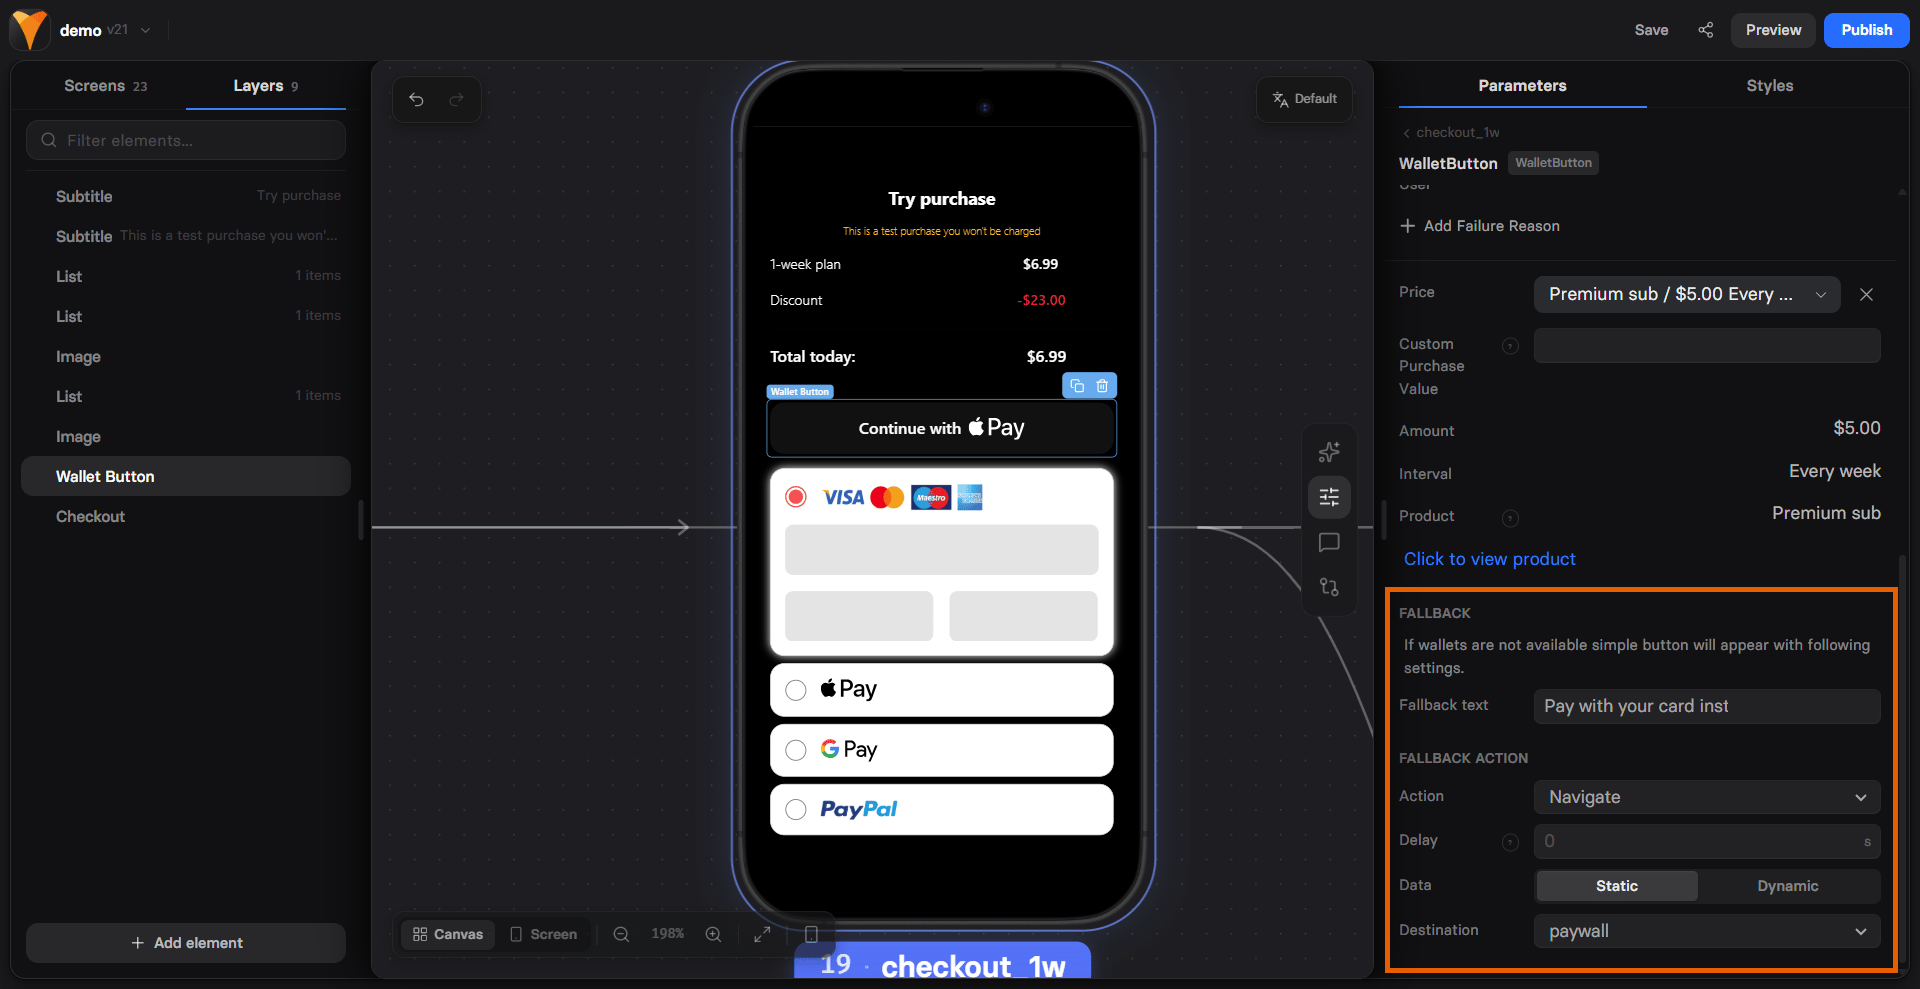
If wallets are not available, a regular button appears with your fallback settings. The fallback triggers when the device or browser doesn’t support Apple Pay or Google Pay, and when the wallet button fails to load or initialize. Treat the fallback as the path for everyone else and always configure it:- Fallback text: Label for the fallback button. If empty, the Wallet button text value is used. Supports localizations.
- Fallback action: Action to trigger when the fallback button is tapped, for example, navigate to your checkout screen.
4. Styling
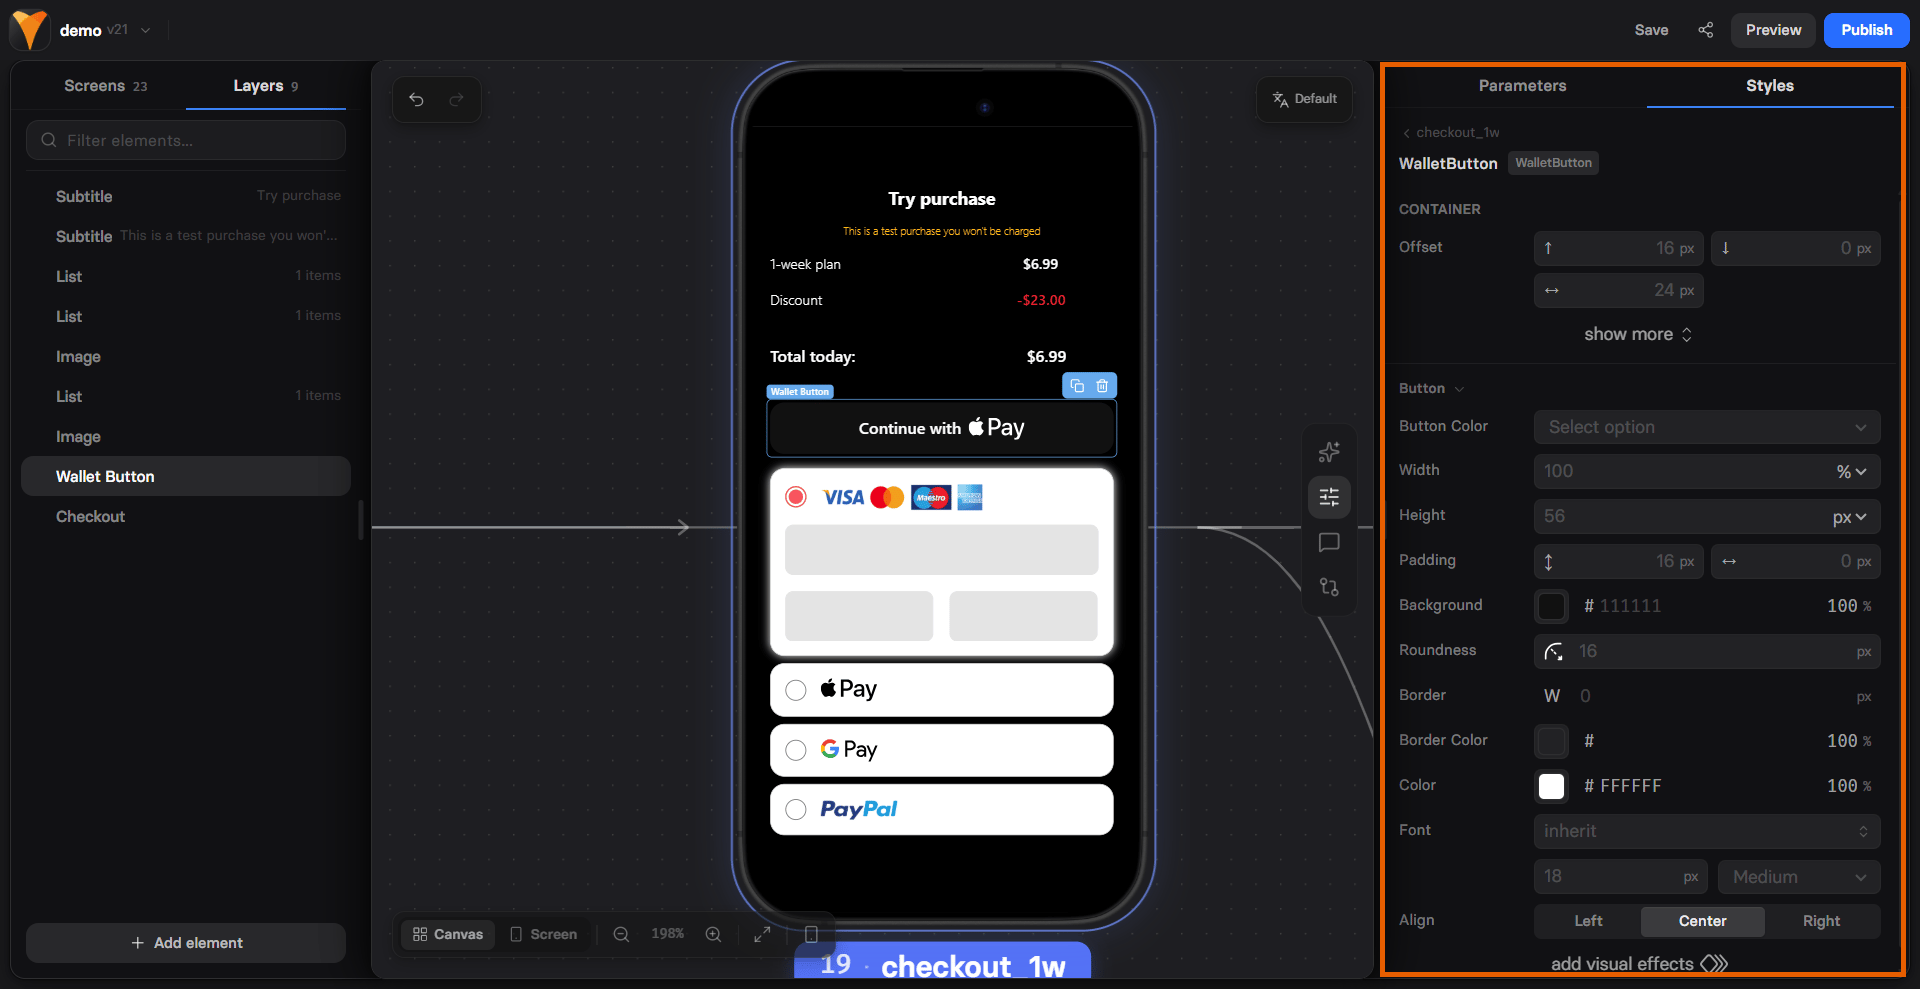
Go to Properties > Styles of your Wallet button and adjust the following:- Container: Margins, alignment, and other layout settings.
- Button: Background, border, roundness, padding, size, and text styles.
- Effects: Pulse animation to draw attention to the button.
With FunnelFox Billing, the provider renders its own native wallet
button, so free-form styling is disabled. Choose Black or White
under Button color instead.
Event triggers
The Wallet button triggers the same payment flow events as the Checkout element:purchase_started: User taps the one-click Apple Pay or Google Pay button.purchase_completed_success: User successfully completes a purchase.purchase_completed_fail: User fails to complete a purchase.
user_email_collected: A wallet email is saved to the customer profile.
The
checkout_init_error event is not sent when a wallet can’t
initialize on a device that doesn’t support it, for example, Apple Pay
on Android.