Key features
The FunnelFox integration with Paddle supports multiple payment methods and transaction types:| Transaction type | Cards | Apple Pay* | Google Pay | PayPal |
|---|---|---|---|---|
| Subscriptions | ||||
| Subscriptions | ✅ | ✅ | ✅ | ✅ |
| Free & paid trials | ✅ | ✅ | ✅ | ✅ |
| Upsells | ||||
| One-time products | ✅ | ✅ | ✅ | ✅ |
| Subscription upsells (upgrade) | ❌ | ❌ | ❌ | ❌ |
| Offers | ||||
| Intro offers | ✅ | ✅ | ✅ | ✅ |
| Discount codes | ✅ | ✅ | ✅ | ✅ |
Additional features
- Cancellation funnels: Full support for cancellation flows with options to offer discounted subscriptions, gifts, or pauses instead of losing customers completely.
- Failed payment recovery: When payment fails for automatically-collected subscriptions, Paddle automatically retries the saved payment method.
Setup
The following steps are for production setup using your verified live Paddle account. If you need to configure a sandbox environment for testing, the process is identical, but:- Create a Paddle Sandbox account at https://sandbox-vendors.paddle.com/signup.
- Use the Sandbox fields instead of Production fields when pasting keys in FunnelFox.
1. API key
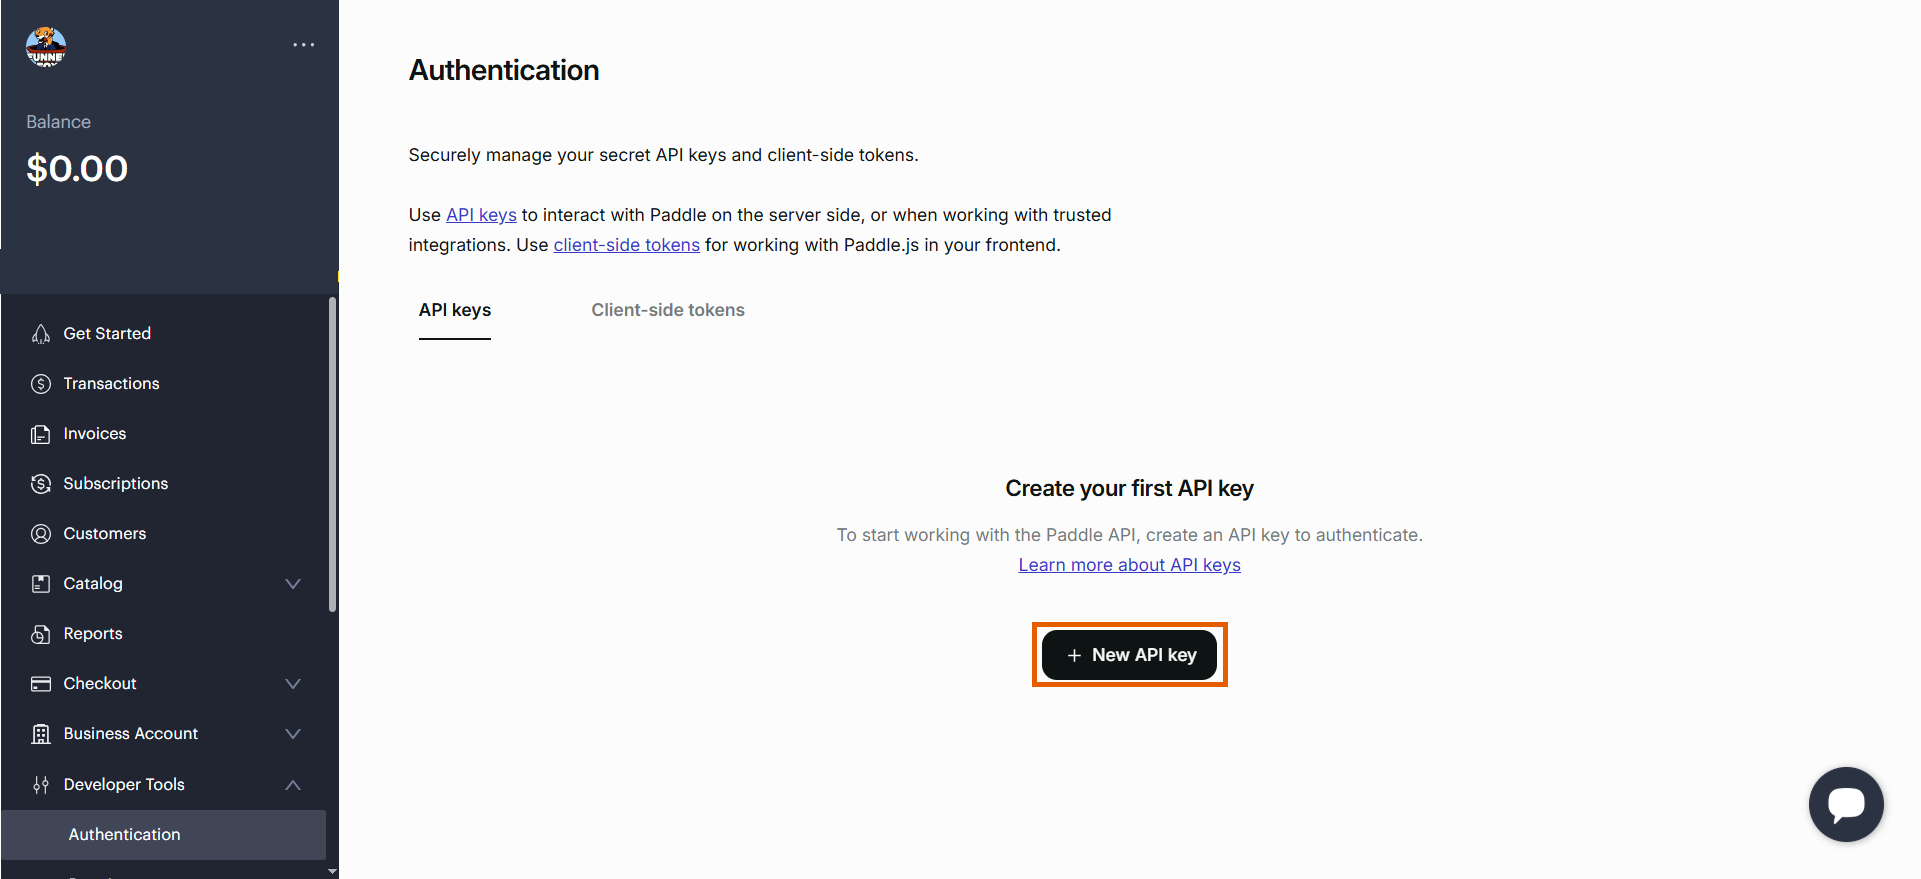
- Go to Developer Tools > Authentication in Paddle.
- Click + New API key.
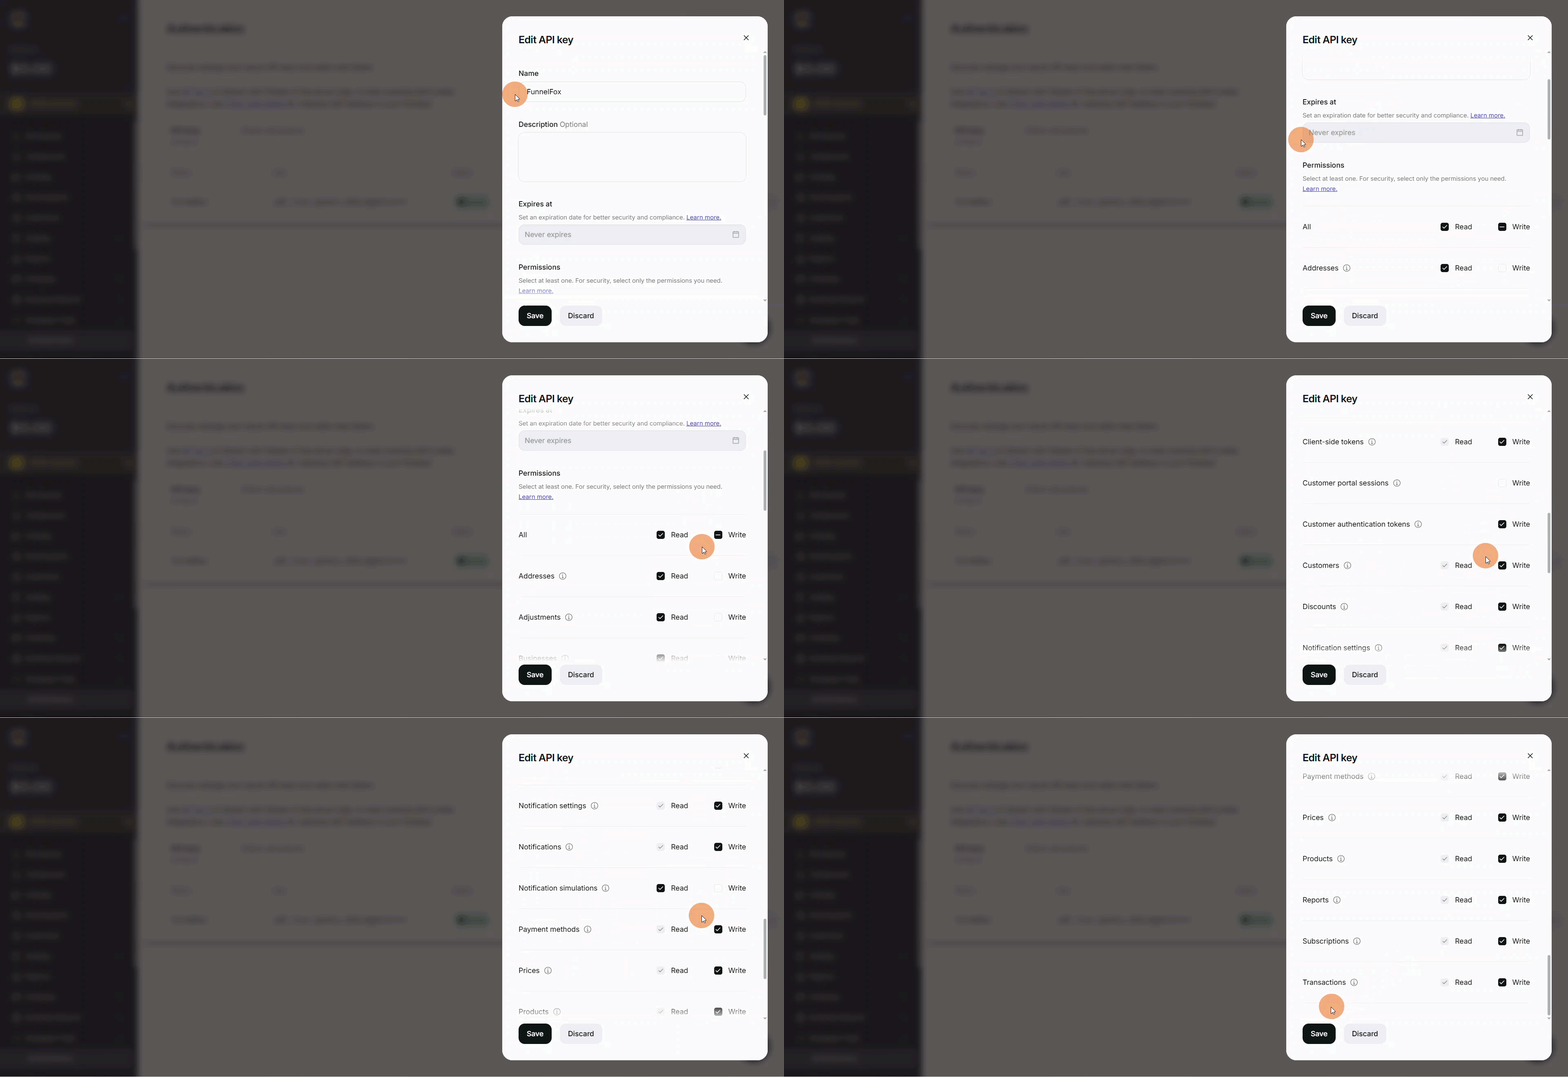
- Configure your API key with the following details, then click Save:
- Name: FunnelFox
- Expires at: Never expires
- Permissions: Set the permissions as shown in the table below
| Permission | Read | Write |
|---|---|---|
| Addresses | ✅ | |
| Adjustments | ✅ | |
| Businesses | ✅ | |
| Client-side tokens | ✅ | |
| Customer portal sessions | ||
| Customer authentication tokens | ✅ | |
| Customers | ✅ | |
| Discounts | ✅ | |
| Notification settings | ✅ | |
| Notifications | ✅ | |
| Notification simulations | ✅ | |
| Payment methods | ✅ | |
| Prices | ✅ | |
| Products | ✅ | |
| Reports | ✅ | |
| Subscriptions | ✅ | |
| Transactions | ✅ |
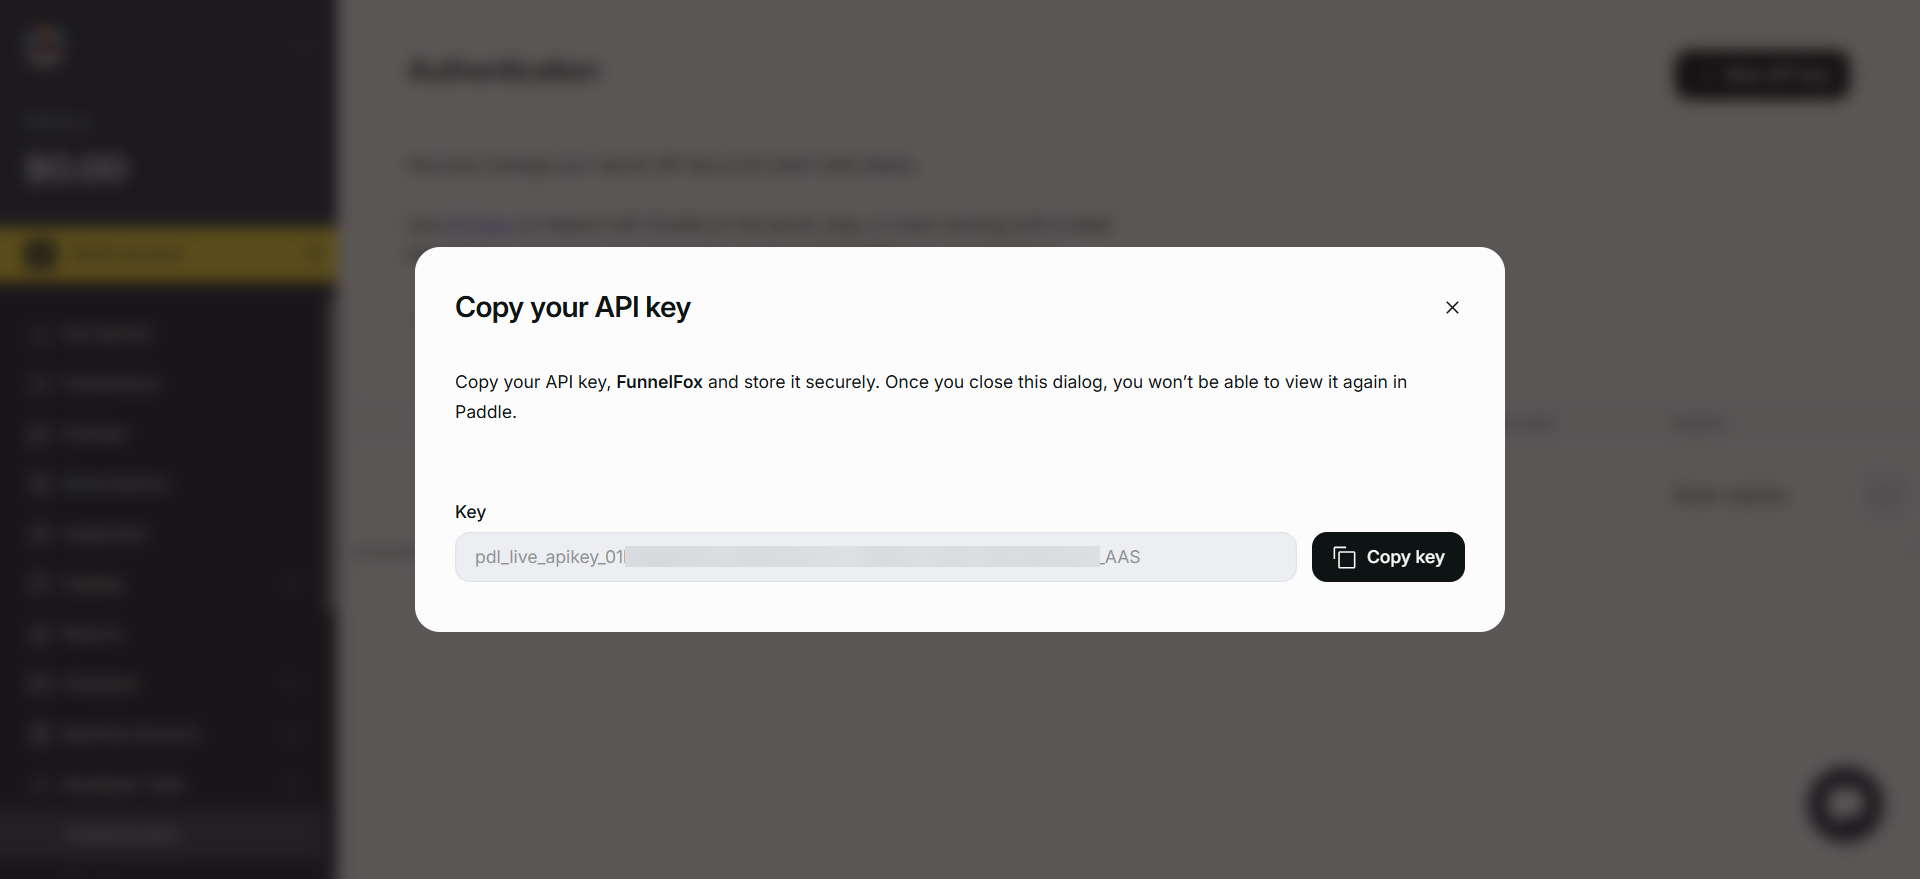
- Copy your API key.
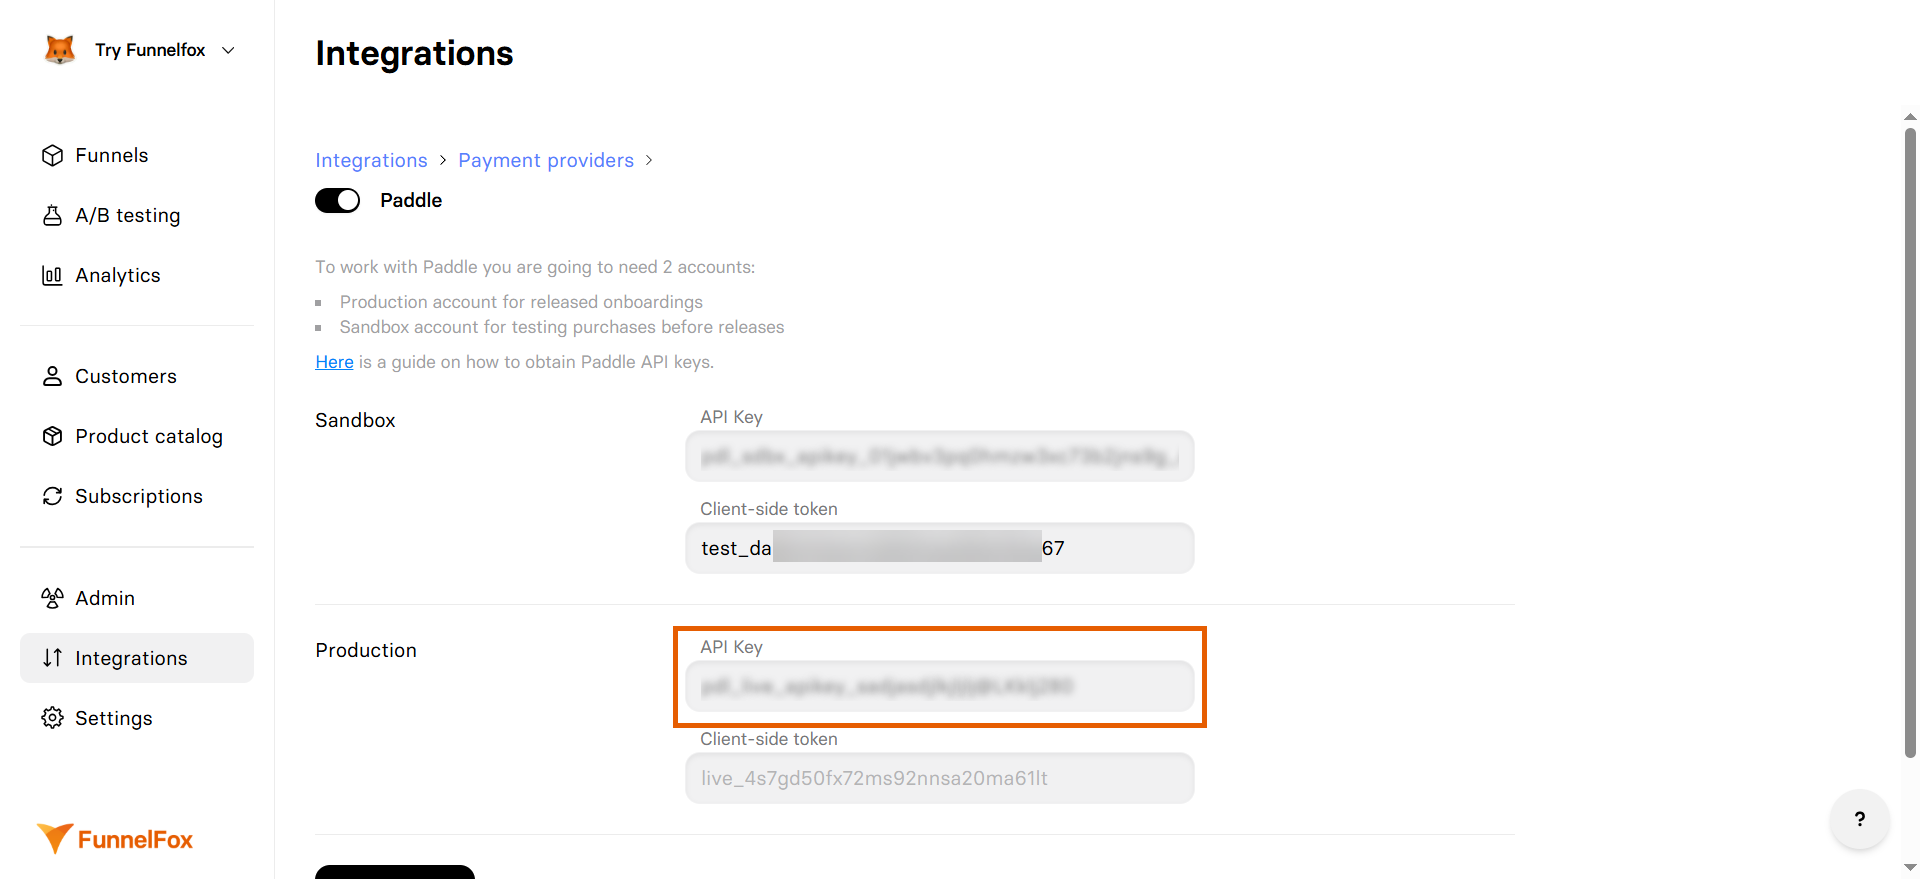
- Go to Integrations > Paddle in FunnelFox.
- Paste the API key into the API key field under the Production section.
Don’t close your Paddle integration settings in FunnelFox and proceed with the next section.
2. Client-side token
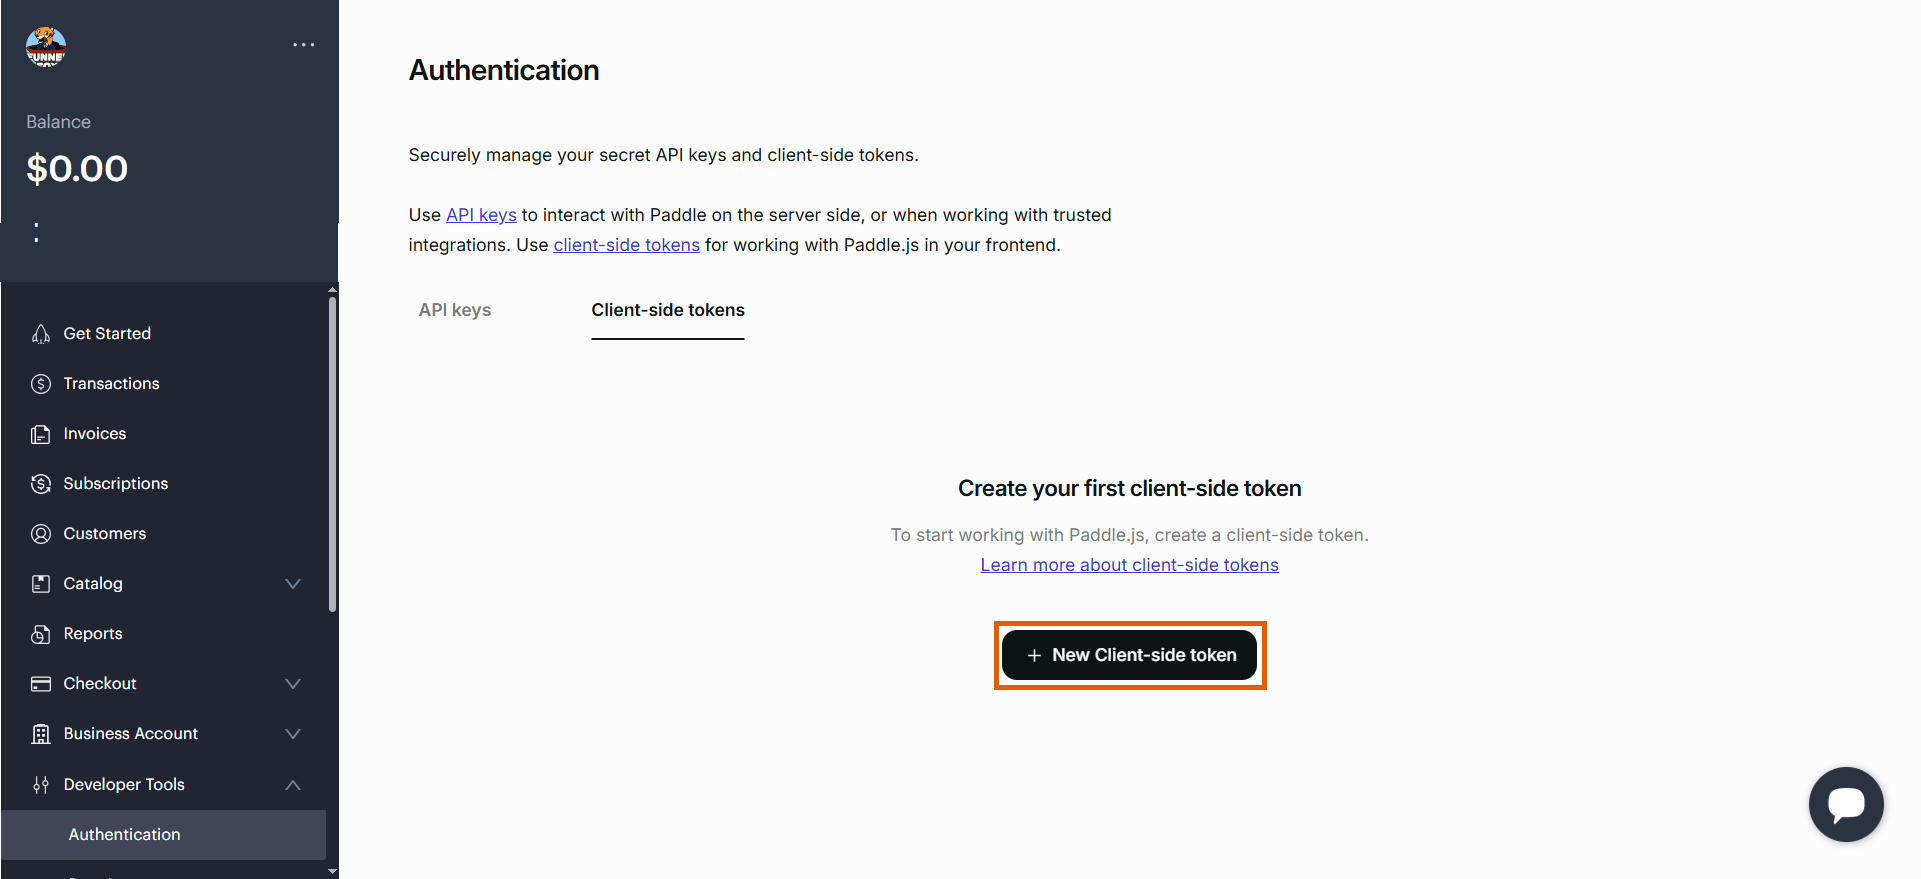
- Go to the Client-side tokens tab of Developer Tools > Authentication in Paddle.
- Click + New Client-side token.
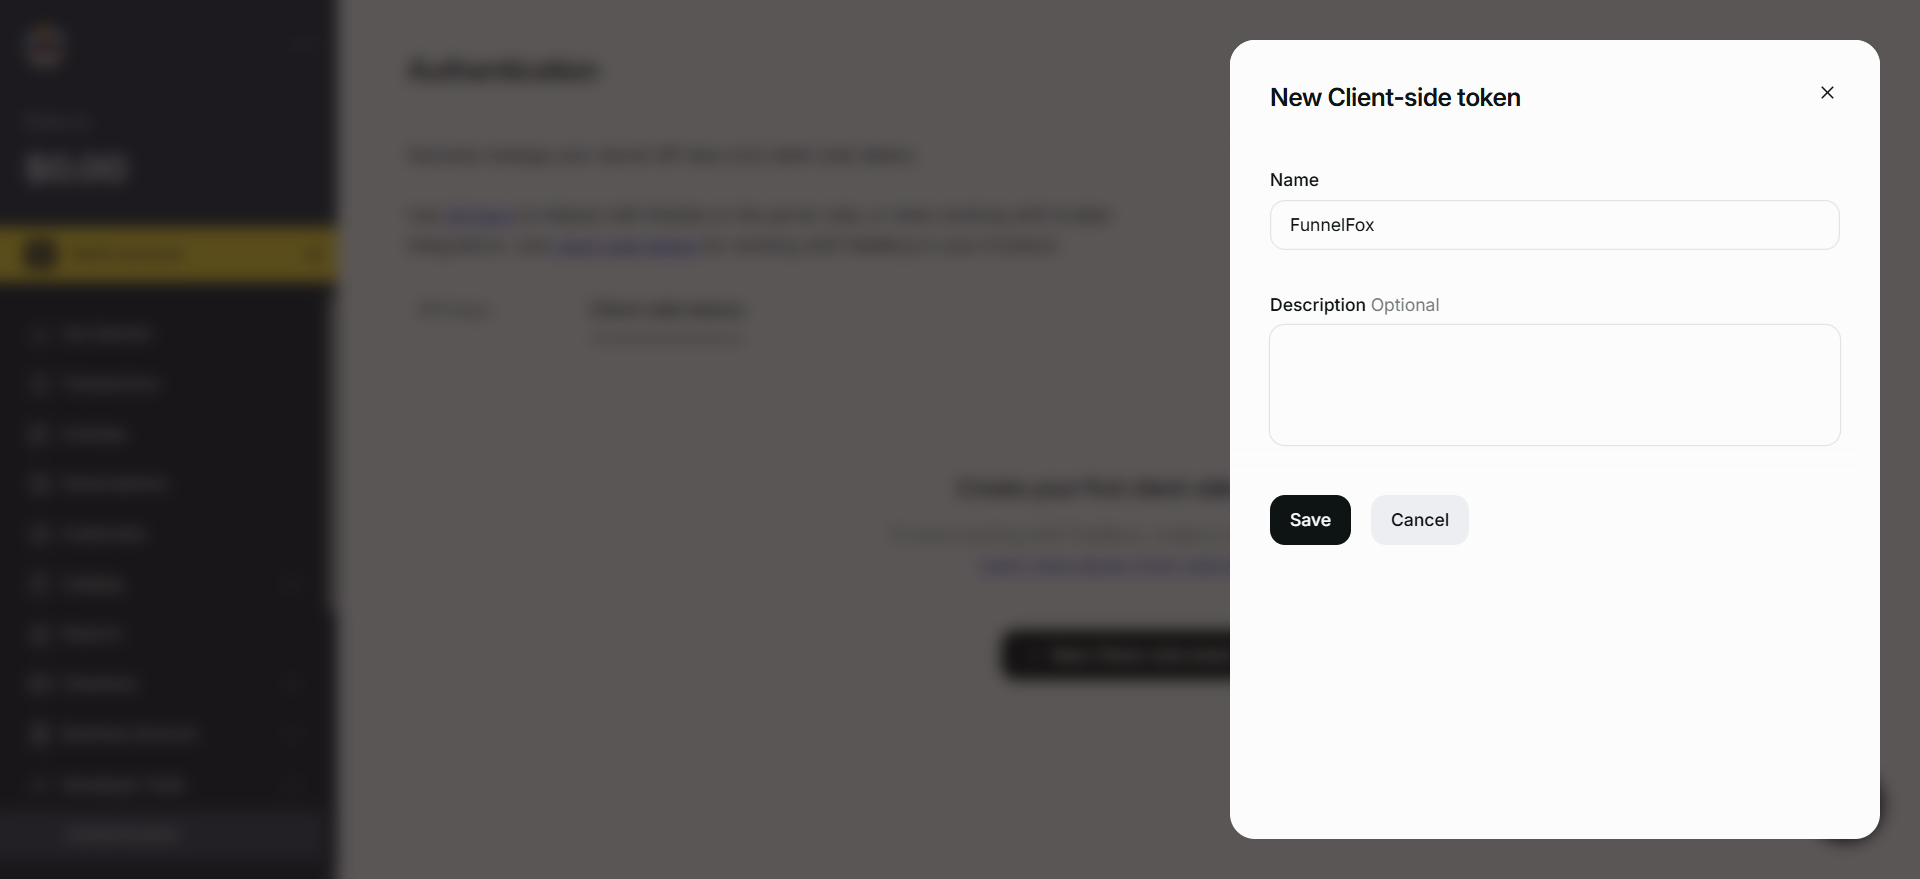
- Name your token and click Save.
- Go back to Integrations > Paddle in FunnelFox.
- Paste the client-side token into the Client-side token field under the Production section.
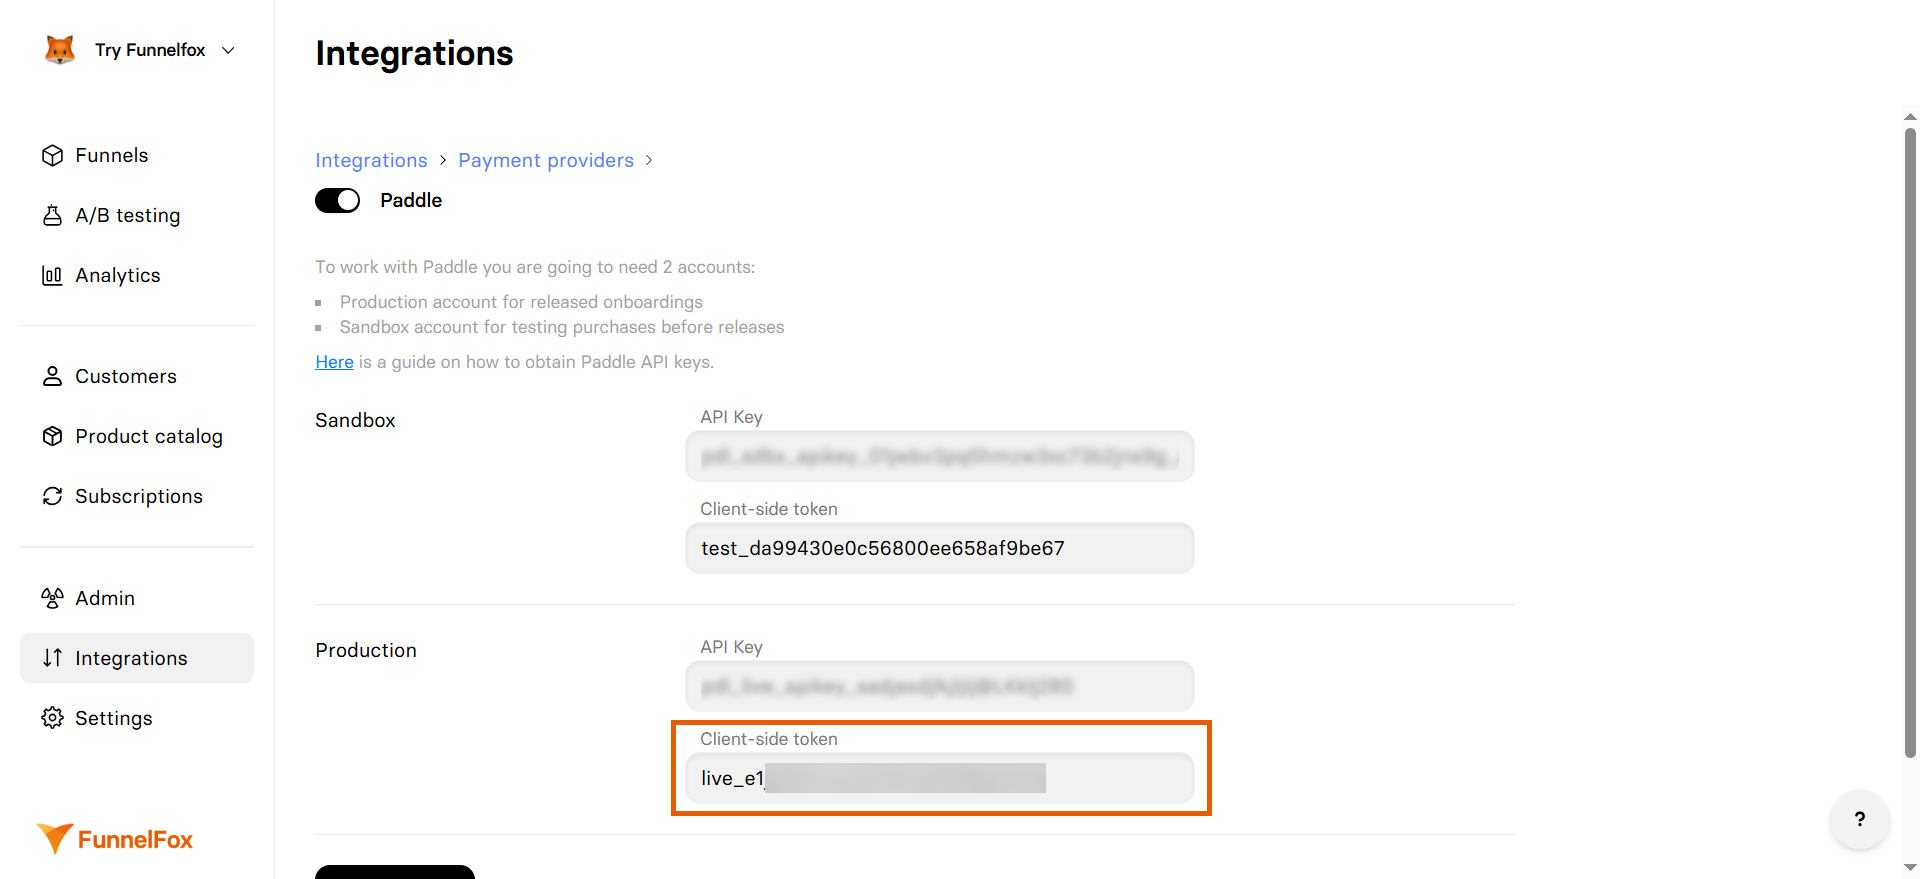
- Click Save changes.
3. Payment link
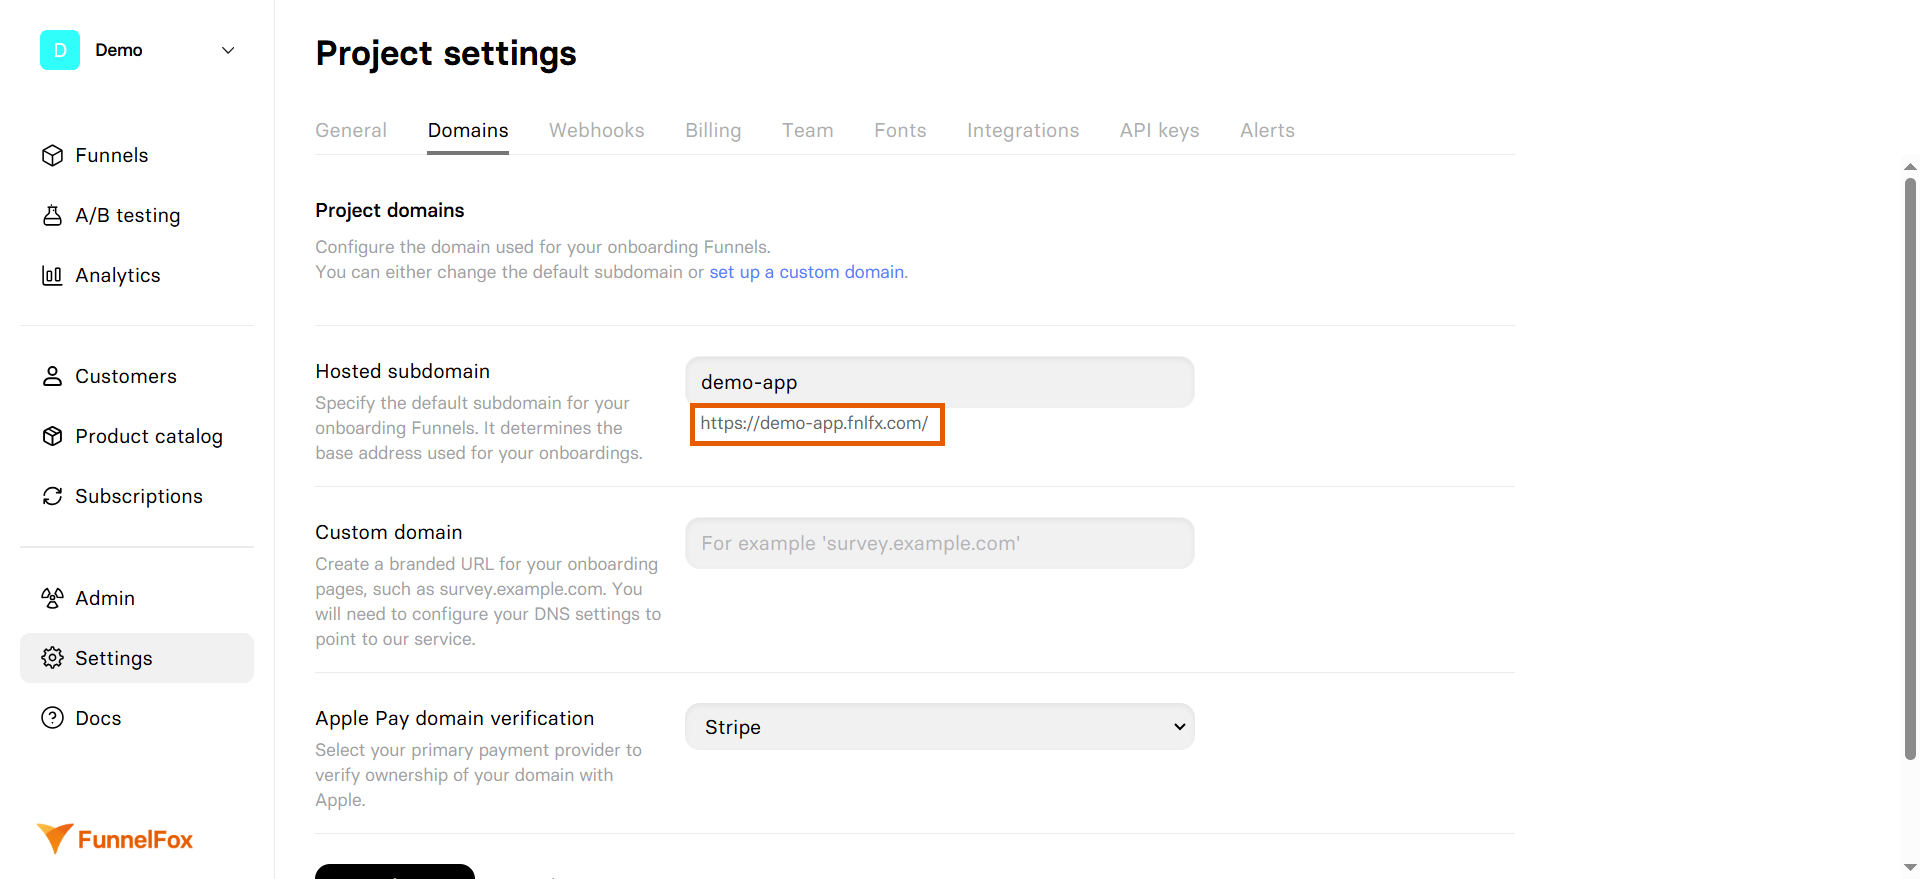
- Go to Settings > Domains in FunnelFox.
- Copy your project subdomain from the Hosted subdomain section (for example:
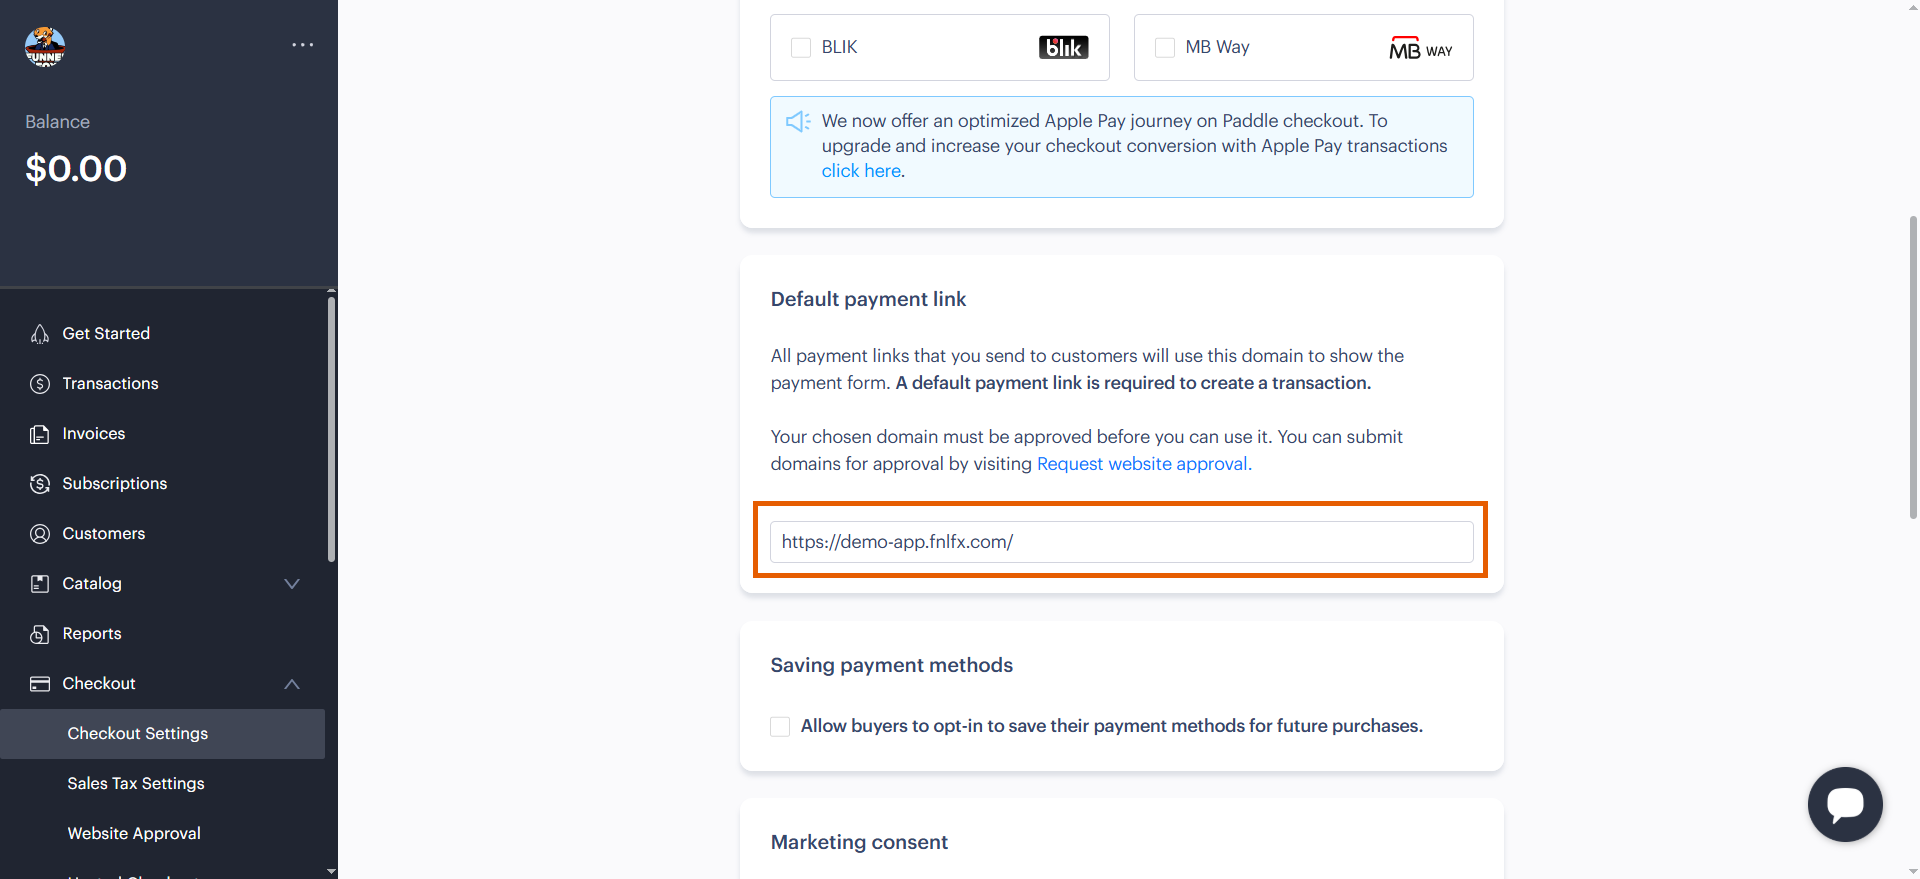
https://demo-app.fnlfx.com/).
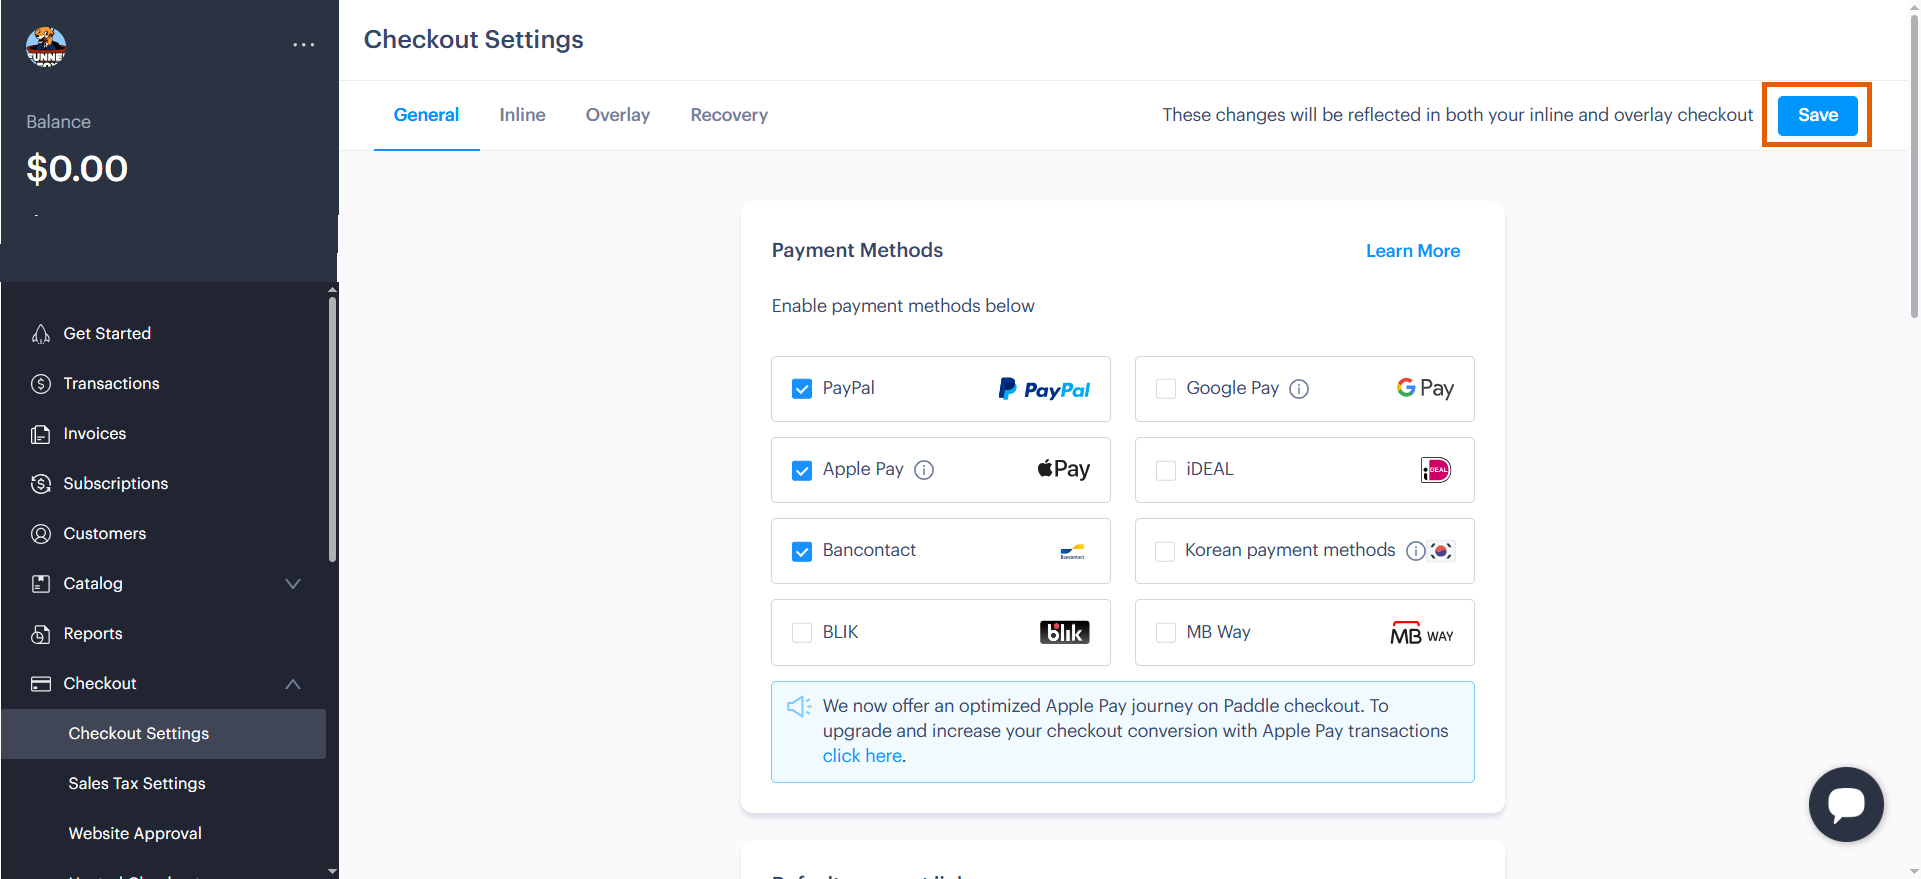
- Go to Checkout > Checkout settings in Paddle.
- Paste your subdomain into the Default payment link section.
- Click Save at the top right of the page.
Your Paddle integration is now active! Remember to republish your funnels to apply the changes.
Subscription configuration
After setup, FunnelFox automatically creates webhooks in your Paddle account and syncs your products. Products created in Paddle become available in the Element tab of your Checkout element. Configure Paddle products in your funnels: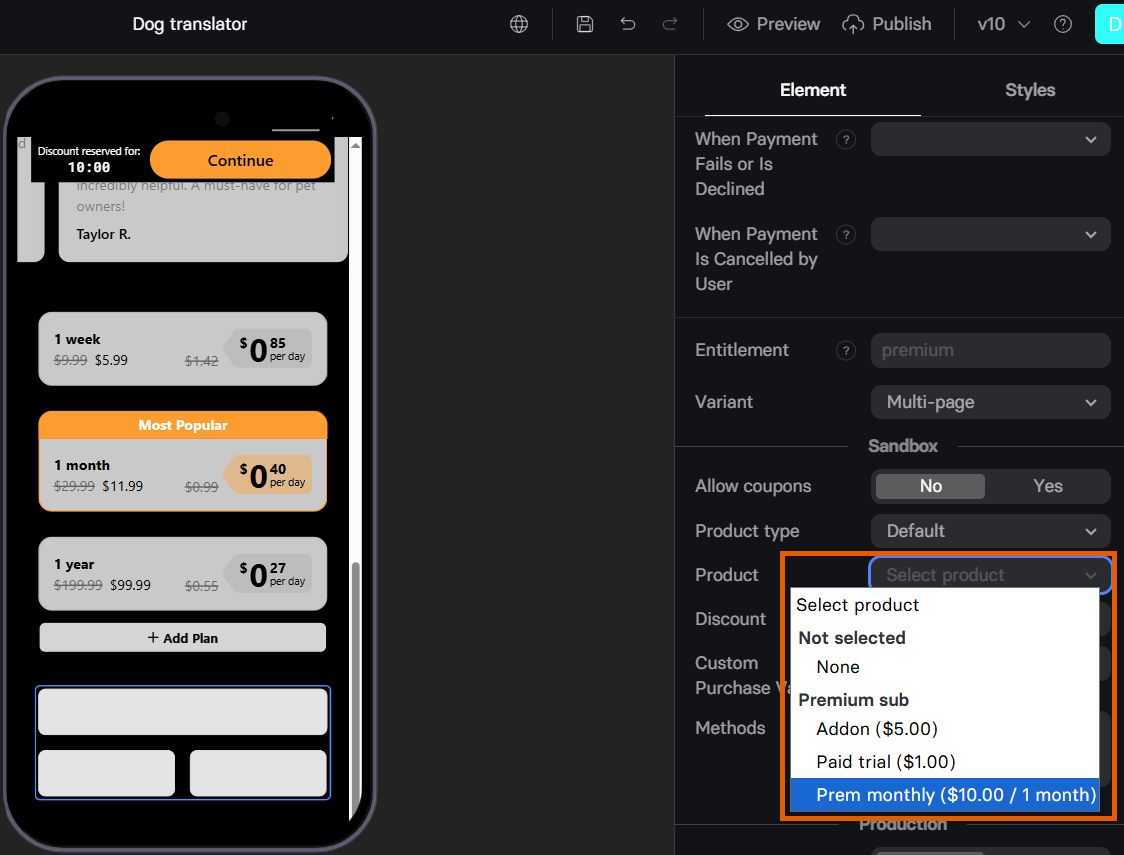
Testing
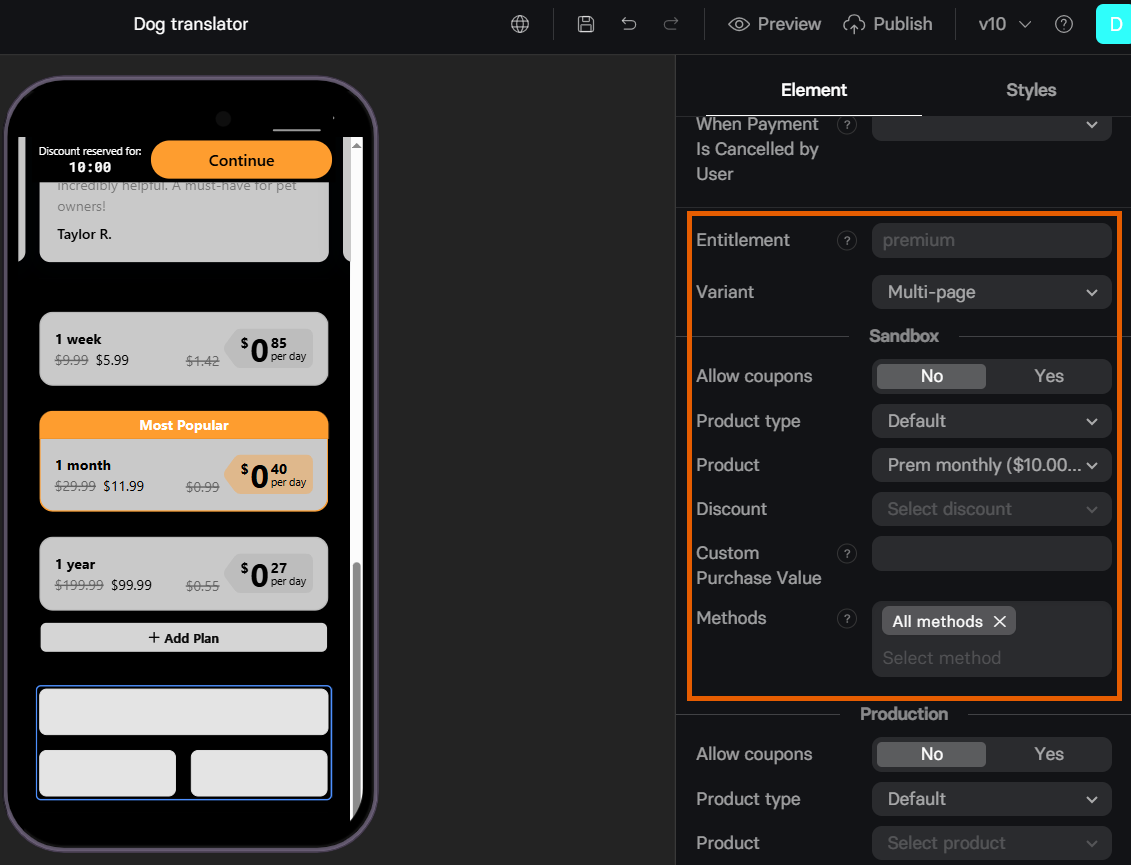
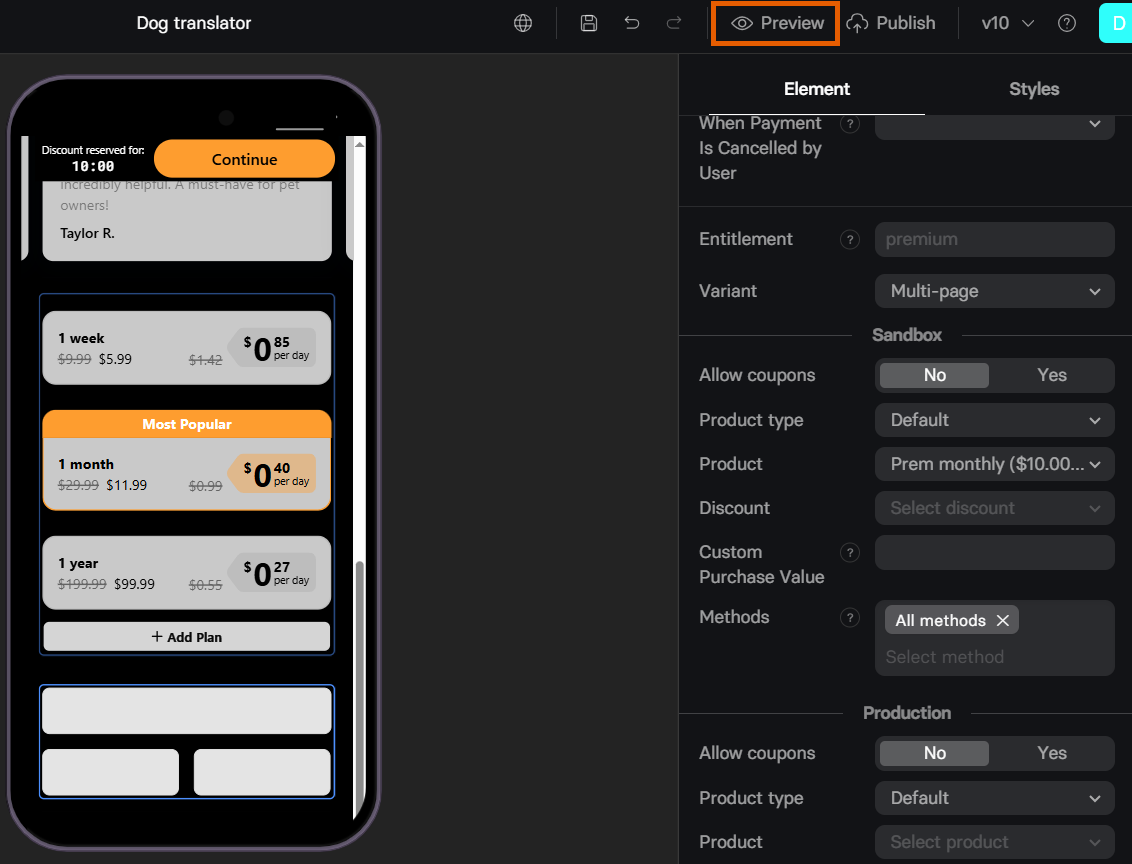
Test your Paddle integration with simulated payments before going live.- Configure the test in your Checkout element’s Sandbox section.
- Open your funnel in Preview mode.
- Use these Paddle test cards with any future expiry date and
100as CVV:
| Card Number | Result |
|---|---|
| 4242 4242 4242 4242 | Success |
| 4000 0000 0000 0002 | Declined |
| 4000 0027 6000 3184 | Successful initial transaction, subsequent declined transactions |
Troubleshooting
Something went wrong (Checkout error)
Something went wrong (Checkout error)
This error often occurs when your setup is missing the default payment link: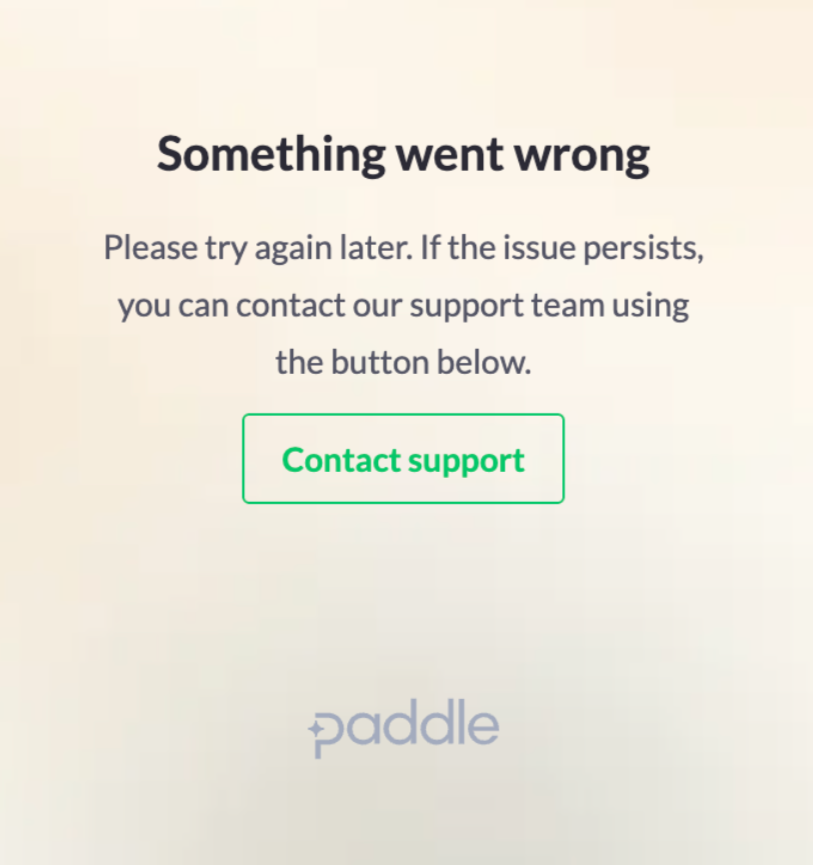

- Go to Checkout > Checkout settings in Paddle.
- Check if you have the link set under the Default payment link.
- If not, go to Settings > Domains in FunnelFox.
- Copy your project subdomain from the Hosted subdomain section (for example:
https://demo-app.fnlfx.com/). - Paste your project subdomain under the Default payment link.
- Click Save at the top right, then republish your funnel.
Next steps
- Set up checkout element in your funnel
