Ensure you’ve completed all quickstart steps before testing.
1
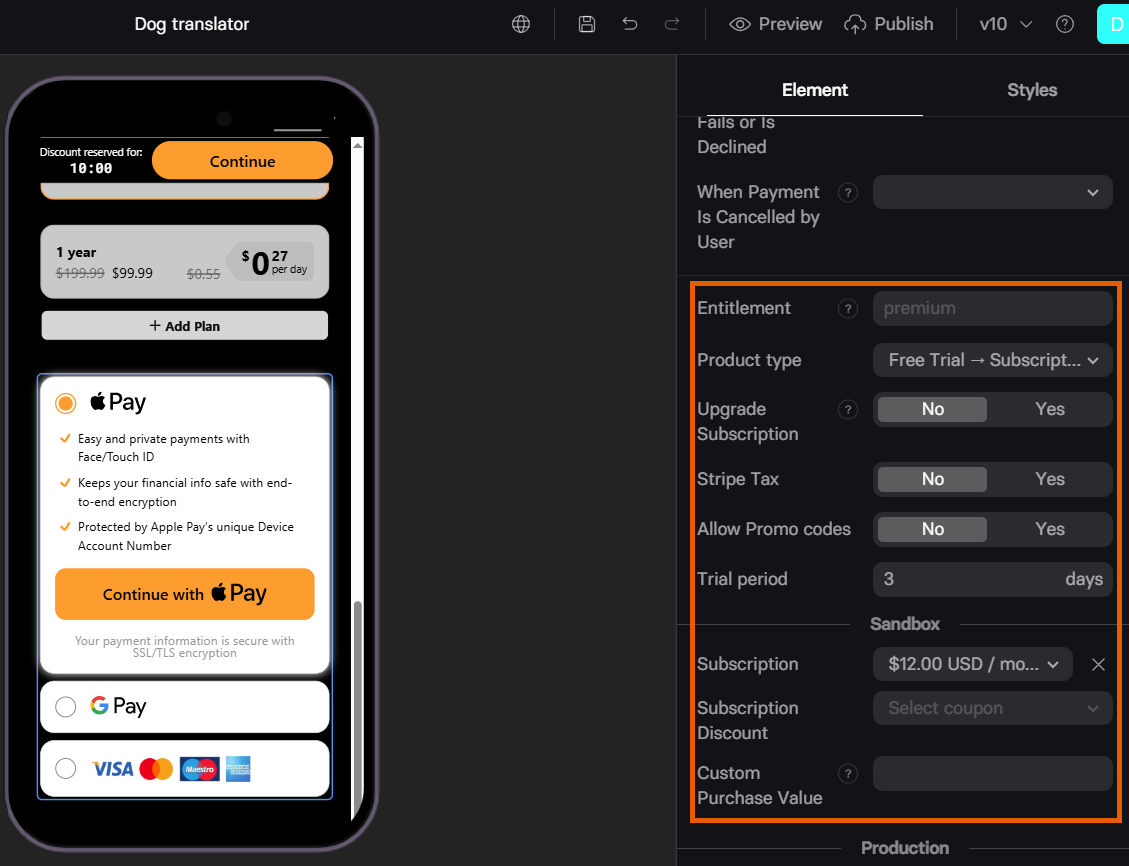
Configure Checkout Sandbox
- Go to the Funnels page.
- Click your funnel to open the Visual editor.
- Configure products to test in the Sandbox section of the Checkout element.
2
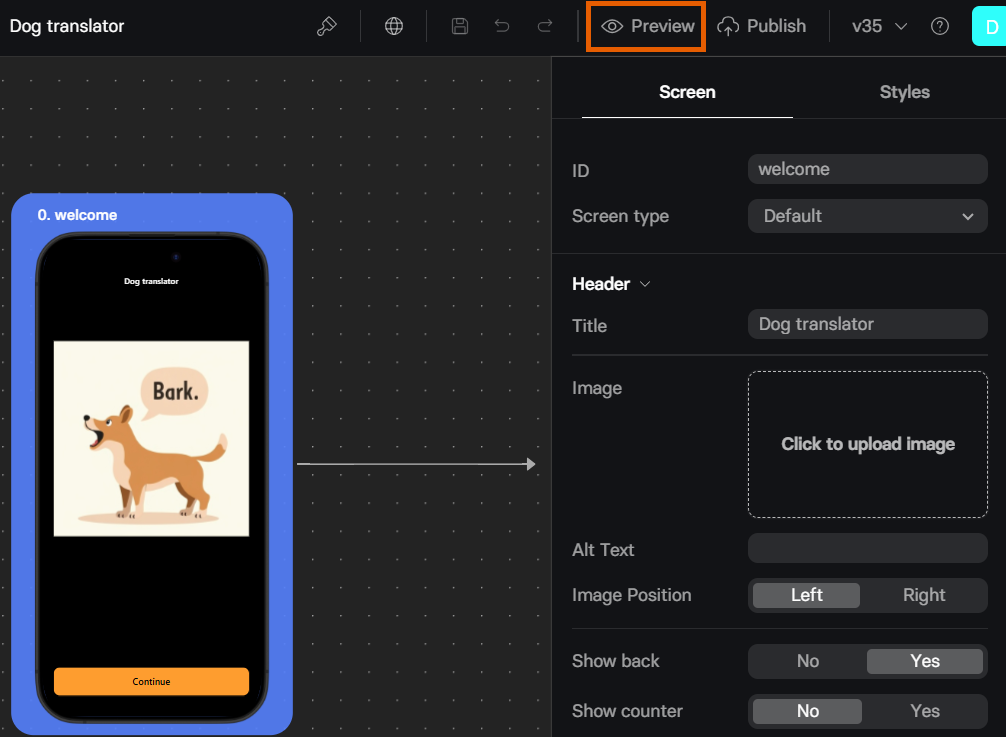
Funnel preview mode
- Click the initial funnel screen on the left to start your preview from the beginning.
- Click Preview in the top toolbar.
3
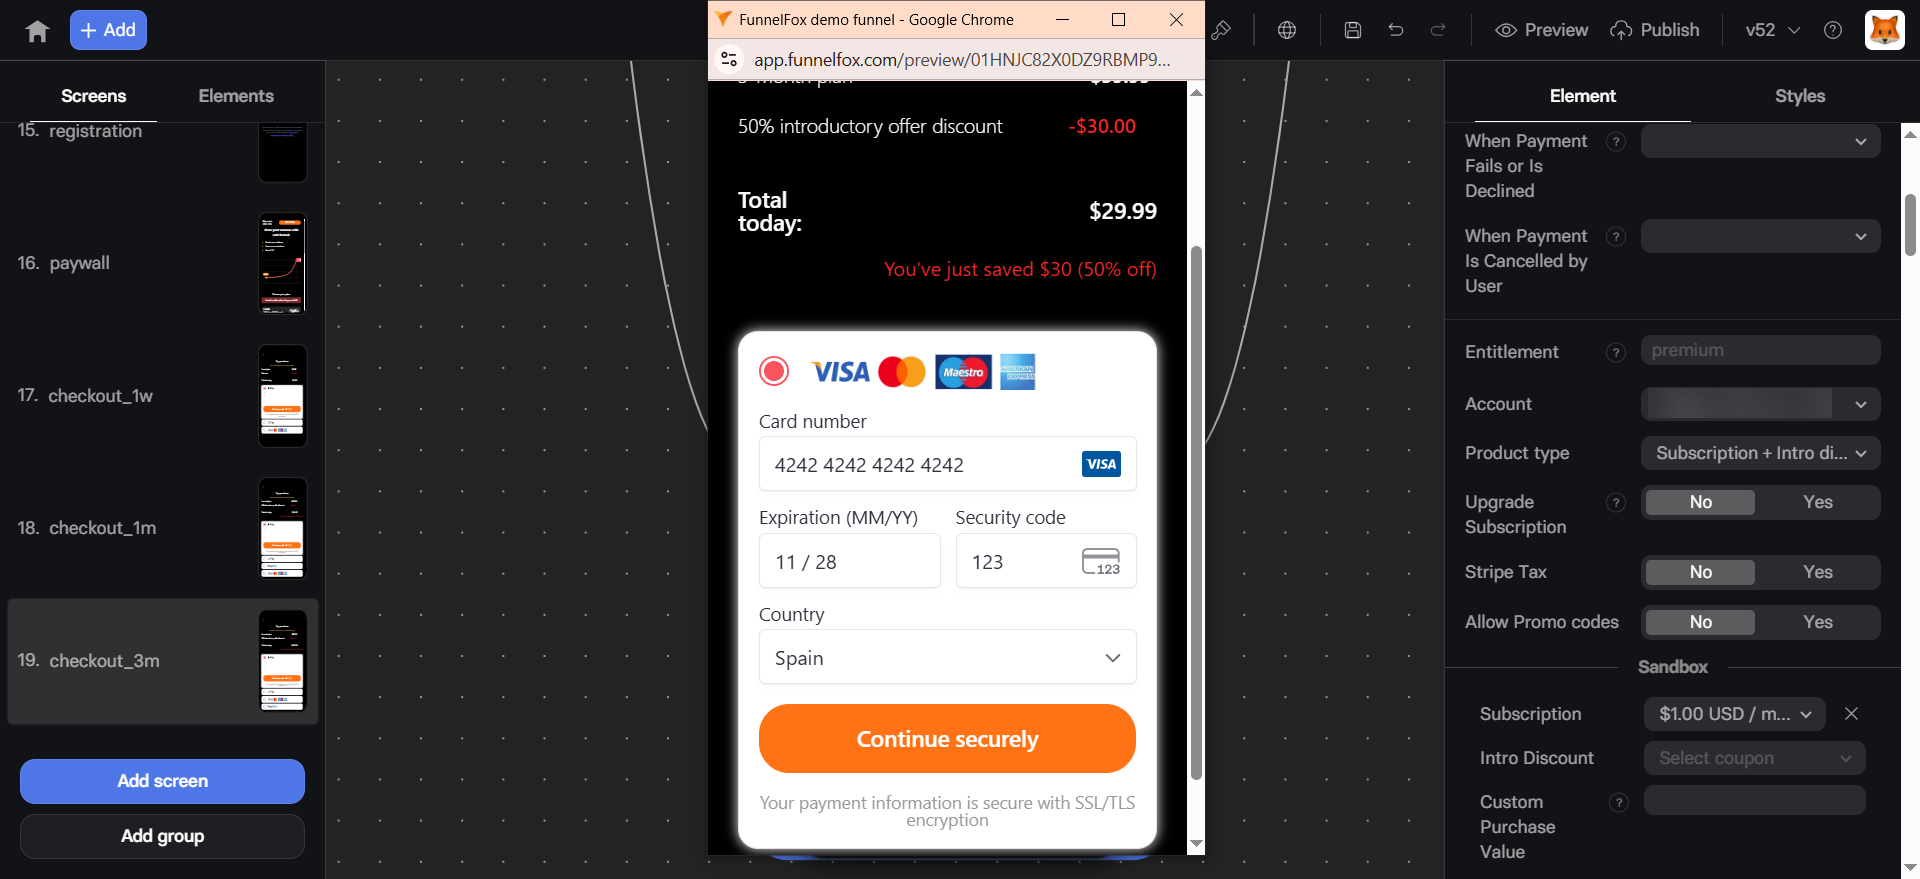
Test purchase
- Go through the funnel steps to trigger analytics events.
- Make a test purchase when you reach the Checkout.
- Stripe
- Solidgate
- Paddle
- FunnelFox Billing
- Number:
4242 4242 4242 4242 - Expiry date: Any valid future date (e.g.,
12/34) - CVC: Any three-digit CVC
4
Check created customer and transactions
Go to the Customers page and find the customer created for your test purchase.Click on the customer to see the transaction you made. This confirms your payment provider integration is working.
5
Check analytics events
Verify the events FunnelFox sent to your analytics platform. The steps below show Amplitude and Mixpanel examples.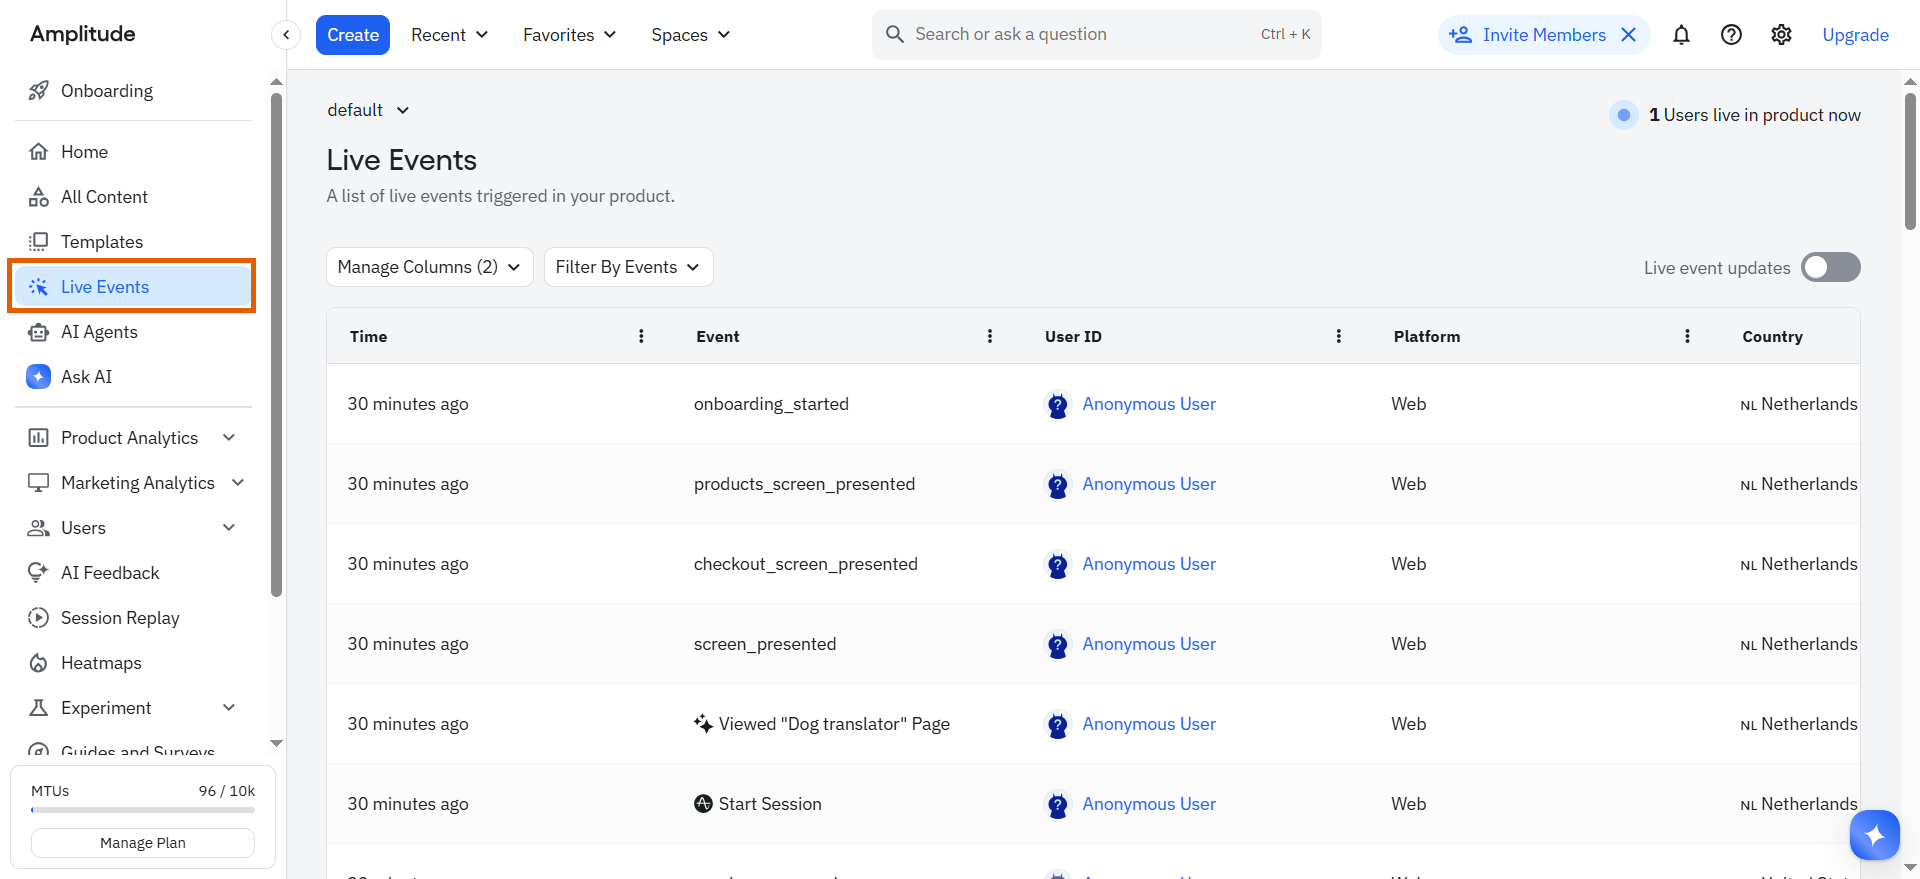

- Amplitude
- Mixpanel
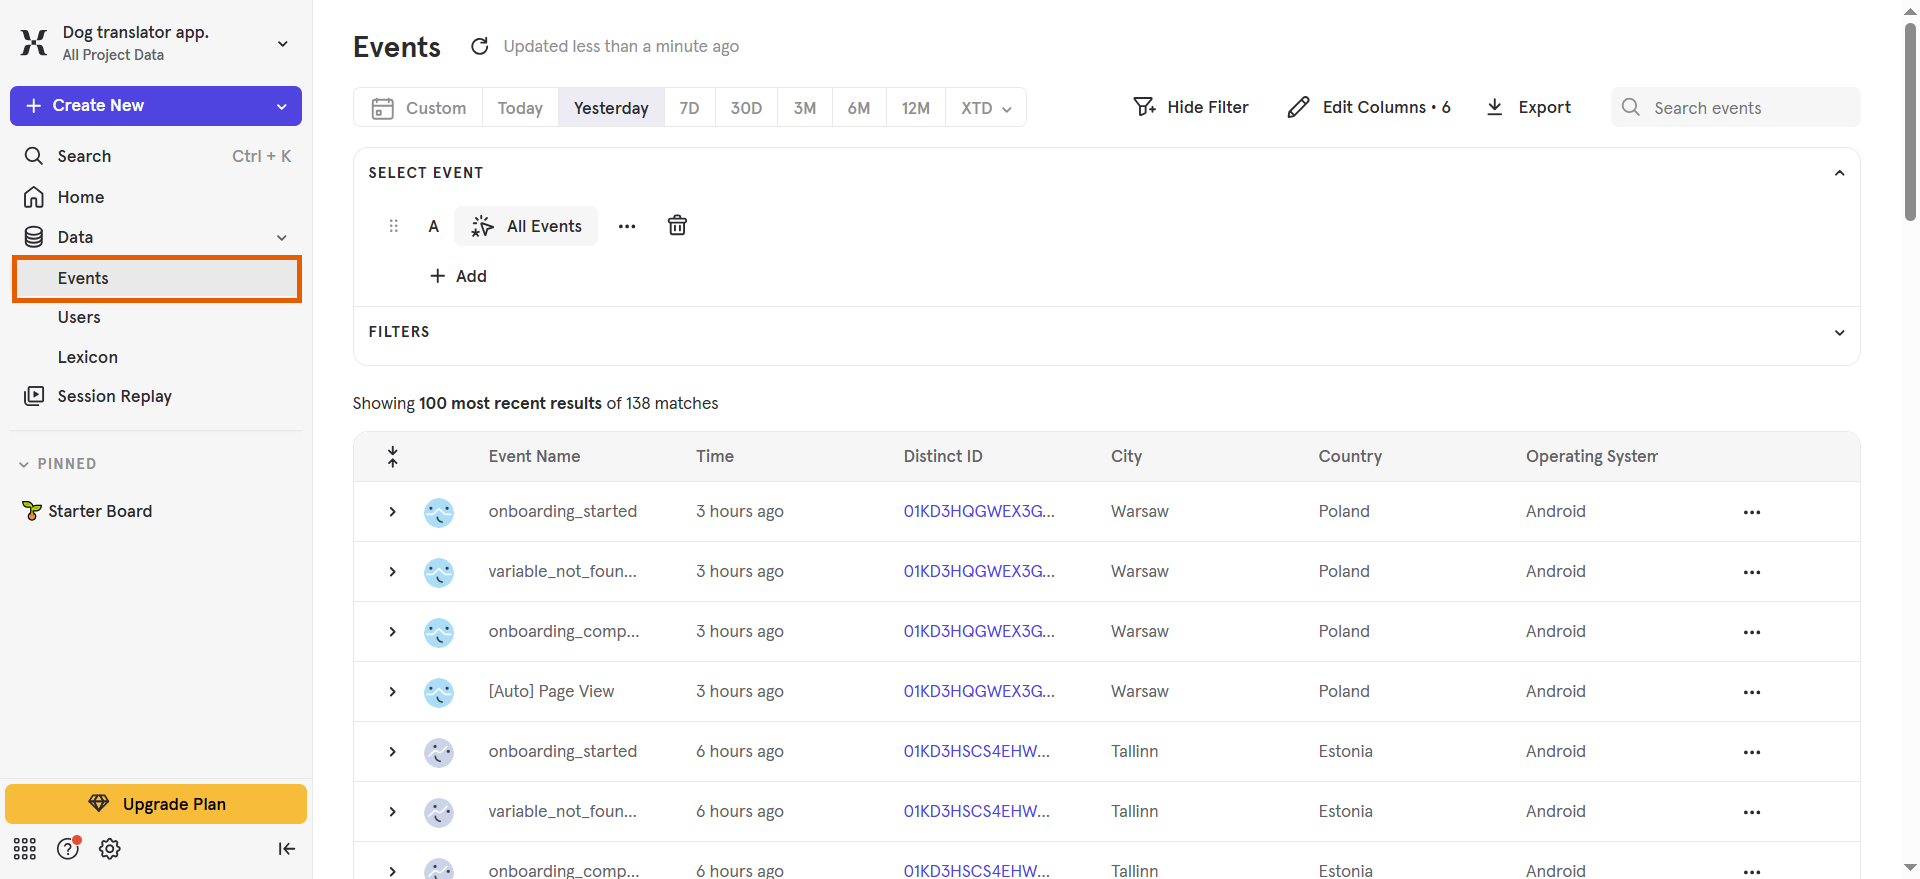
- Go to Live events in your Amplitude dashboard to see events from your test.
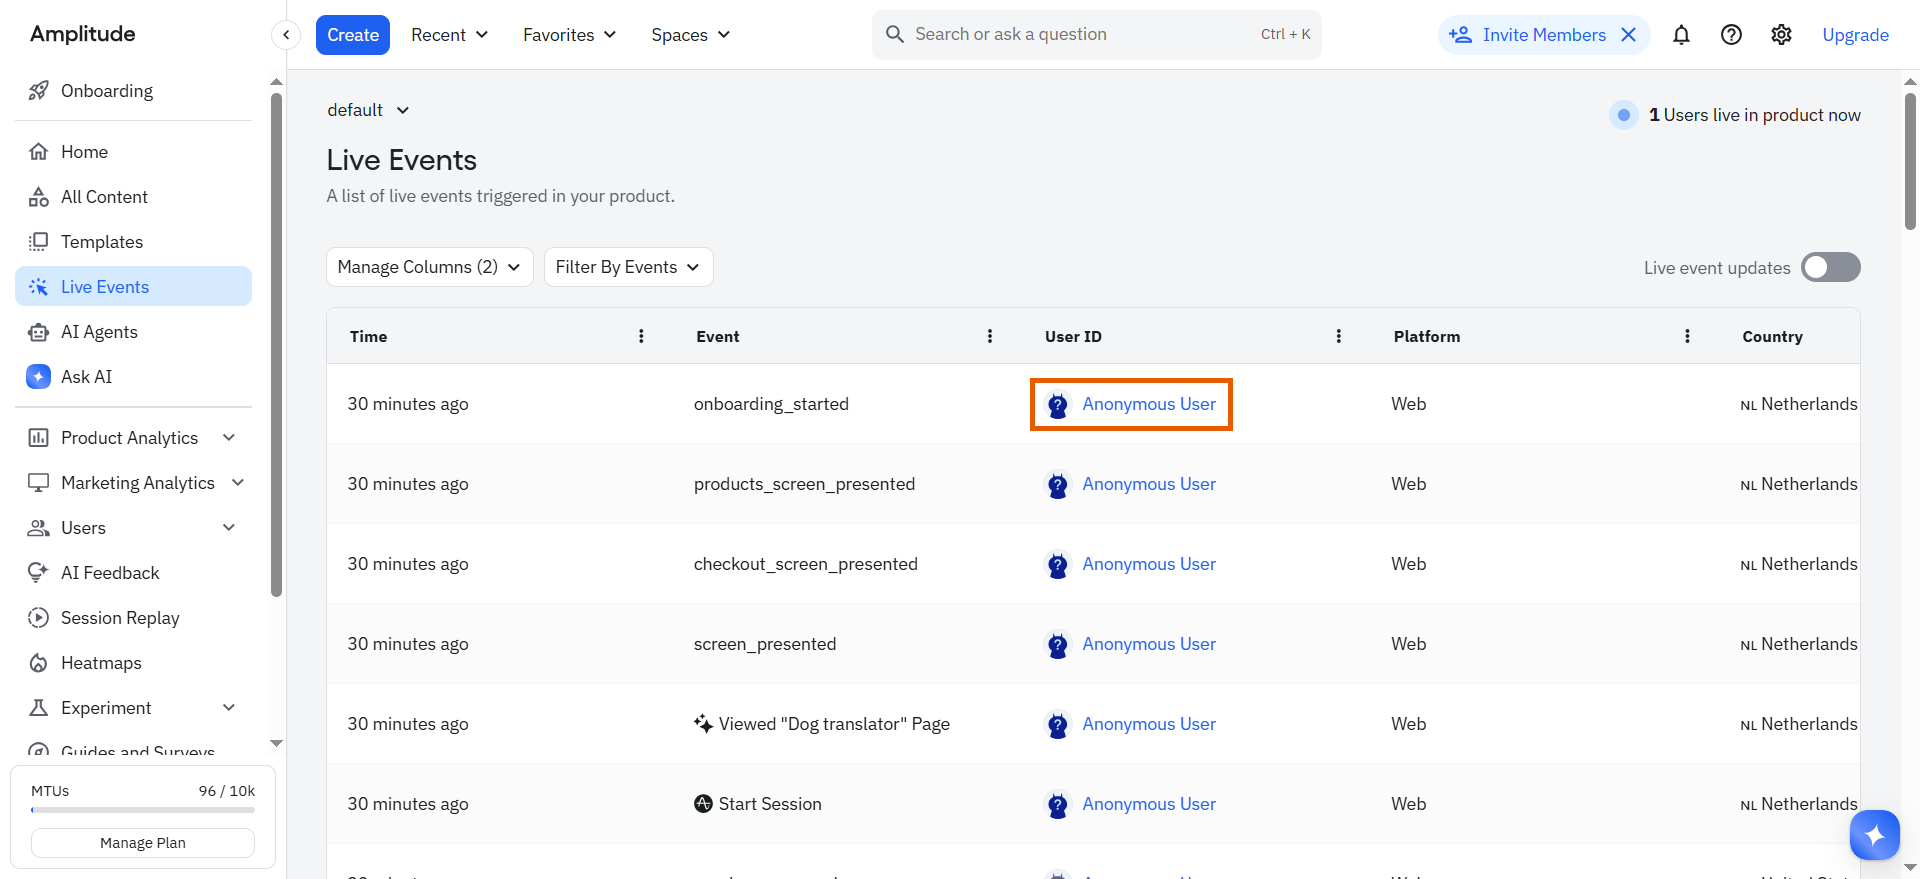
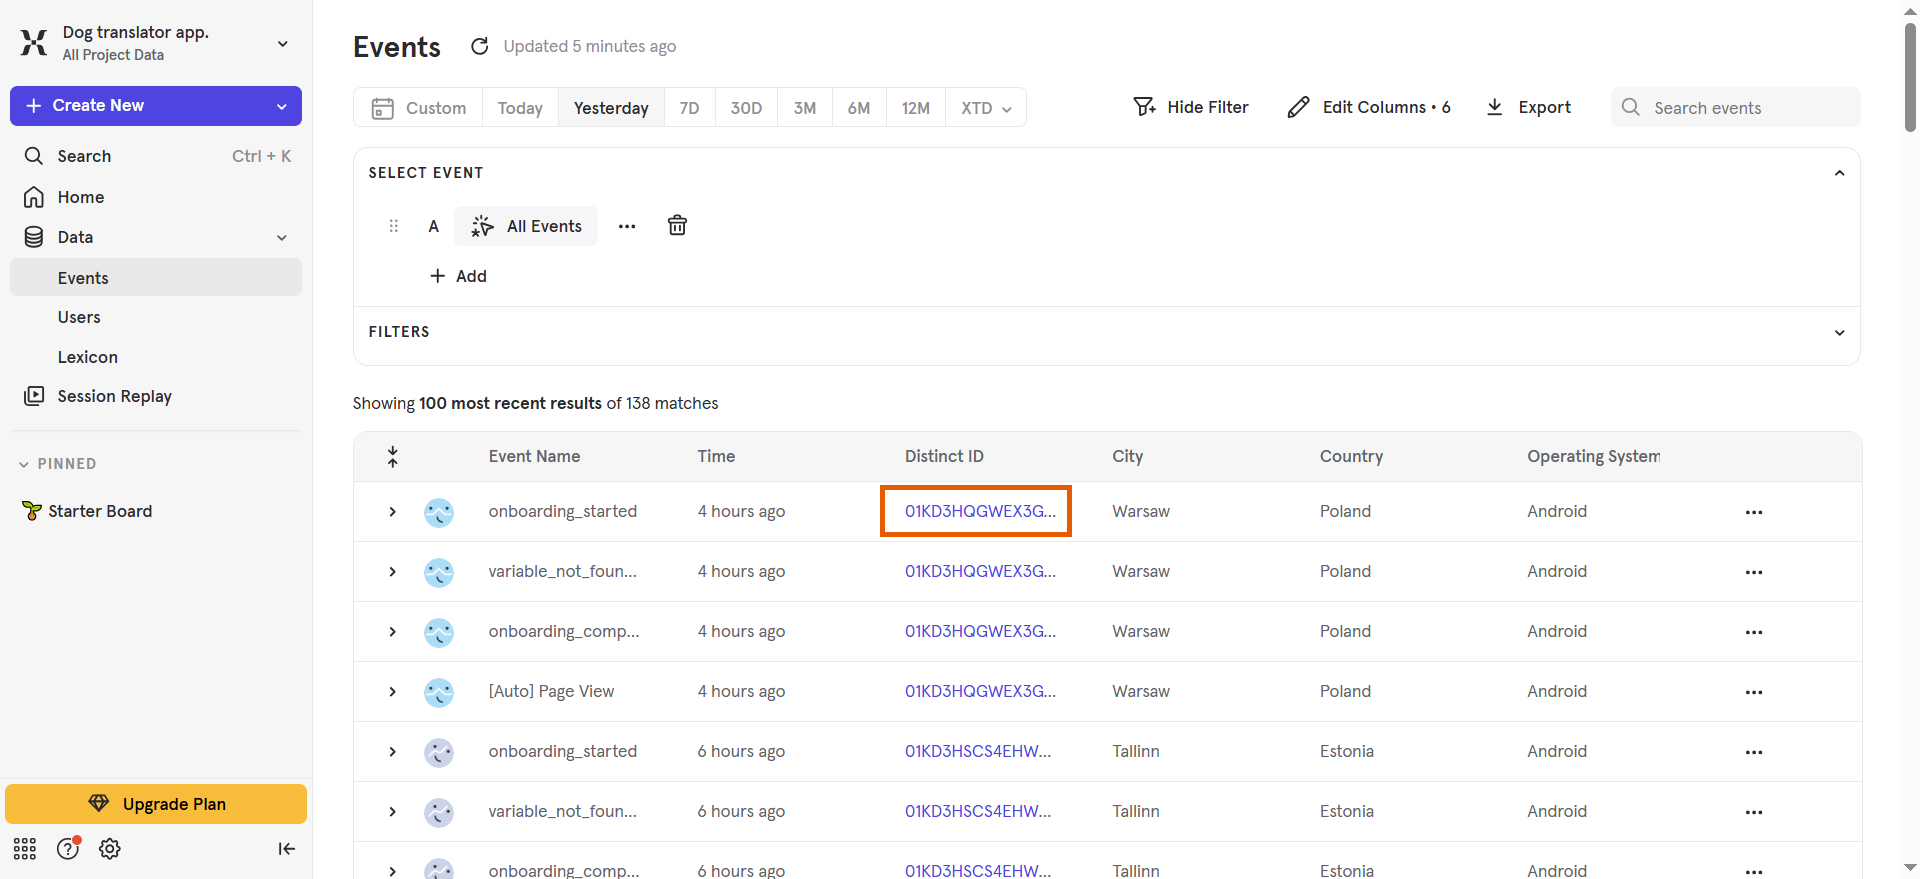
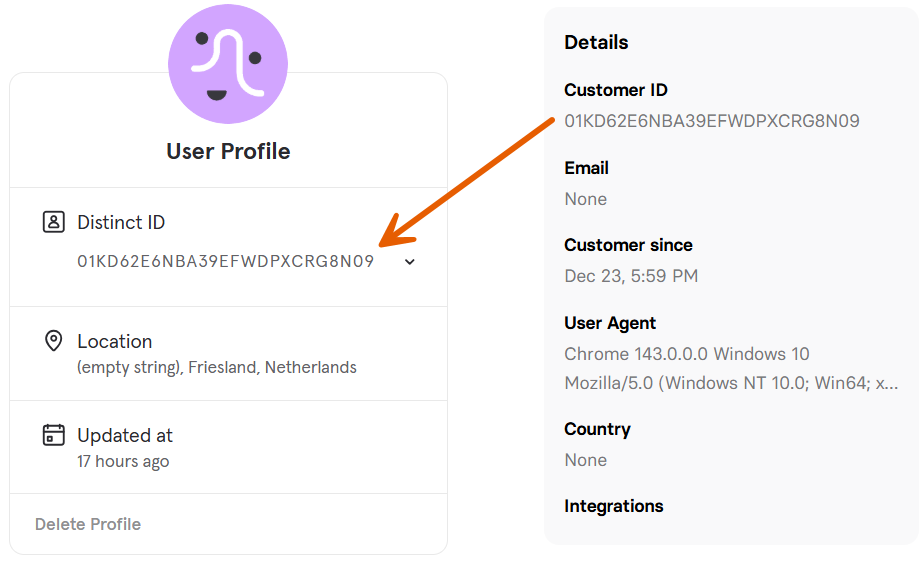
- Click on the user in the event list to learn more about data received.
- You will see the Customer ID from FunnelFox as Device ID with
fnflx_prefix in Amplitude and all events for this user.
6
Check marketing attribution
Go to the Overview tab of your dataset connected to FunnelFox in Meta Events Manager.Verify that Purchase and other events appear with timestamps matching your test purchase.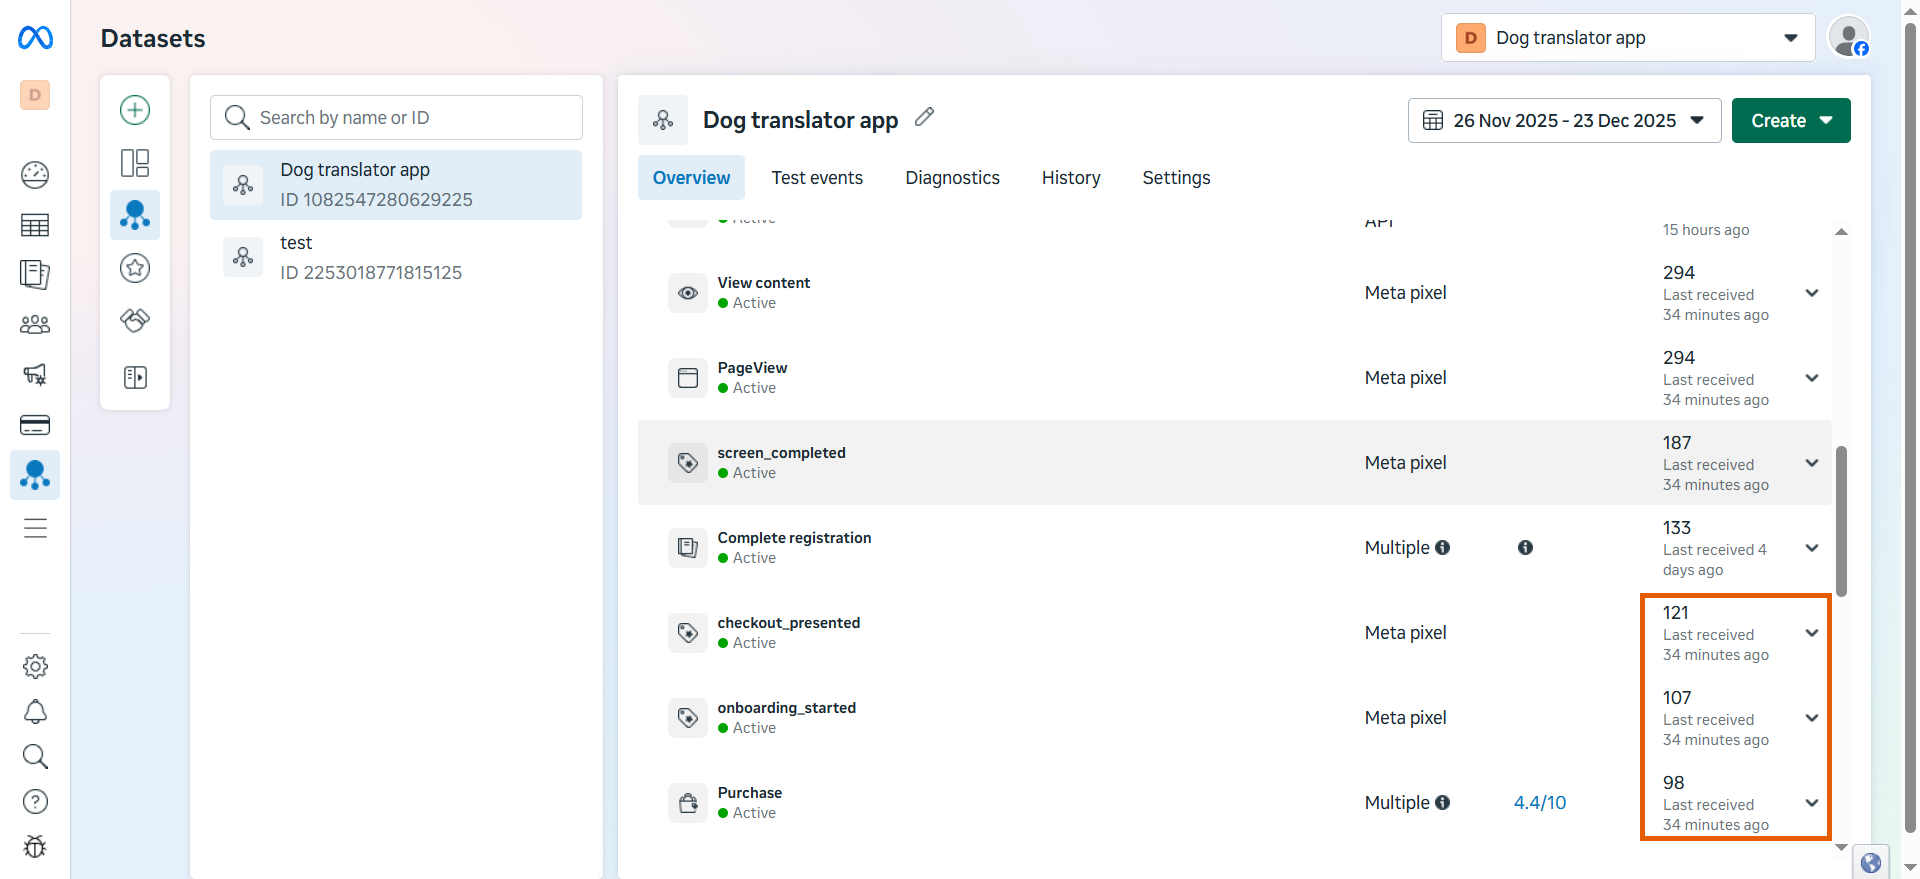
You’re all set to optimize your funnel and grow revenue.