
How it works
FunnelFox sends conversions to the Google Data Manager API directly from its servers. No Google Ads tag is added to your funnel, so tracking does not depend on the visitor’s browser. You create a conversion action in Google Ads for each event you want to track, then paste its ID into FunnelFox. Conversions are uploaded in batches every few minutes and typically appear in Google Ads within a few hours. Google can take up to 24 hours to process them.
Setup
1. Enable auto-tagging
Auto-tagging adds the Google click ID to your landing page URL. FunnelFox reads that click ID and uses it to match conversions to ad clicks.- Go to Admin > Account settings in Google Ads.
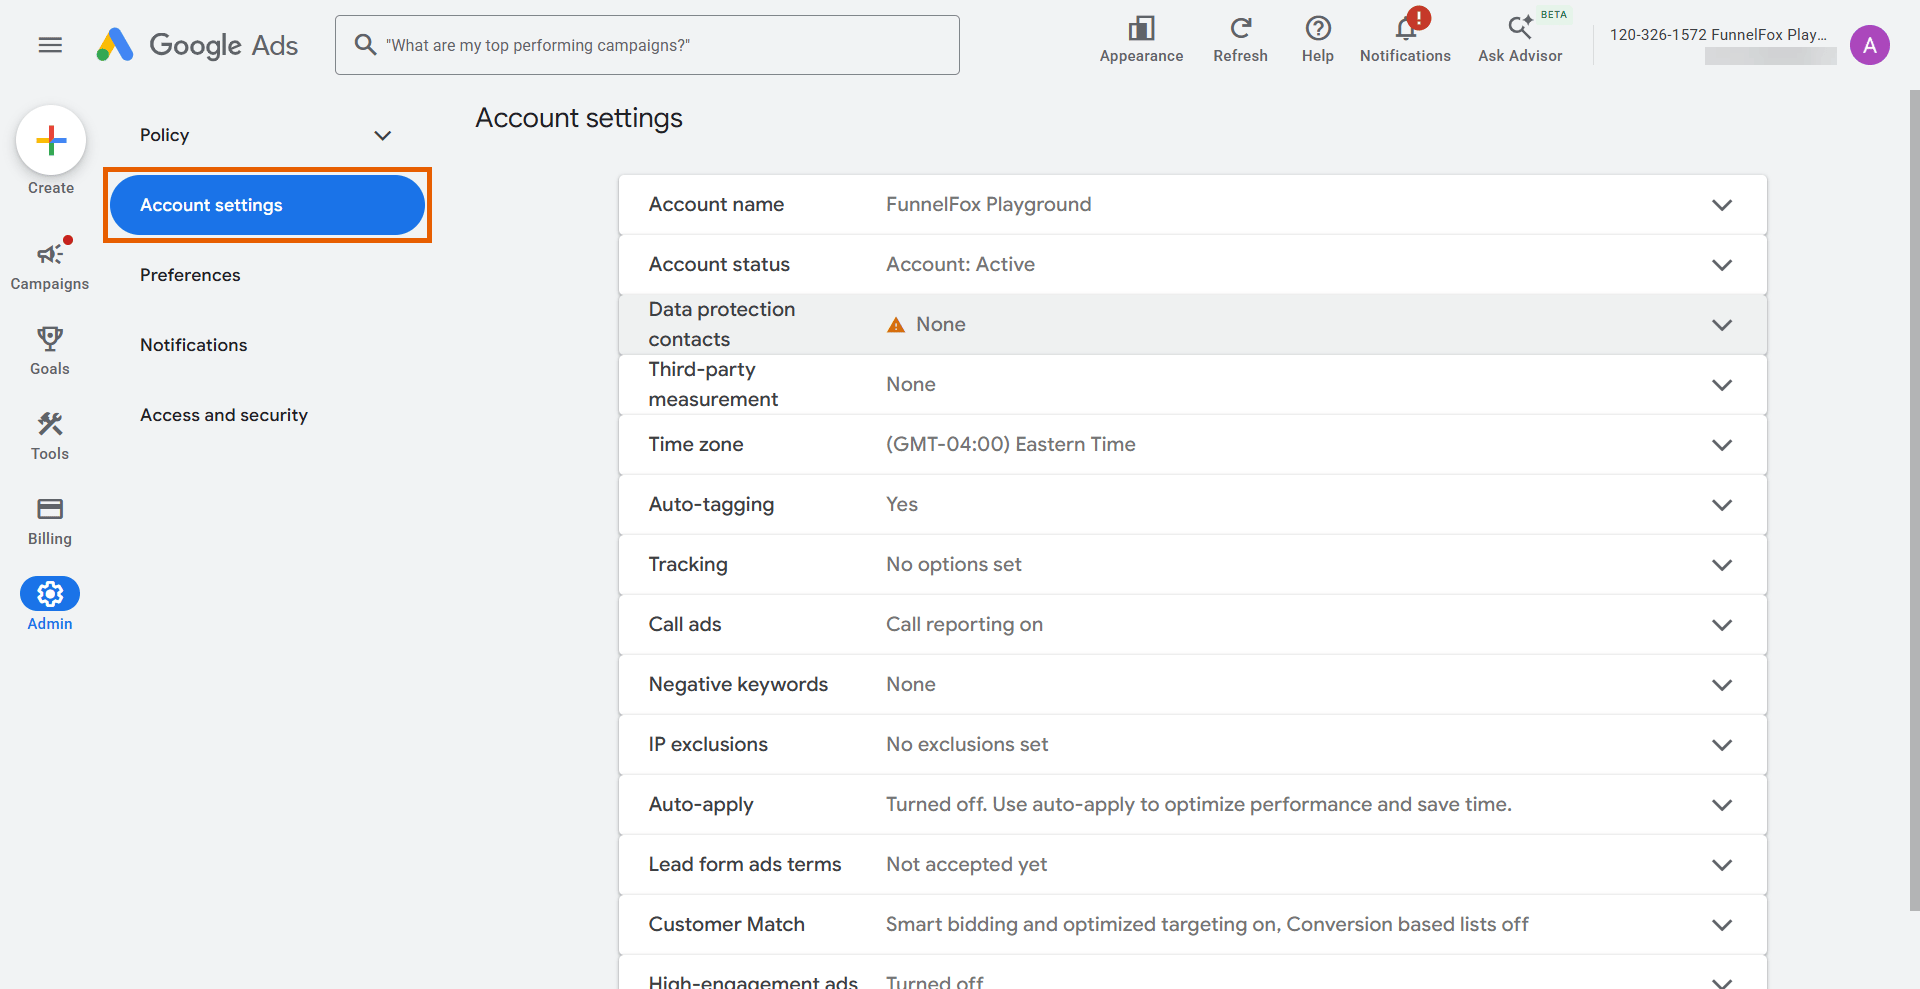
- Enable auto-tagging and click Save.
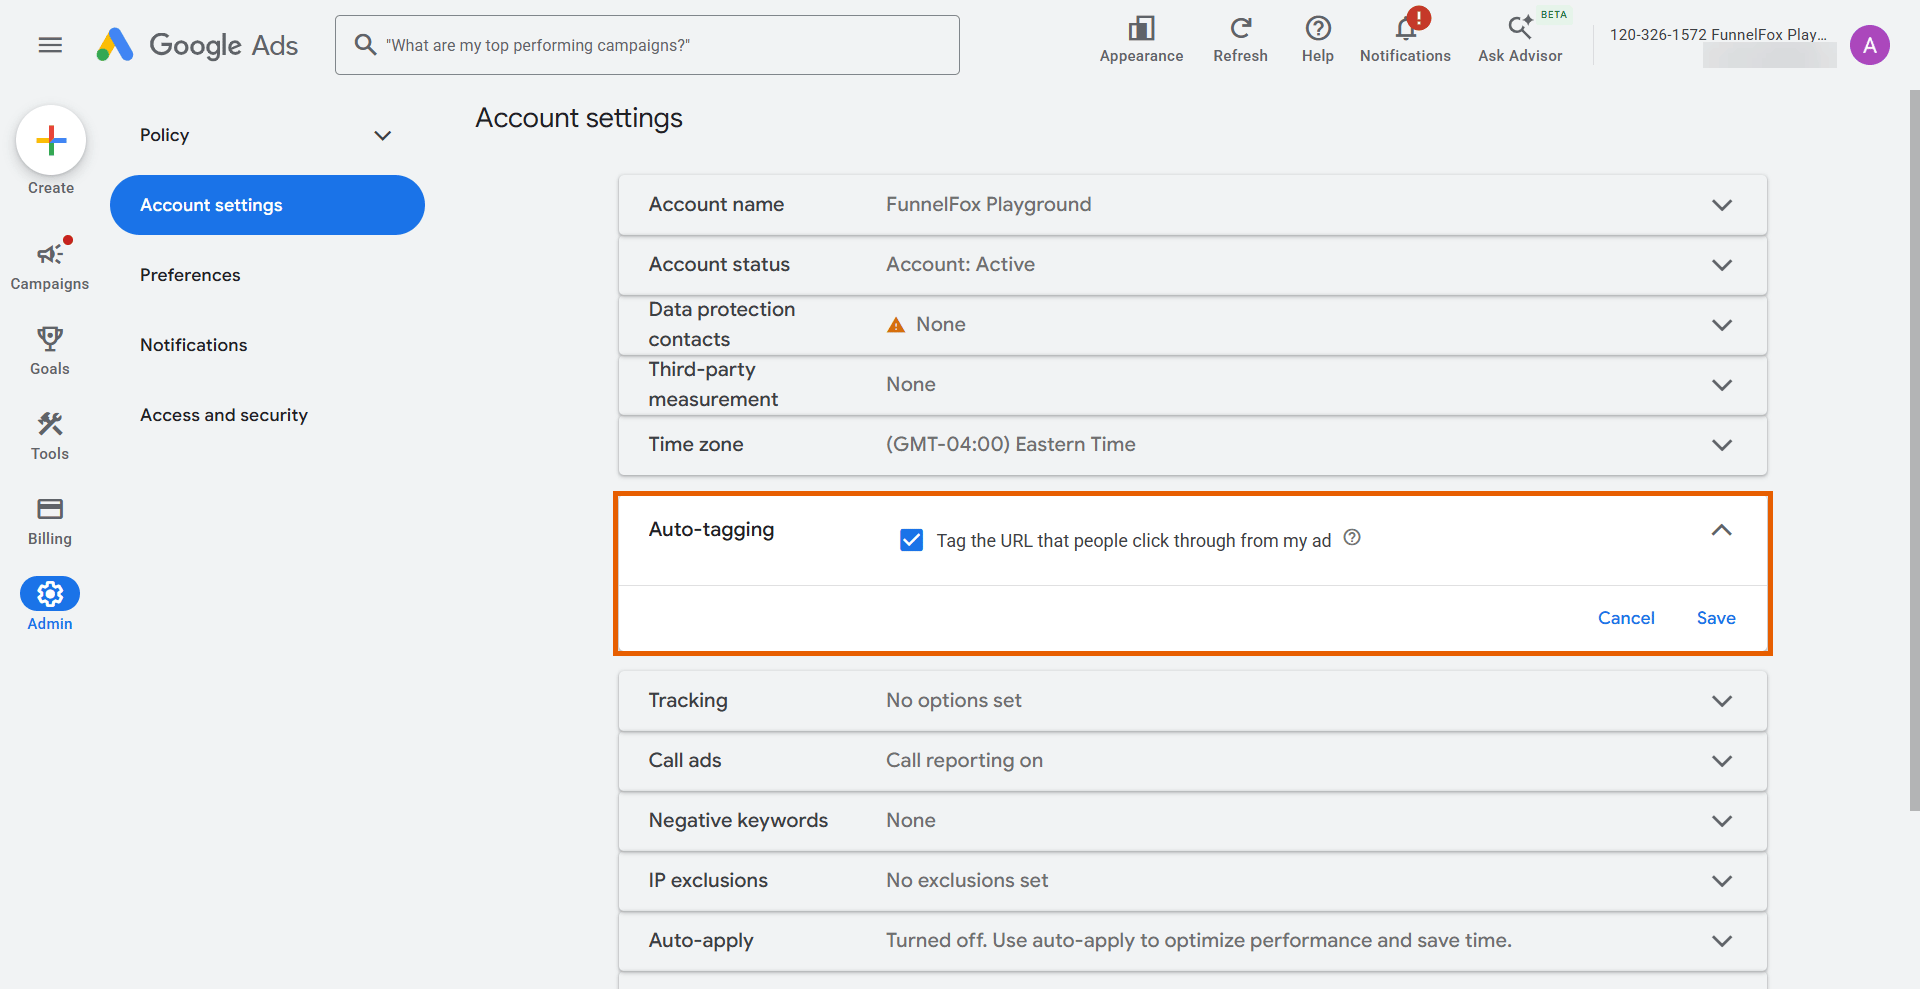
2. Turn on enhanced conversions
Enhanced conversions improve the accuracy of your conversion measurement.- Go to Goals > Conversions > Settings.
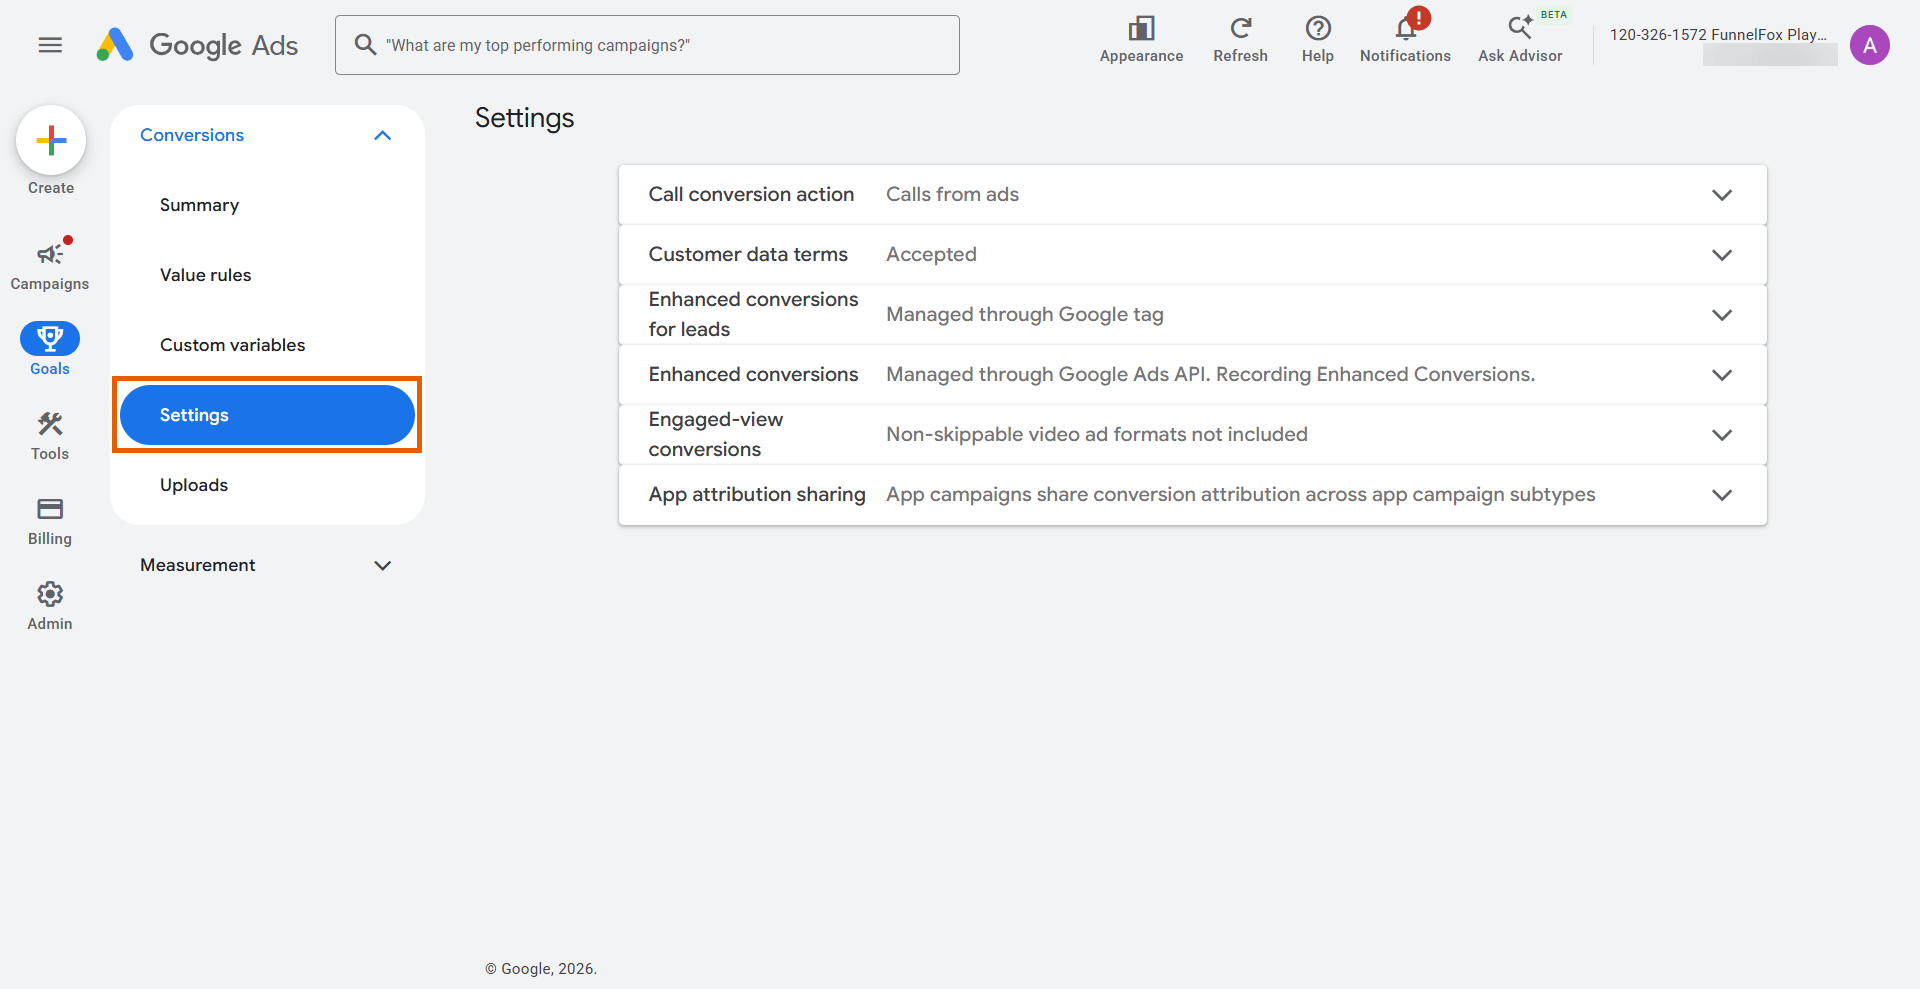
- Accept the Customer data terms.
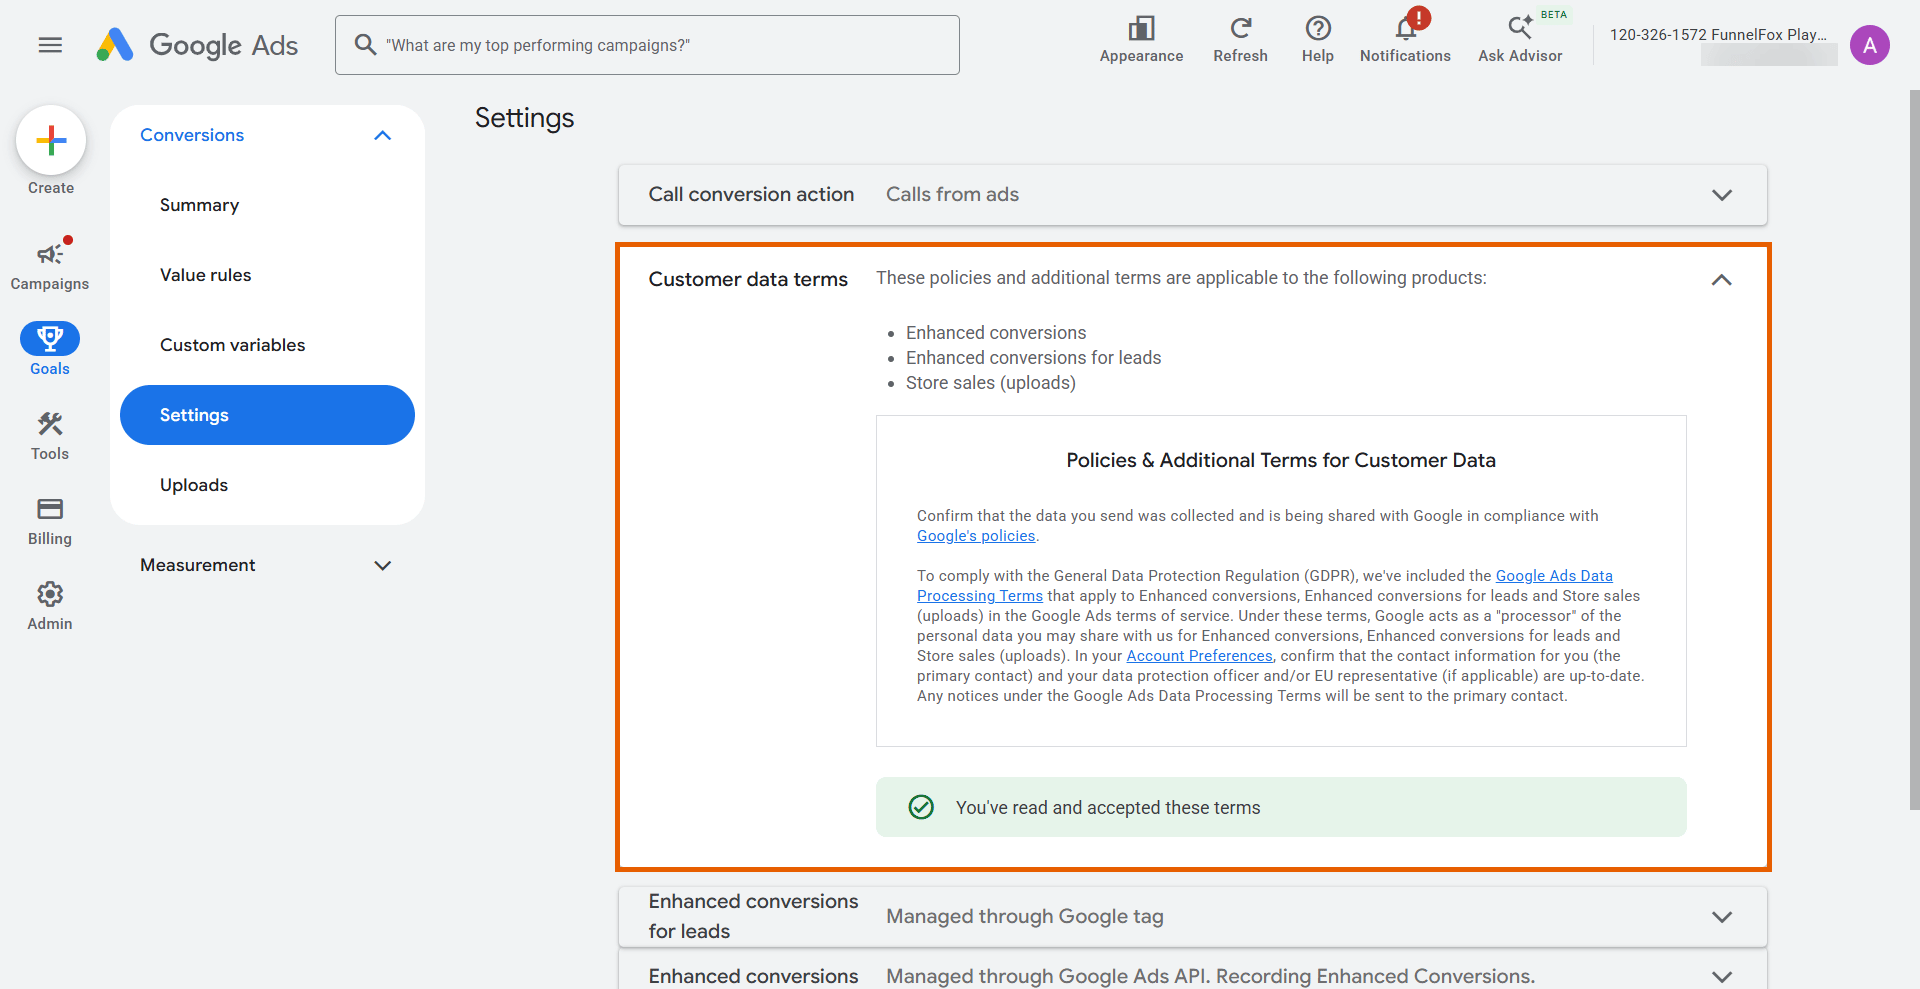
- Enable Enhanced conversions for leads and click Save. Keep the default method, Google tag.
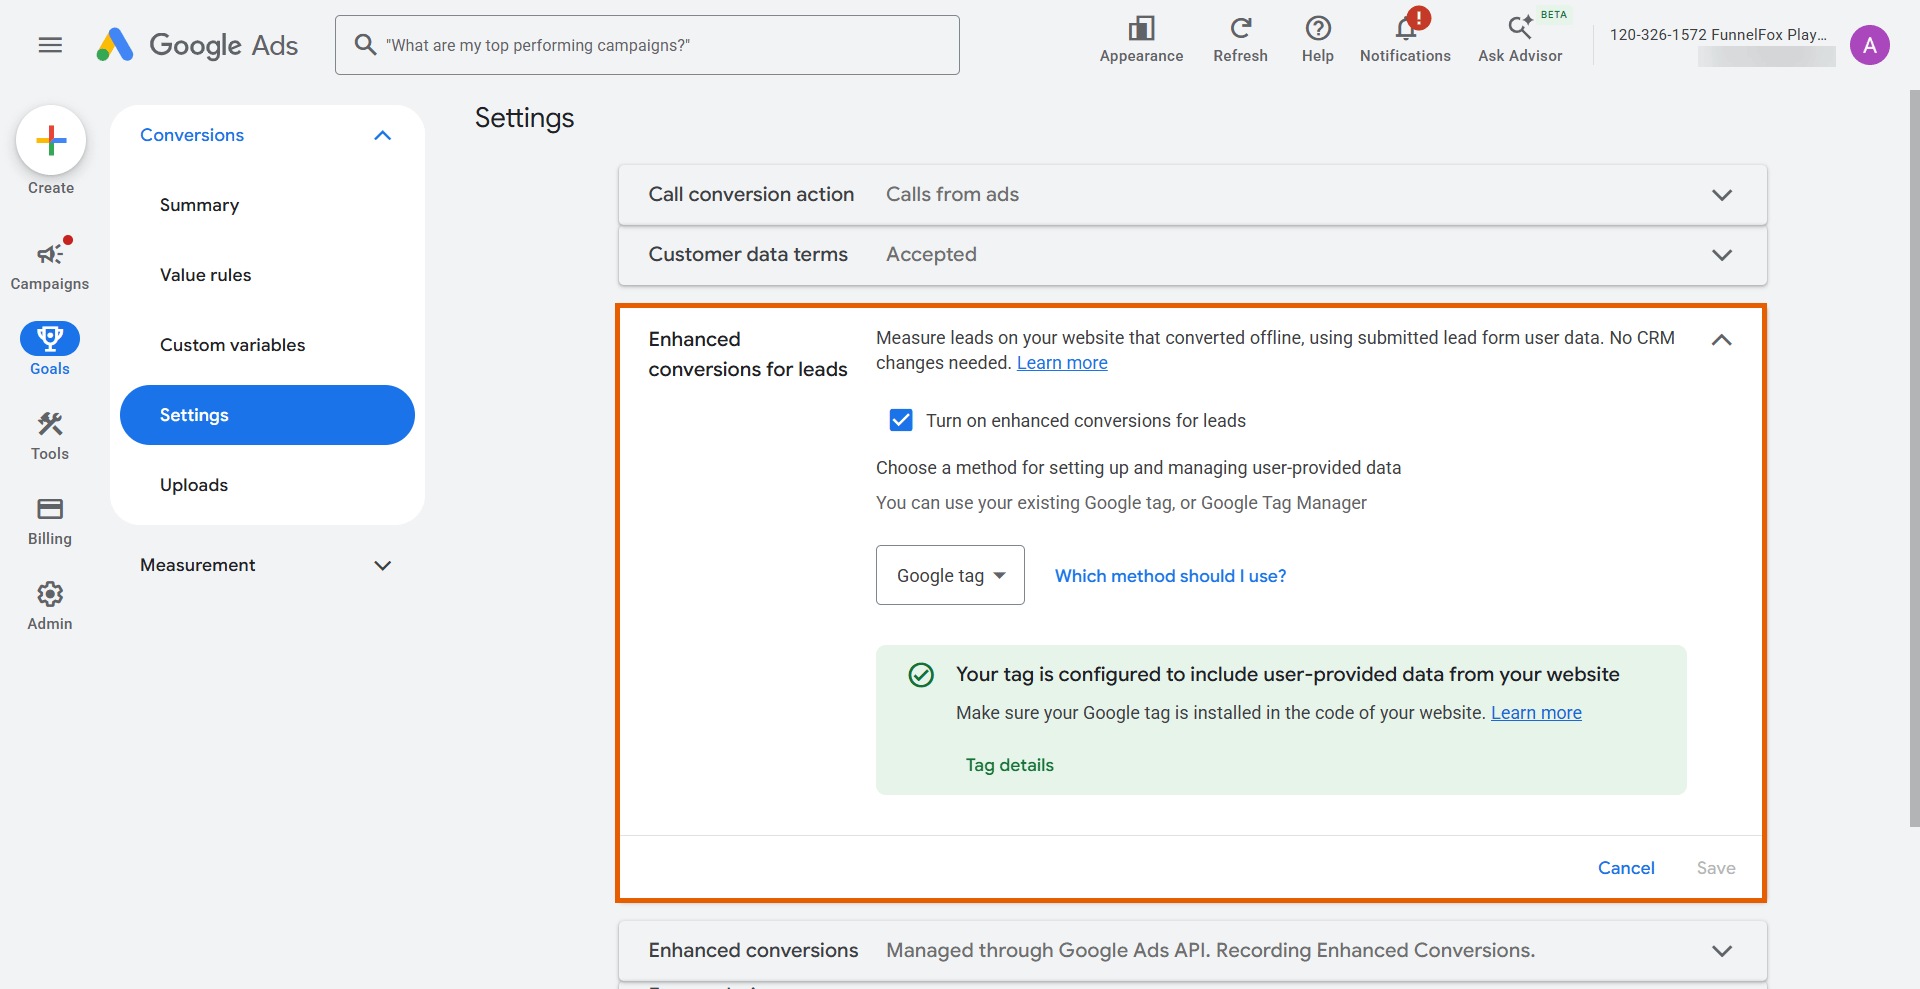
- Enable Enhanced conversions and click Save. Keep the default method, Google Ads API.
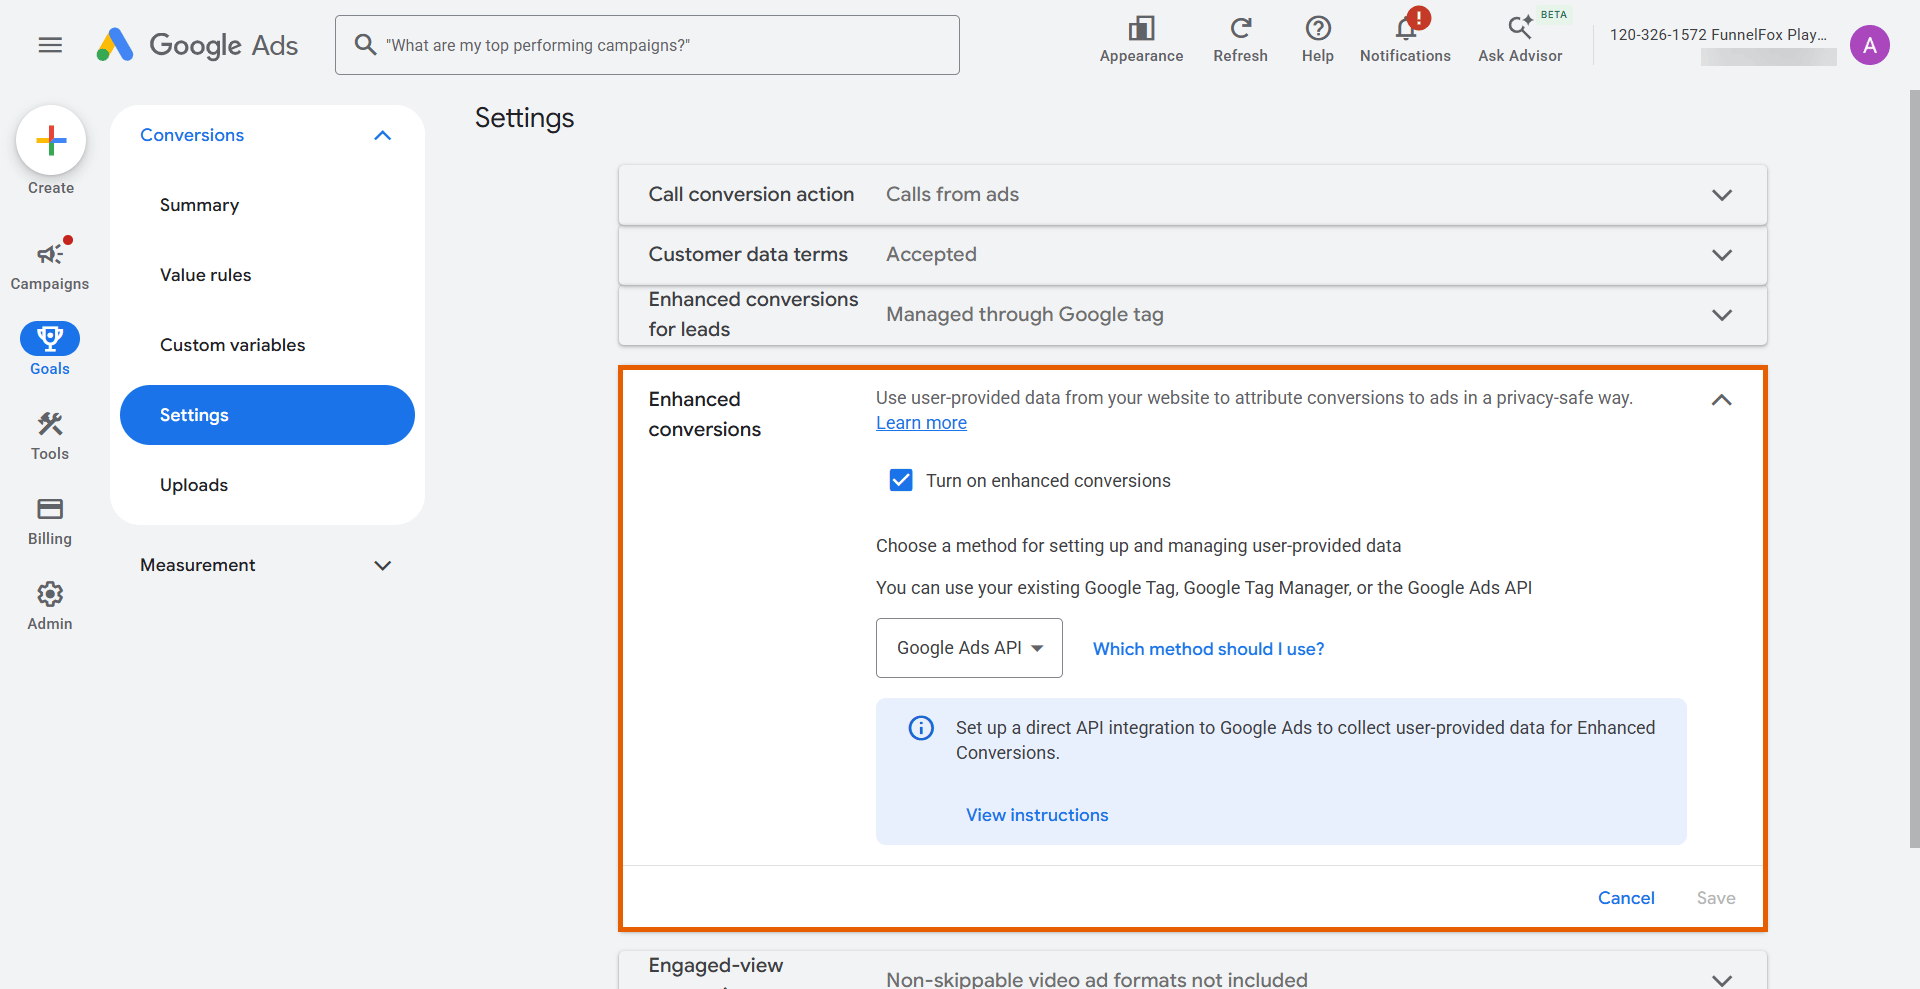
3. Create conversion actions
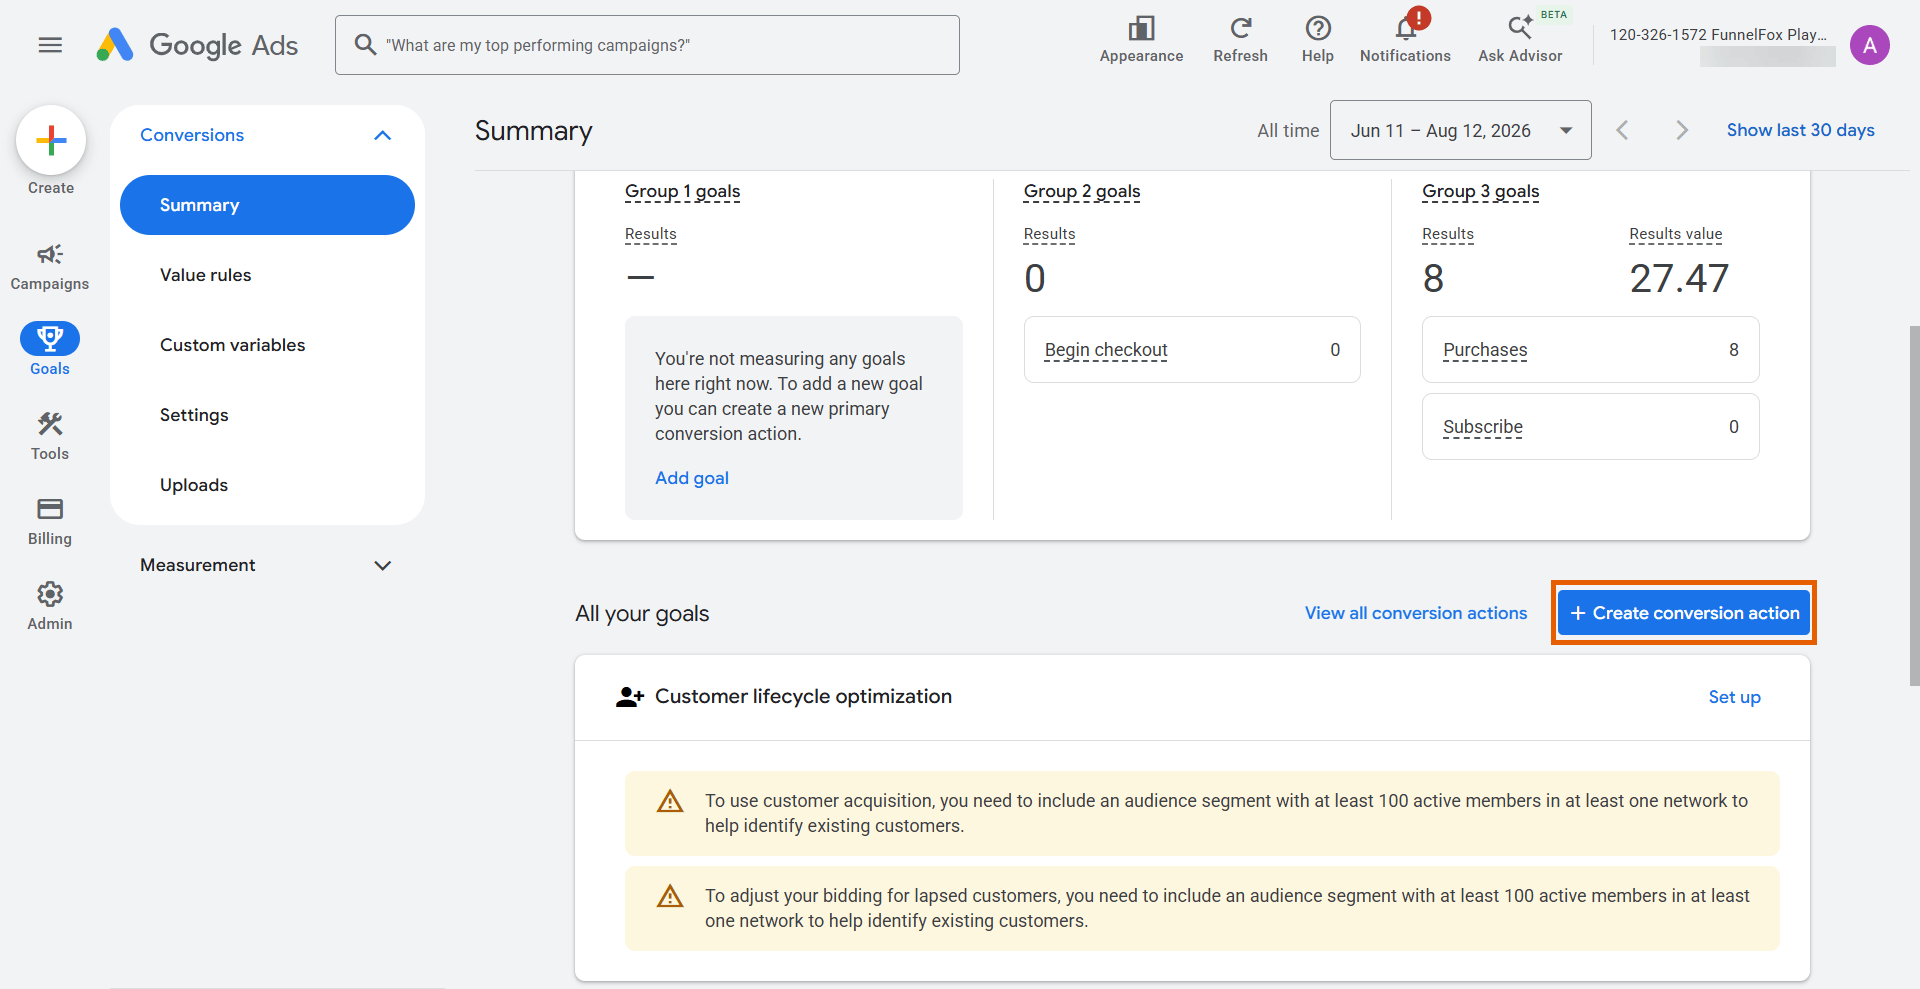
Create three conversion actions (one for each event FunnelFox can report).- Go to Goals > Conversions > Summary.
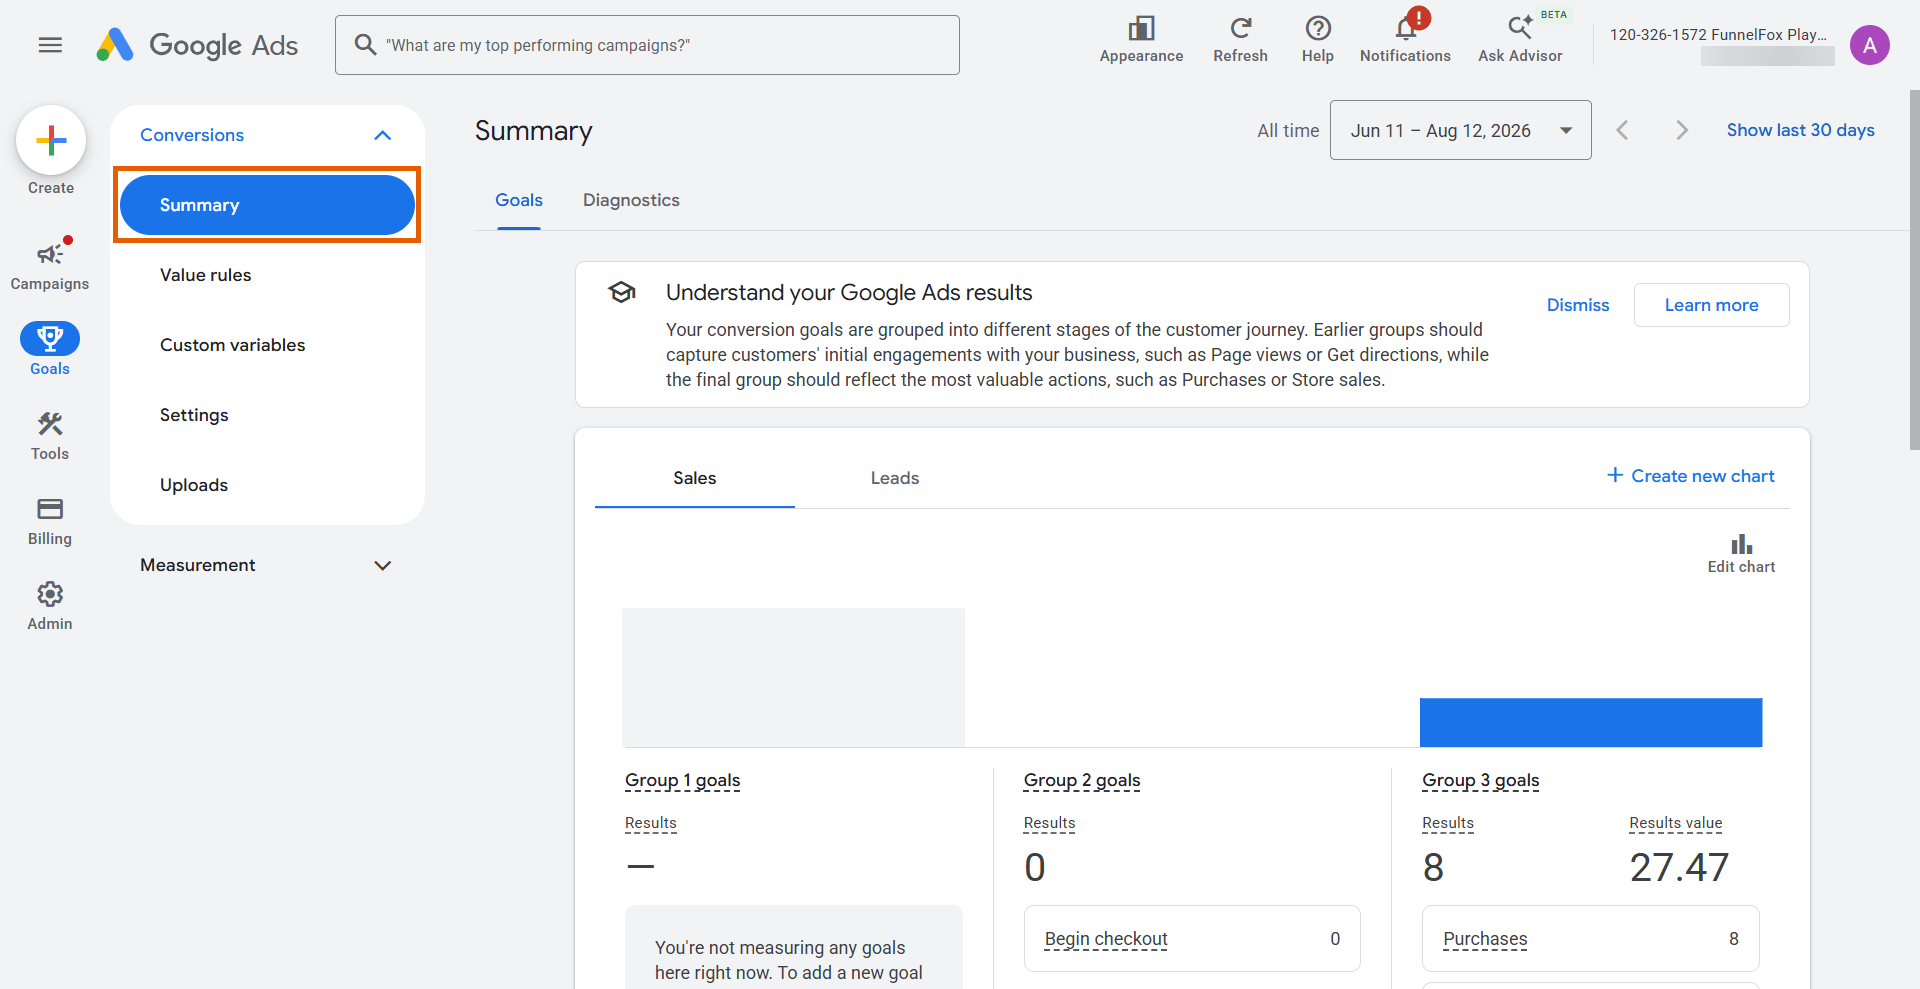
- Click + Create conversion action under All your goals. You can also click + Create at the top left and select Conversion action.
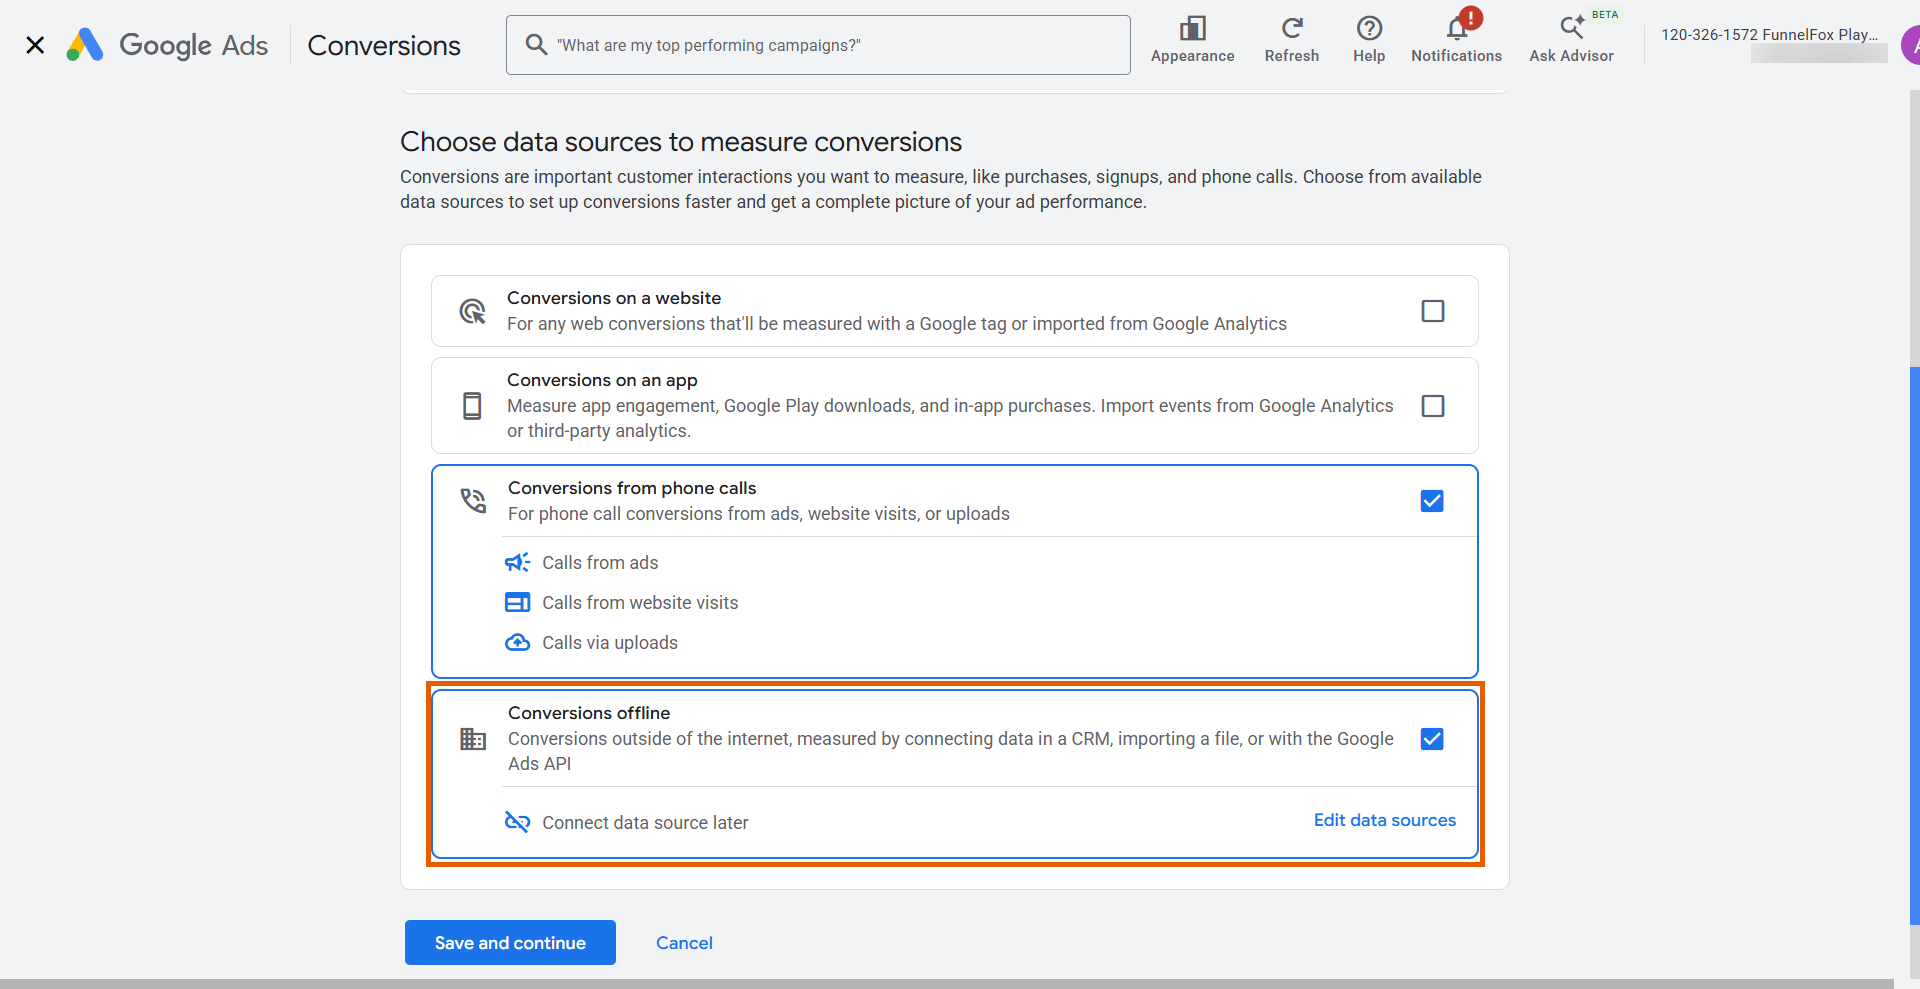
- Make sure Conversions offline is enabled under Choose data sources to measure conversions, then click Save and continue.
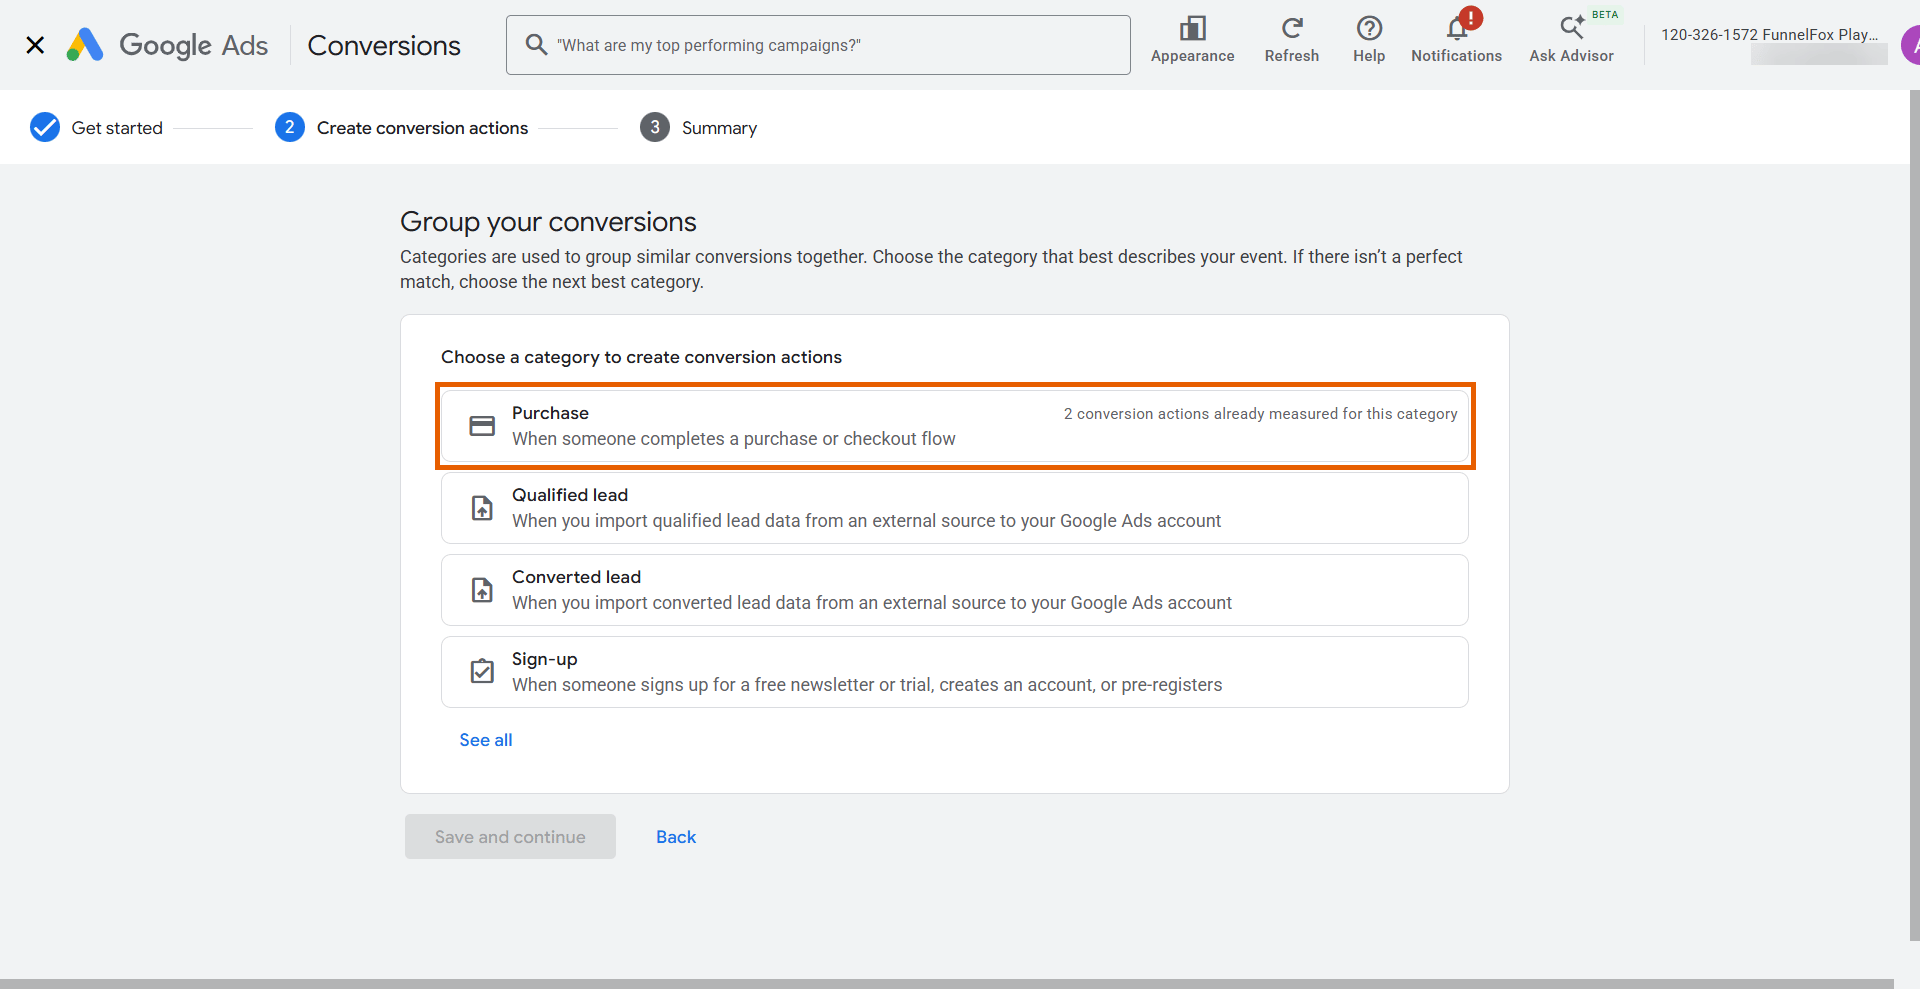
- Select Purchase.
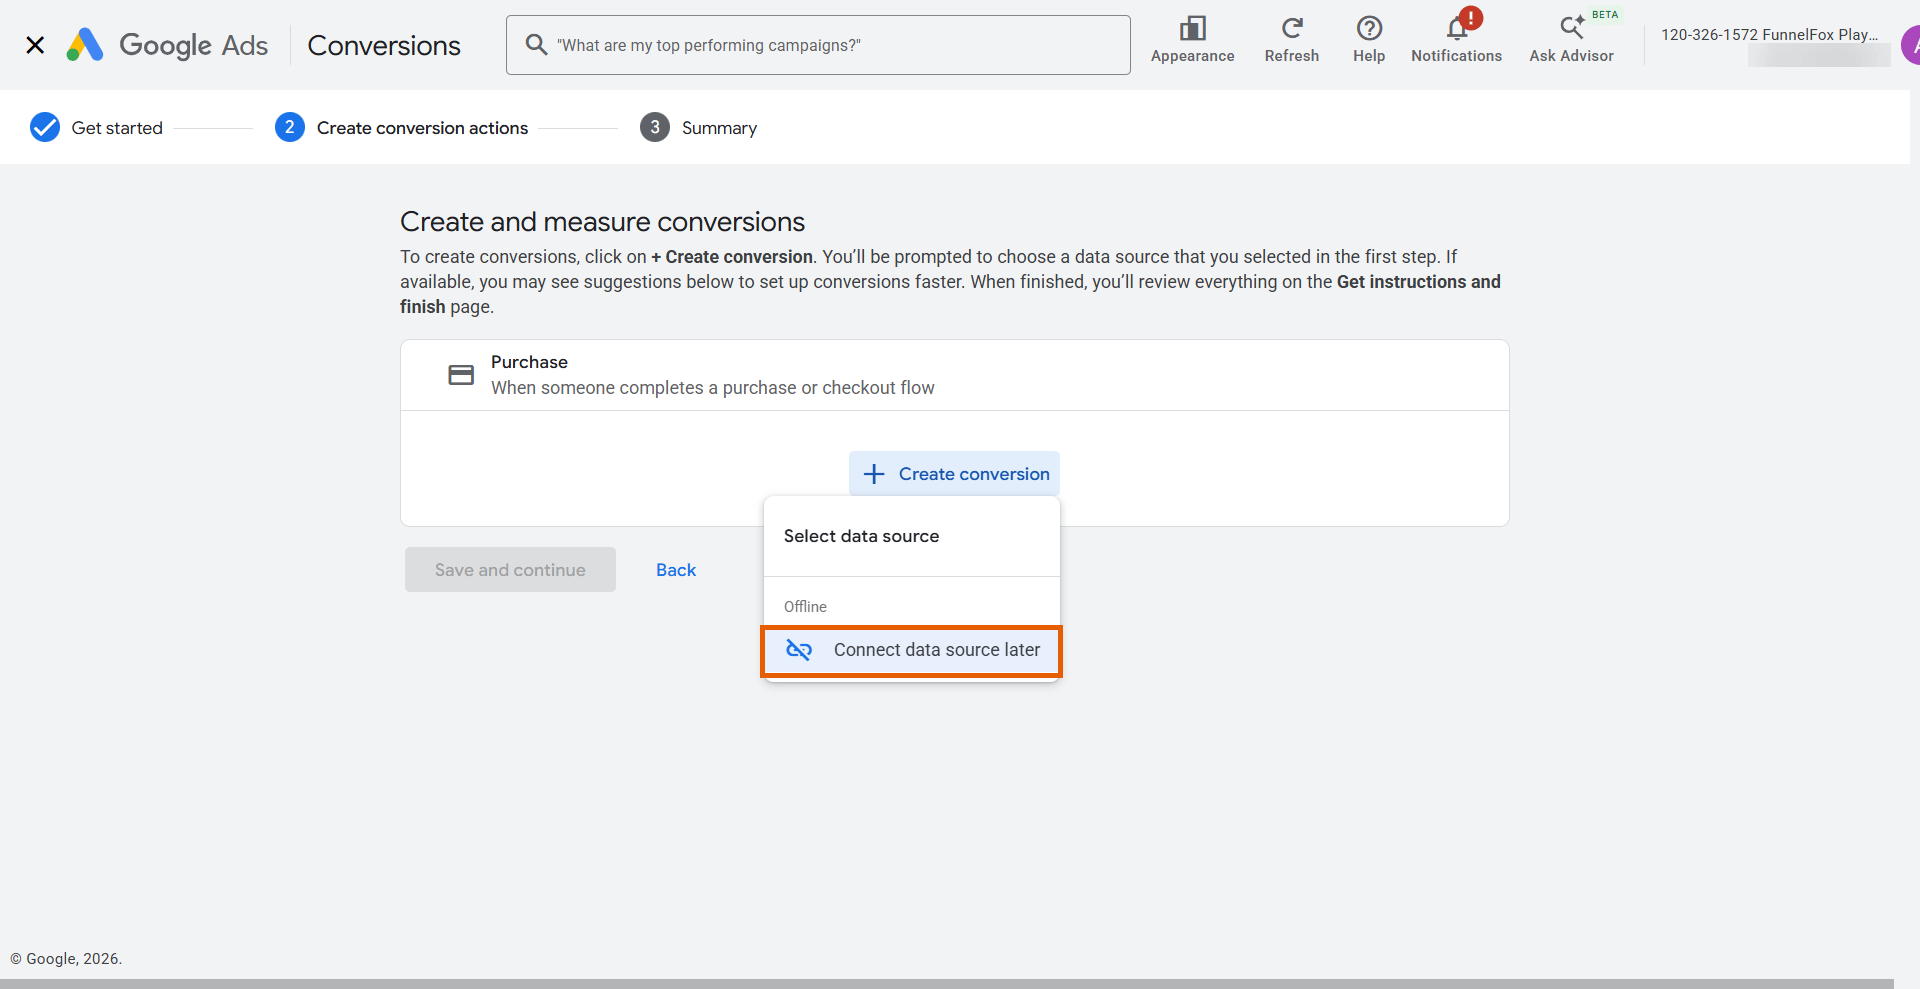
- Click + Create conversion and select Connect data source later.
- Click Edit settings for this conversion.
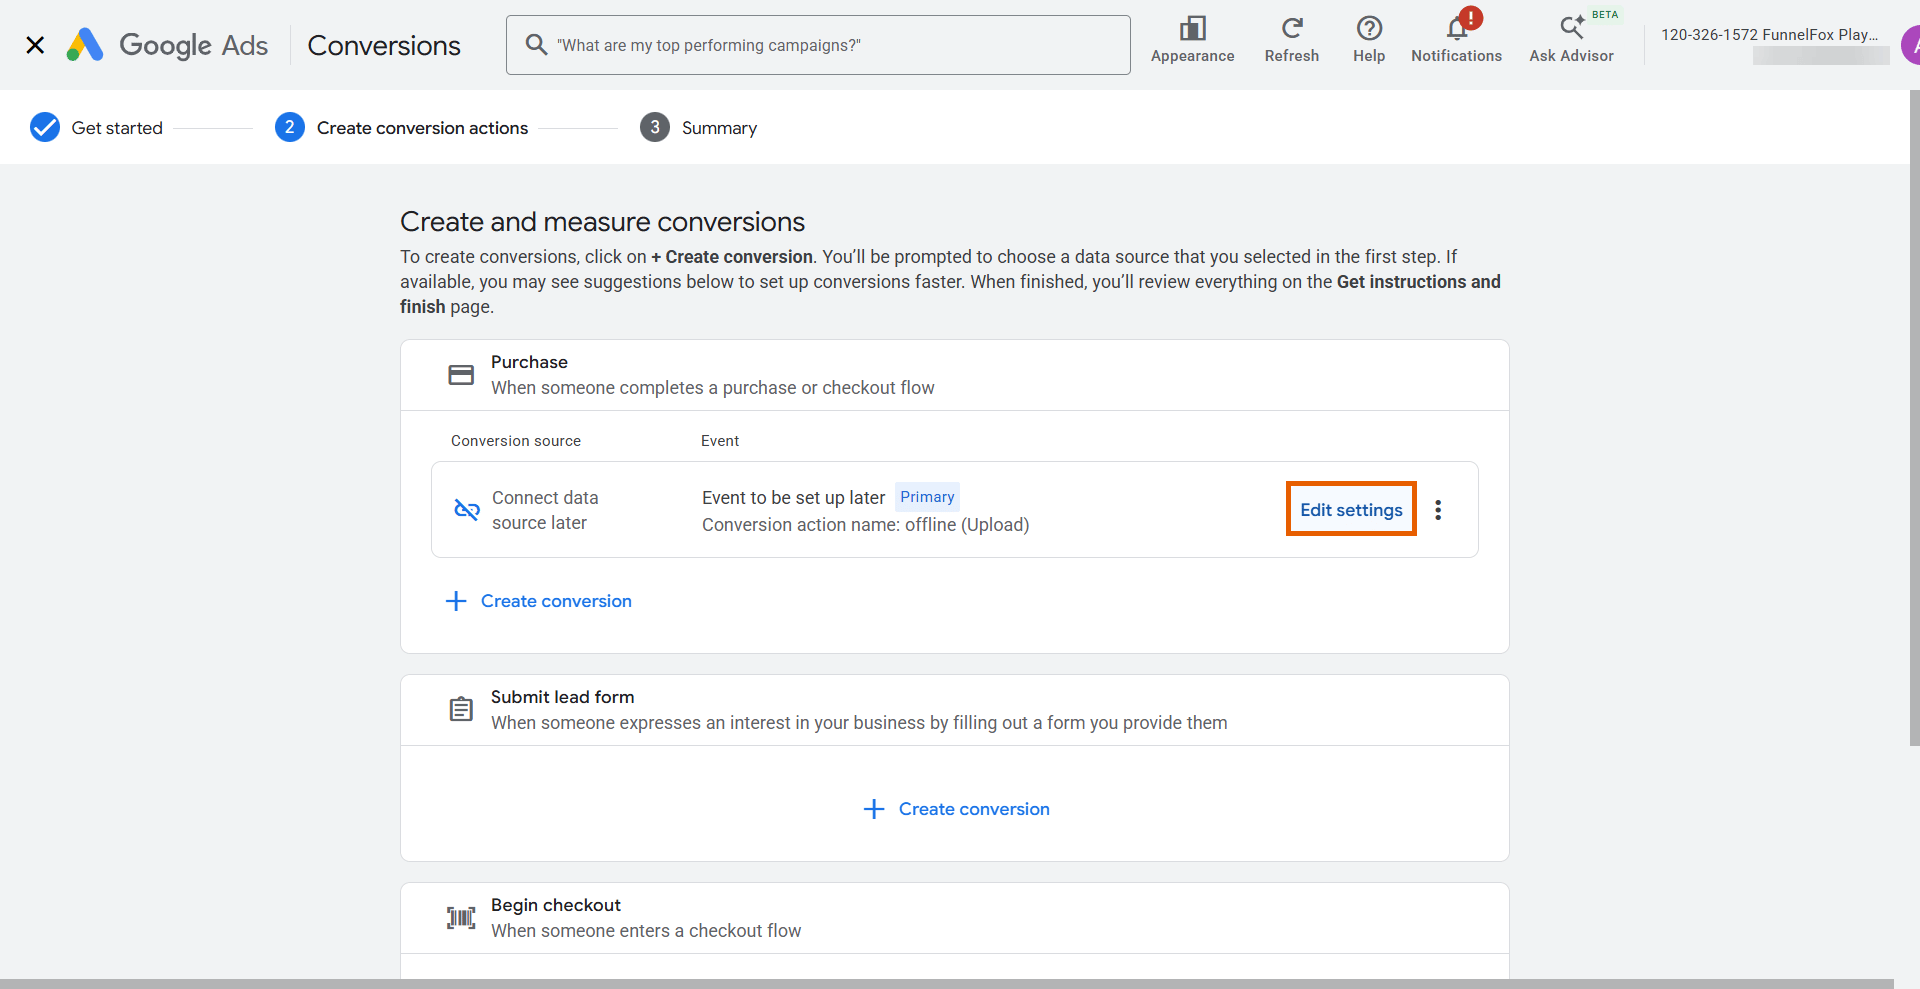
- Apply the settings from the table below, and click Done.
Leave every other setting at its default.
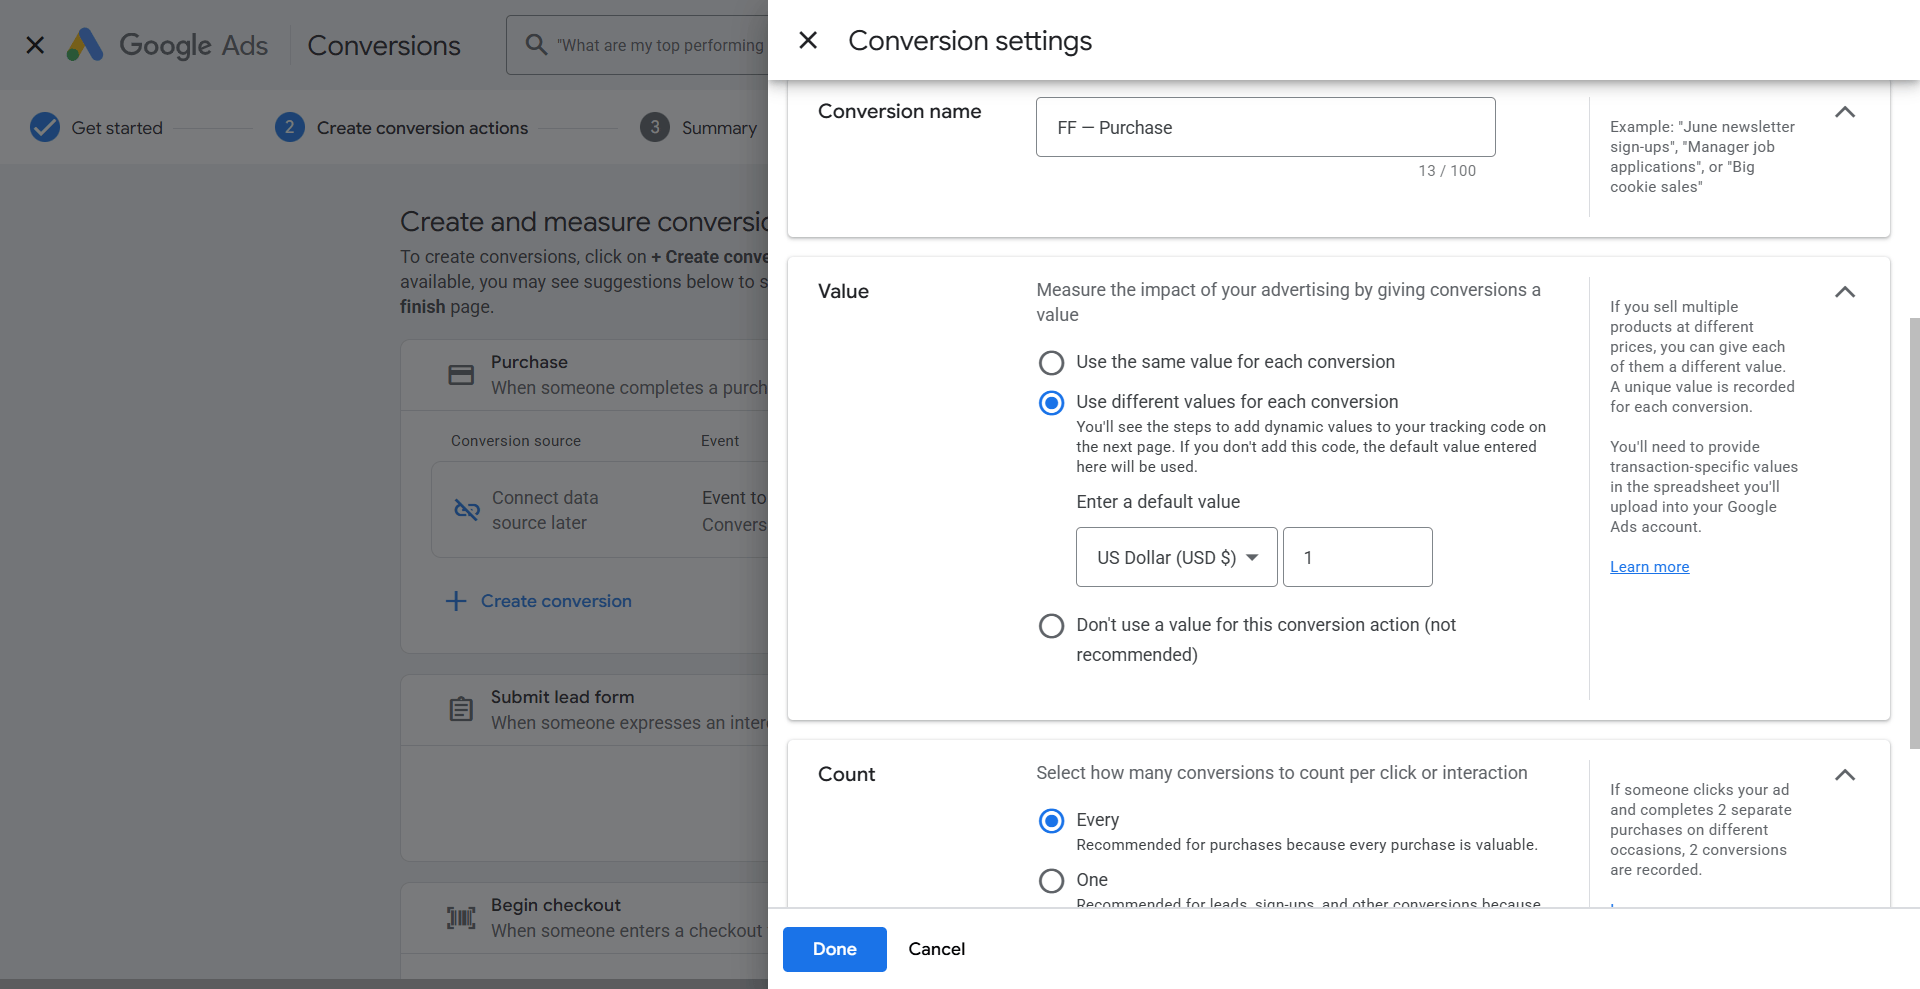
- Click Add another category, click See all, select Submit lead form, and repeat steps 5-7.
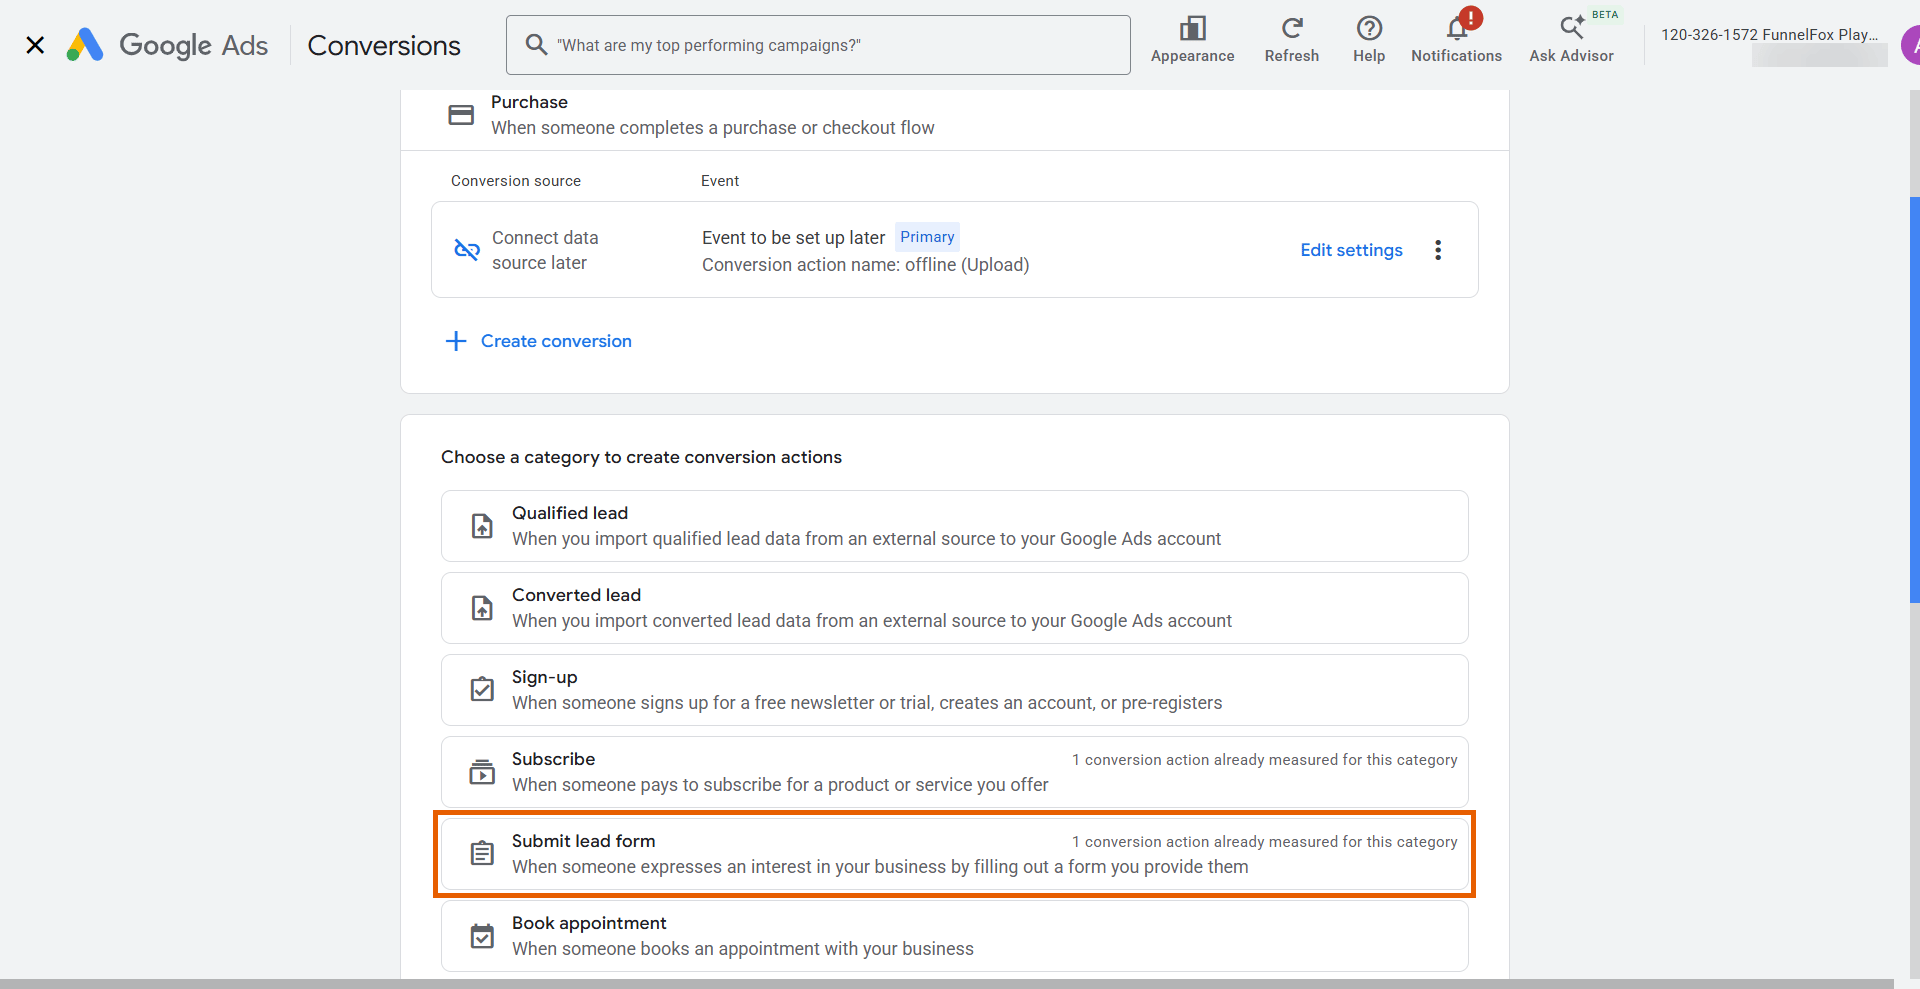
- Click Add another category, click See all, select Begin checkout, and repeat steps 5-7.
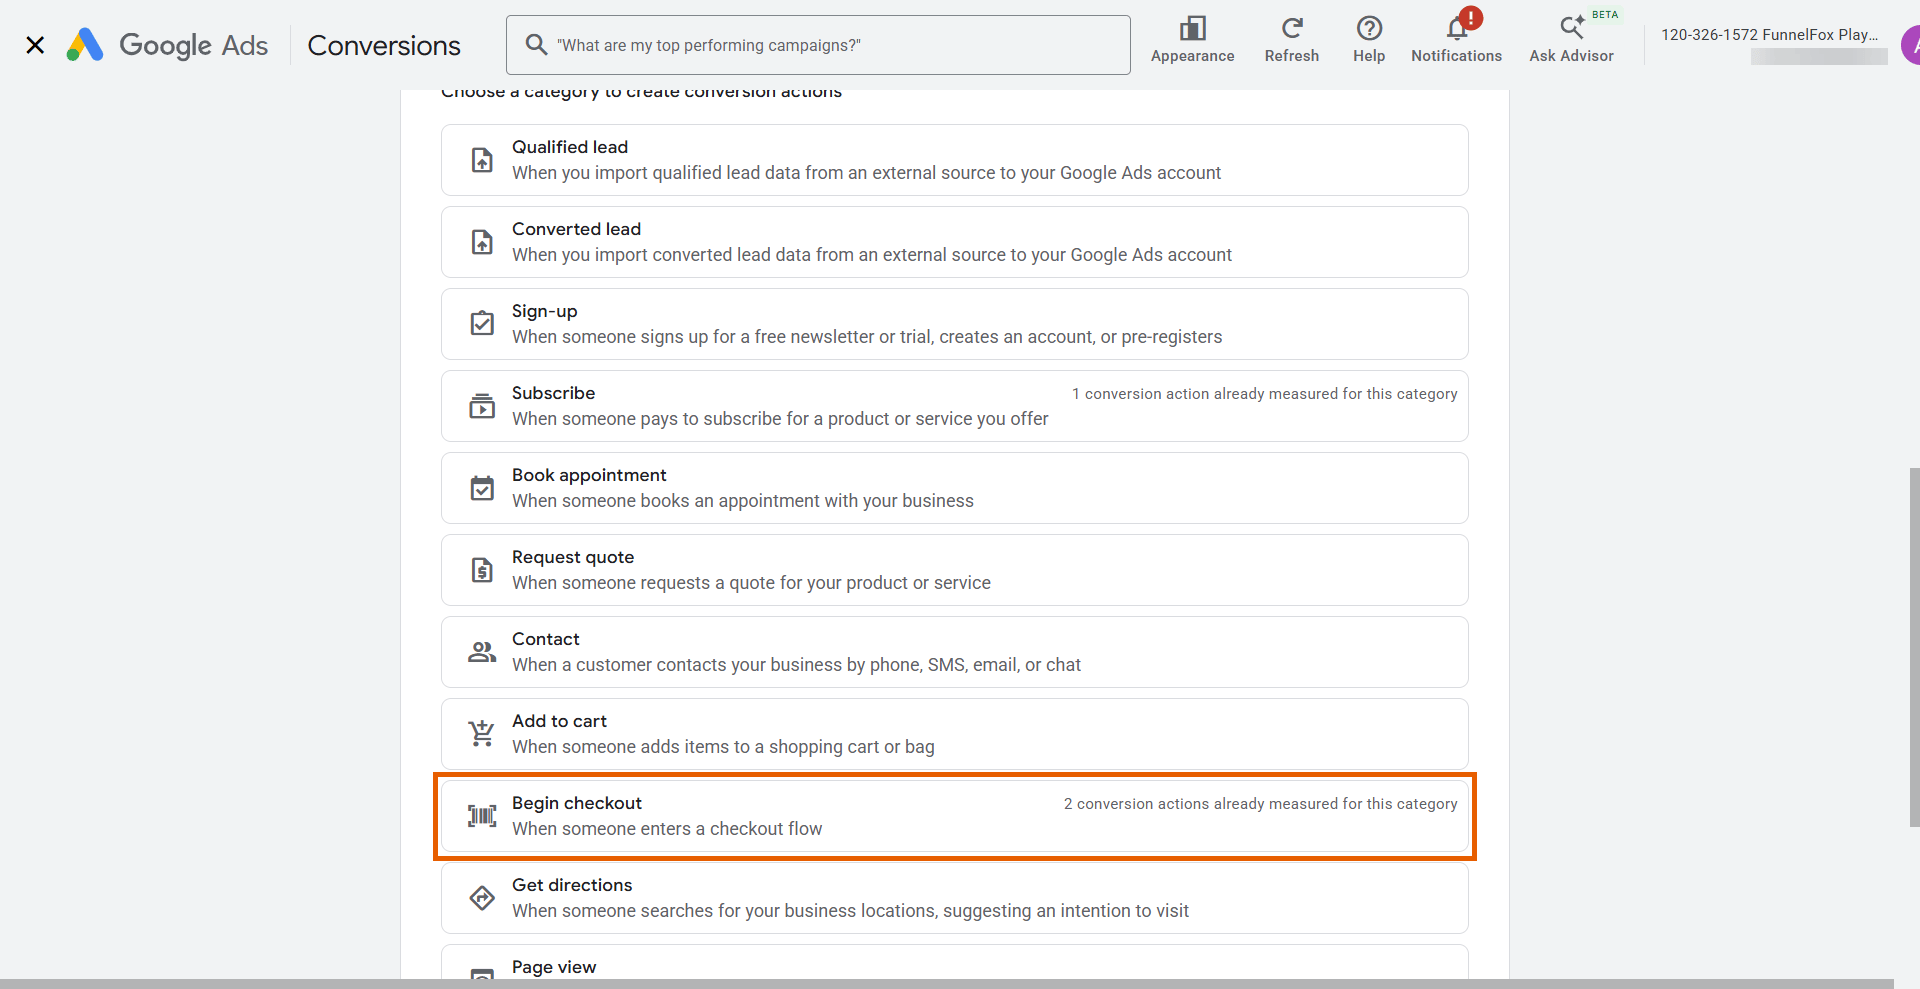
- Click Save and continue, then click Finish.
Conversion actions become fully active in Google Ads within about 4-6 hours.
Connect FunnelFox right away — conversions start counting once the actions are
active.
4. Connect Google Ads to FunnelFox
Keep the Google Ads dashboard open in one tab and open FunnelFox in another.- Go to Integrations > Google Ads in FunnelFox.
- Click Connect Google Ads and sign in with your Google account.
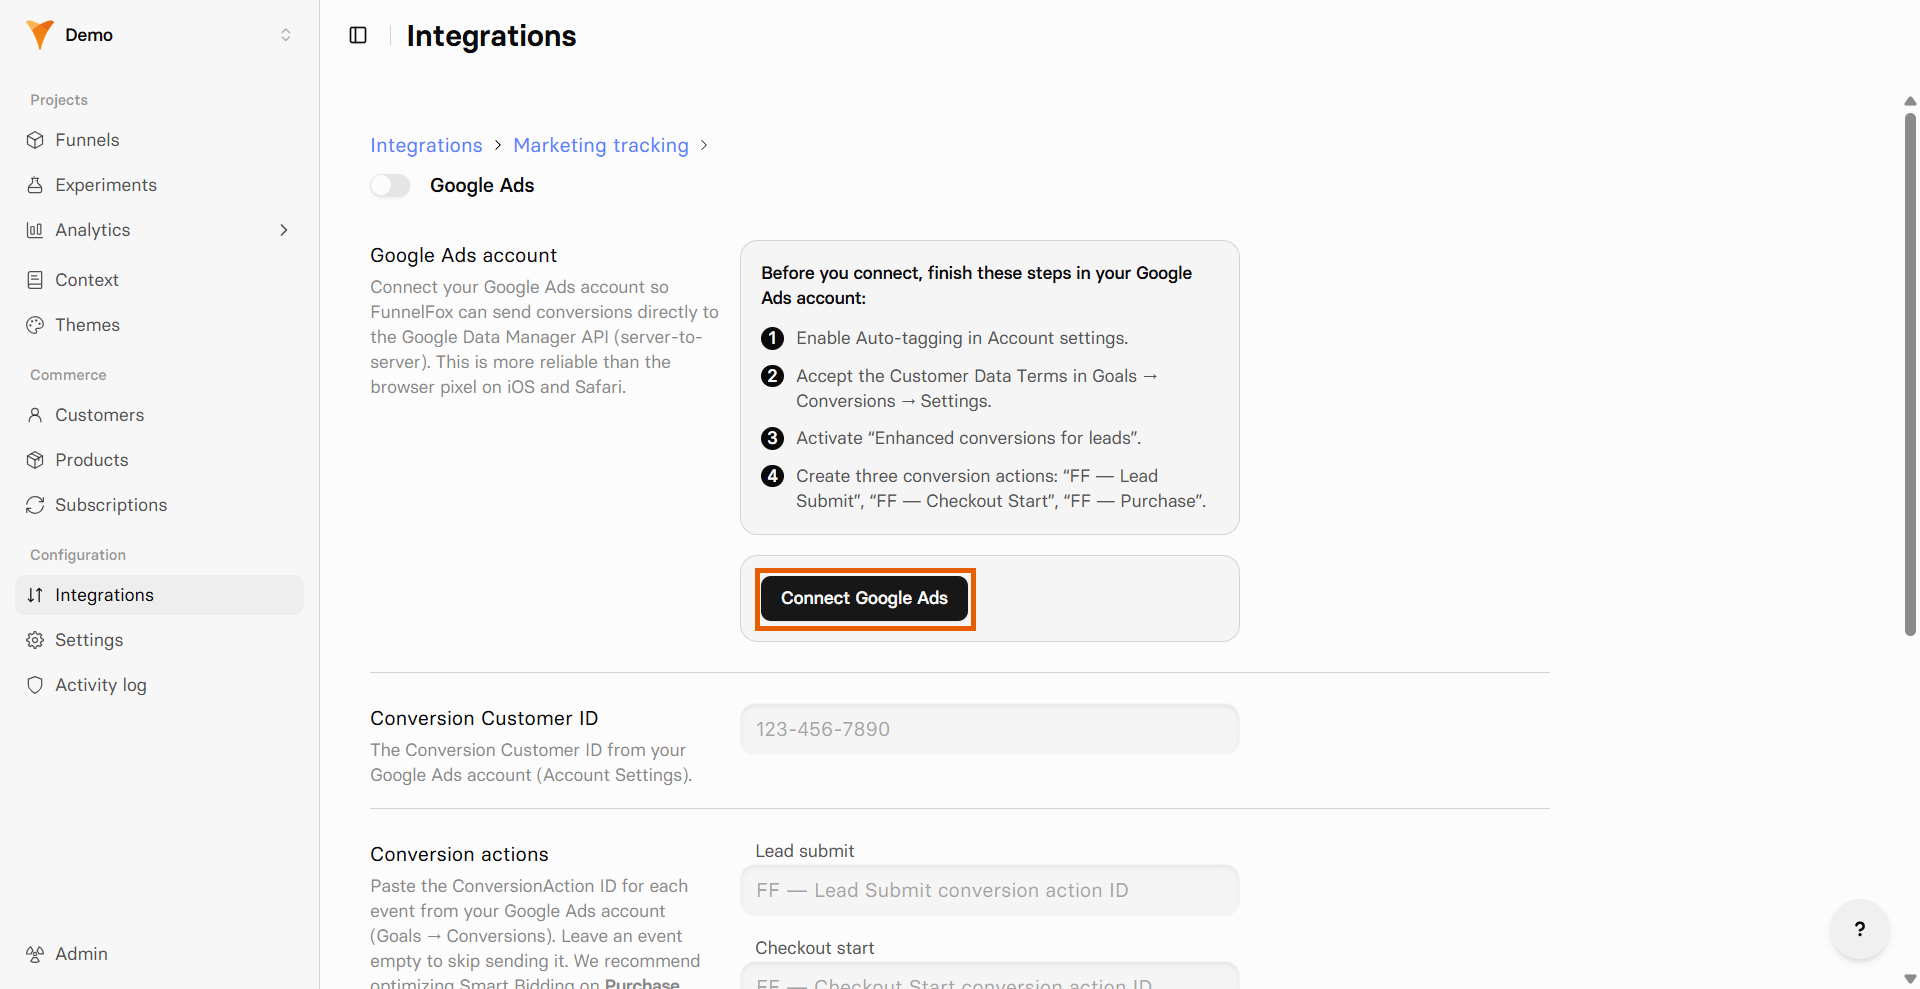
- Click Allow to grant the required access.
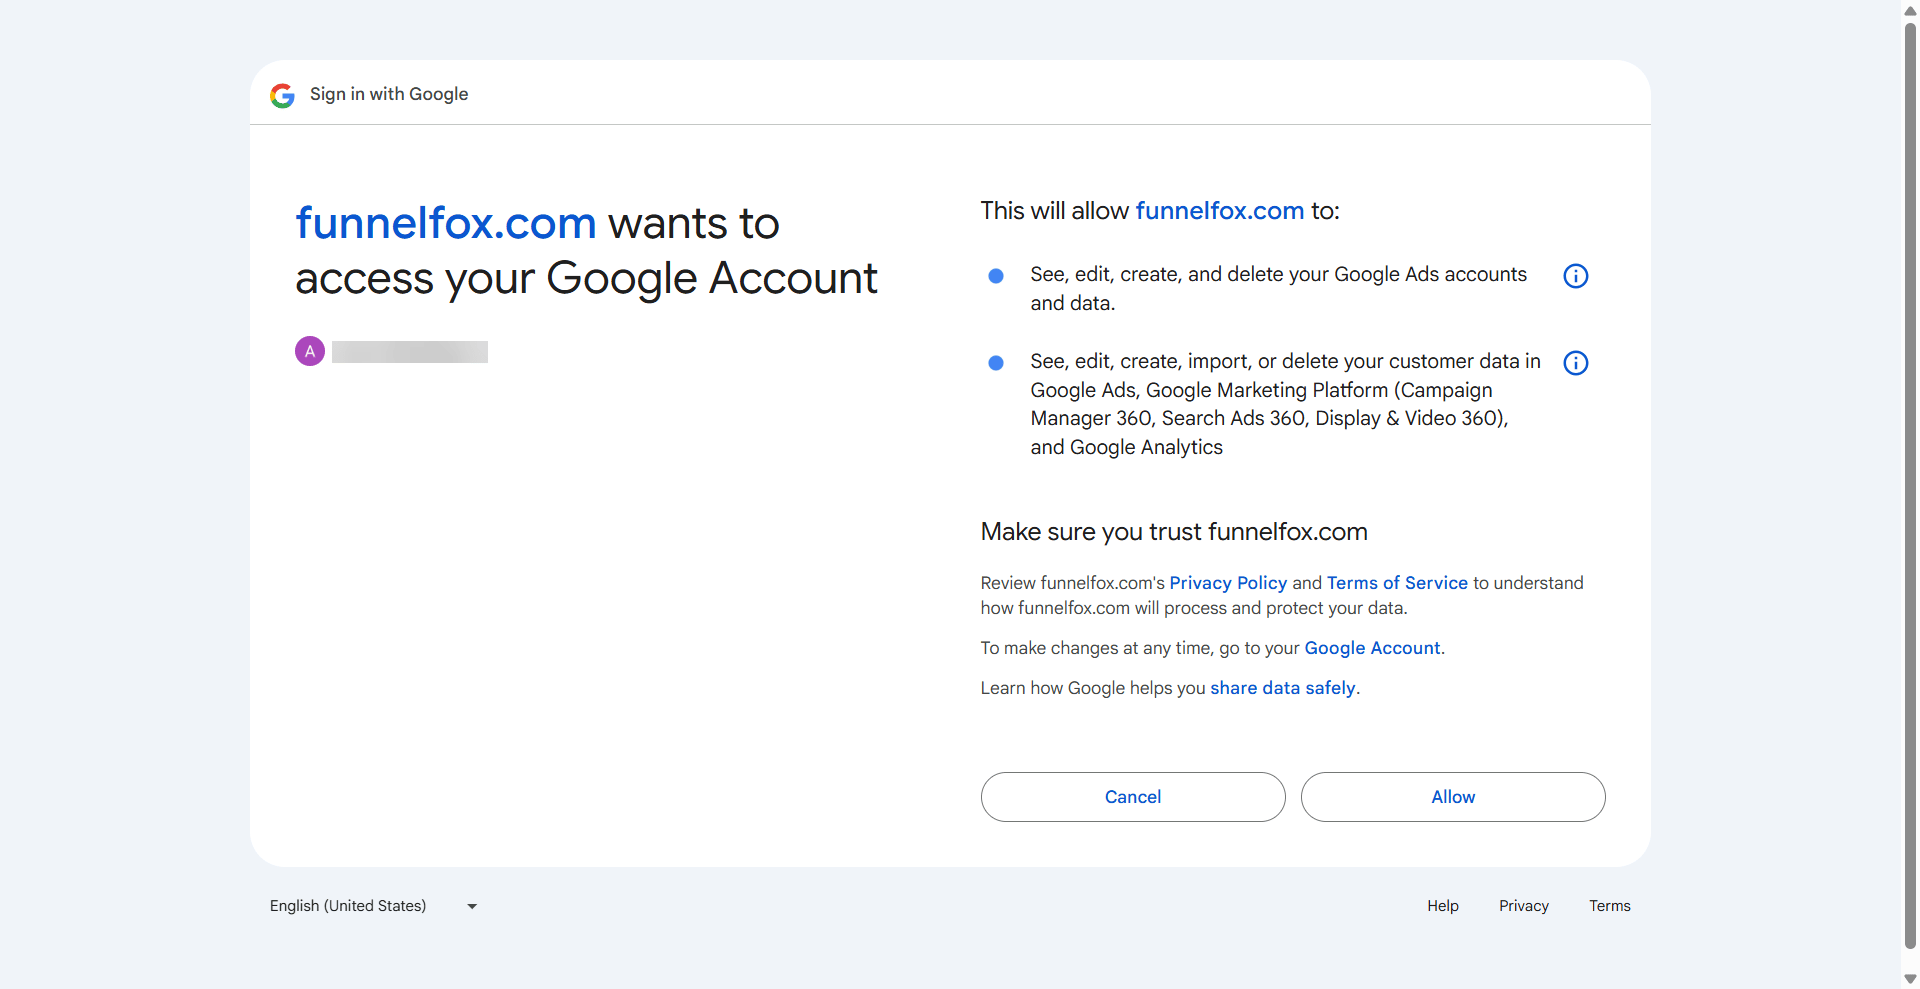
- In Google Ads, copy the customer ID from the top right. It looks like
123-456-7890.
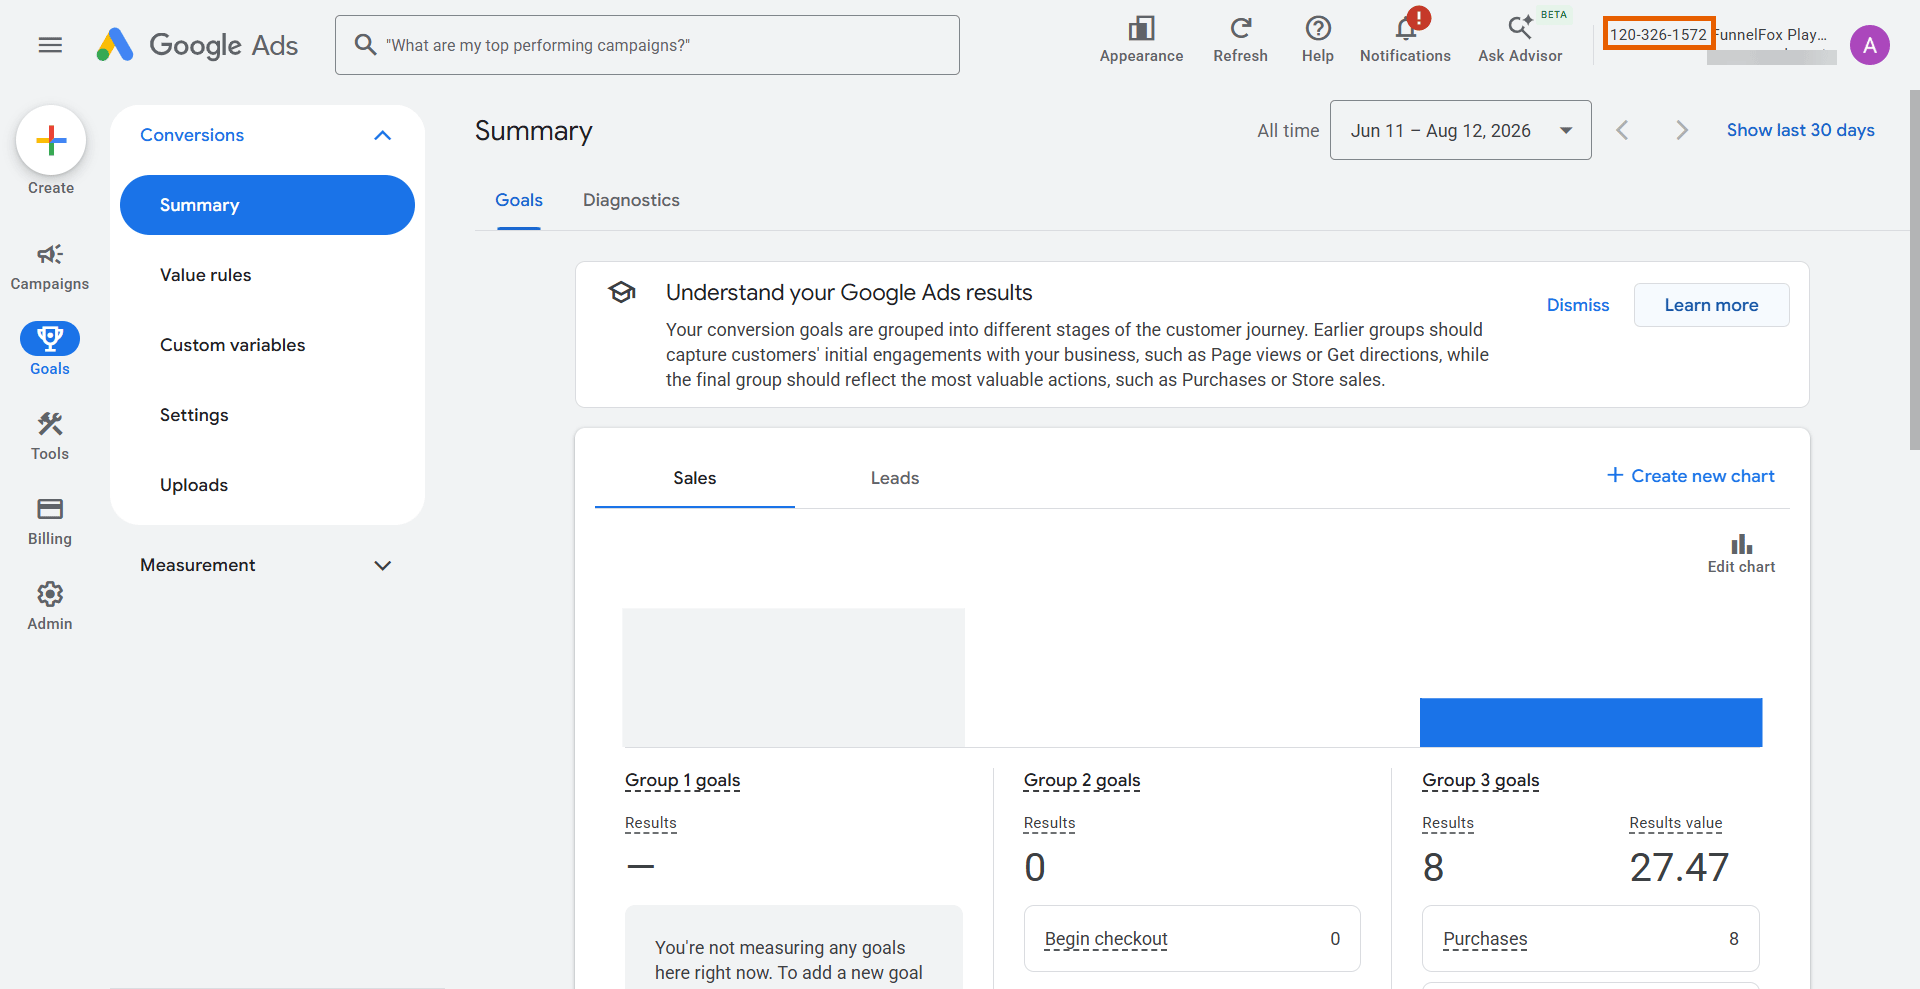
- Back in FunnelFox, paste it into Conversion Customer ID.
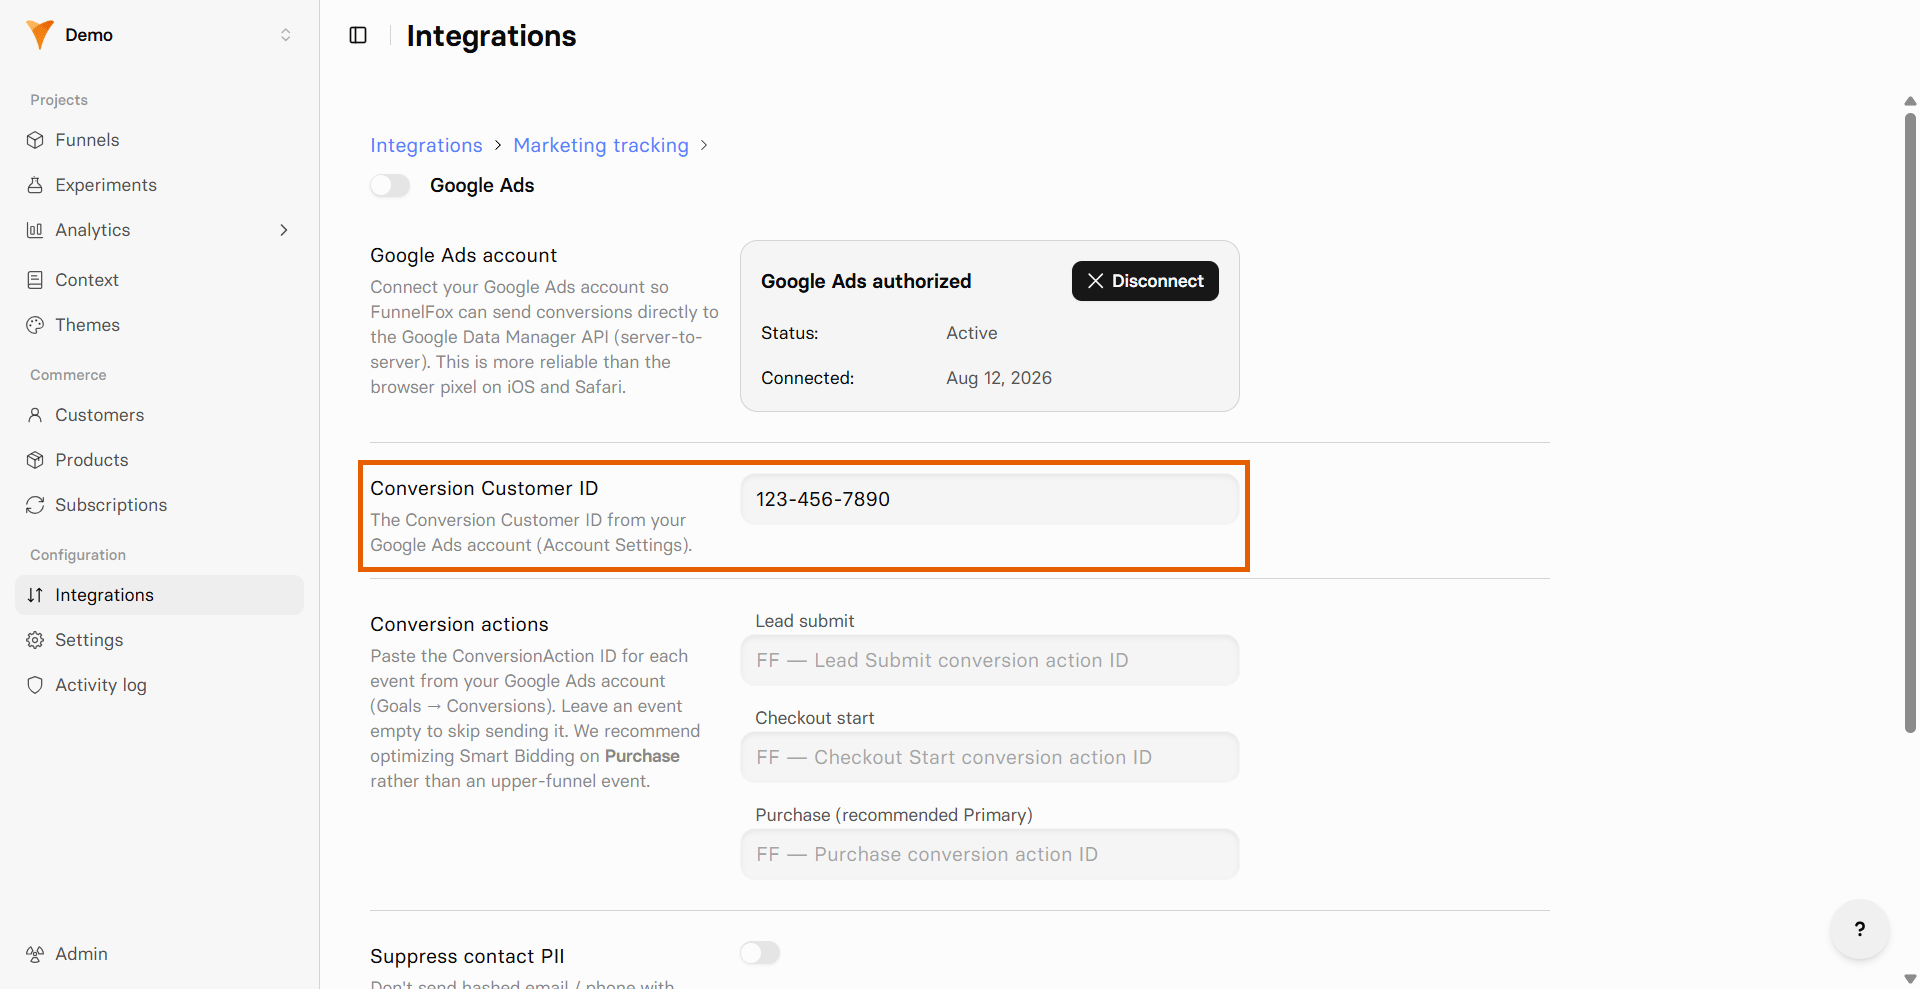
5. Add conversion action IDs
Each conversion action has a numeric ID that tells FunnelFox where to send the conversion. Copy it from your browser address bar in Google Ads. Repeat these steps for each of the three actions (FF — Purchase, FF — Lead Submit, FF — Checkout Start):
- In Google Ads, expand the conversion action category on the Goals > Conversions > Summary page.
-
Click the
FF —action you created.
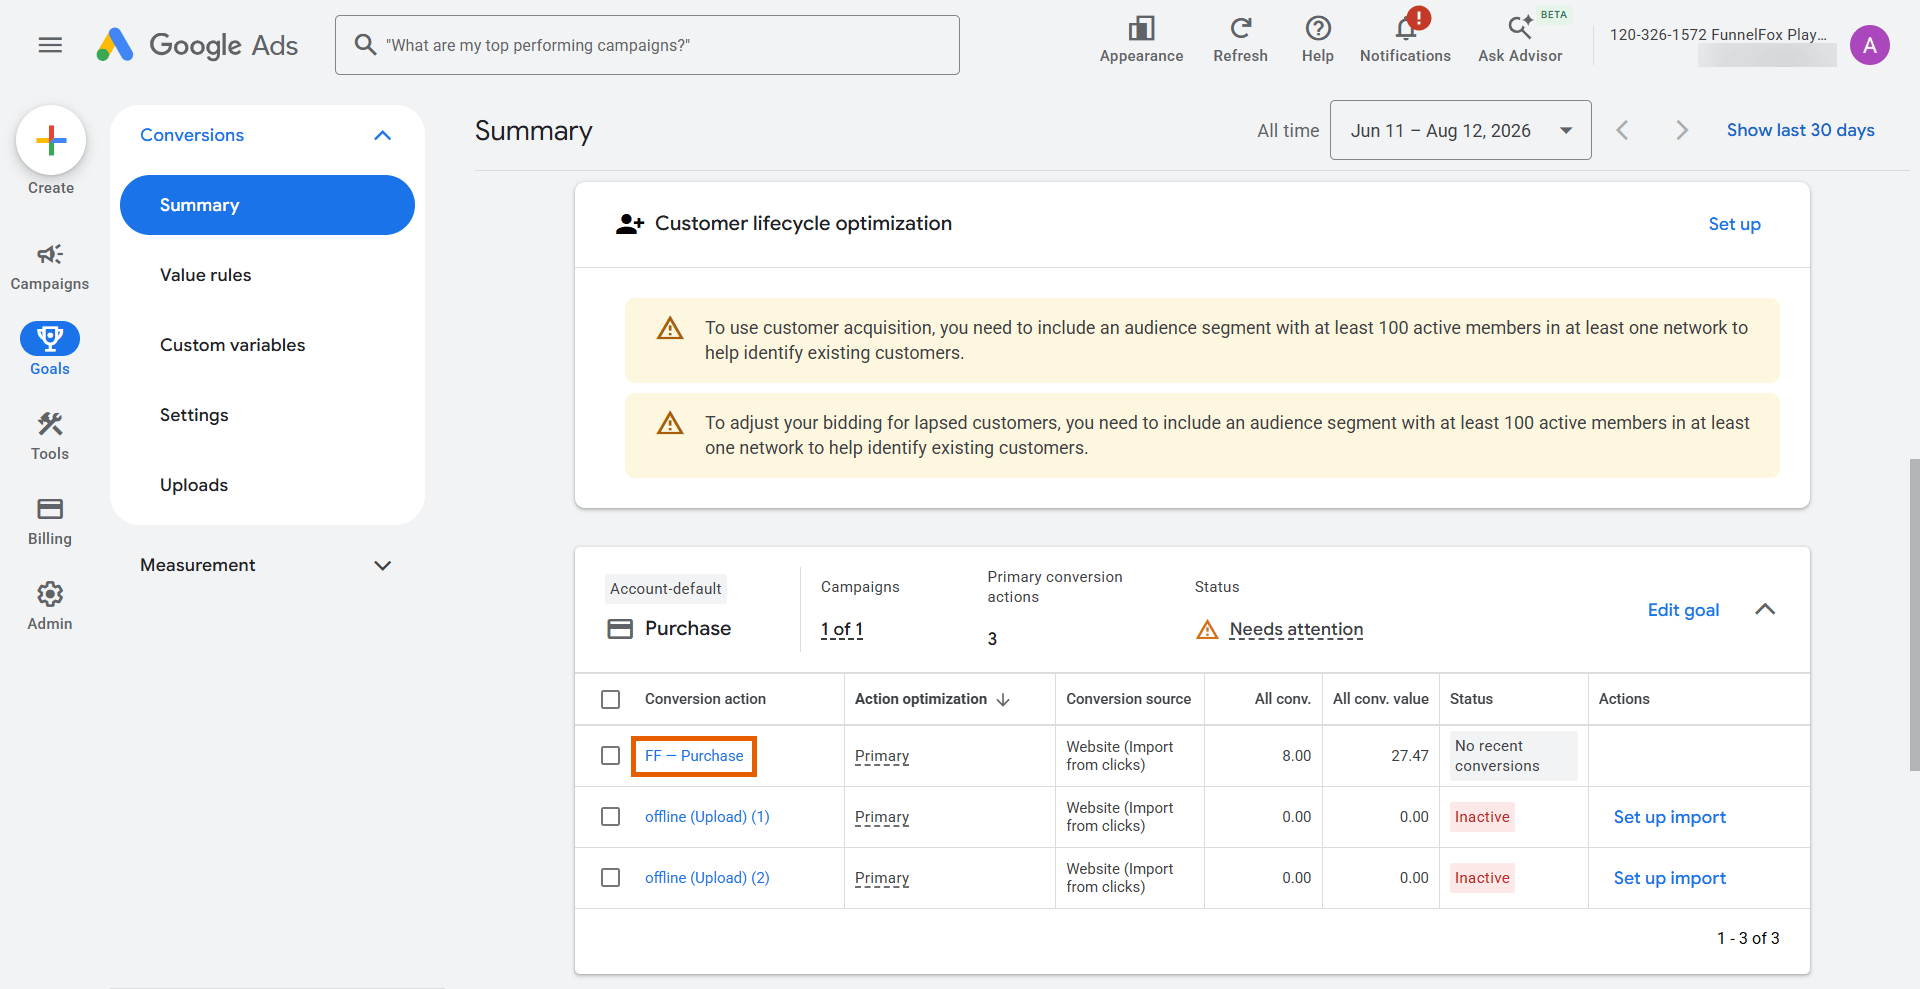
- Find
ctID=in the browser address bar and copy the digits after it, for example0123456789. You need only the numeral part.

- In FunnelFox, paste the value into the matching field under Conversion actions.
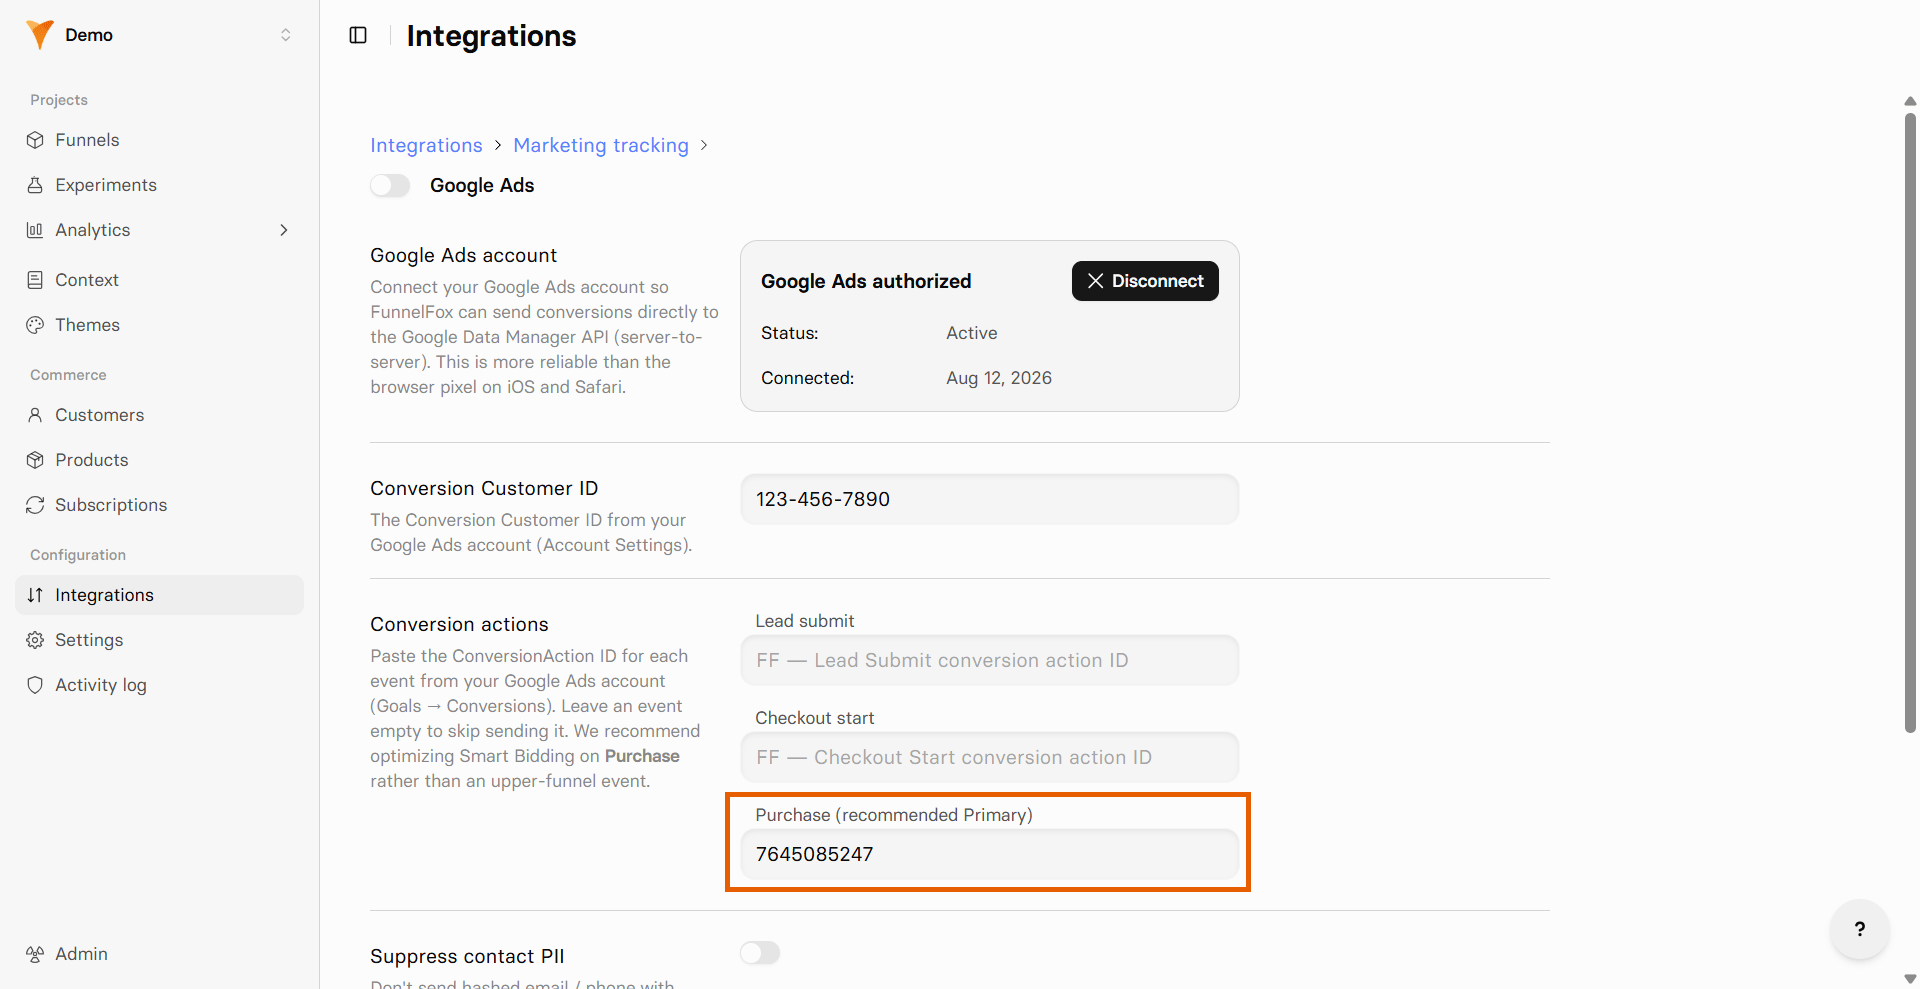
- Click Save changes.
Google Ads is connected. FunnelFox starts uploading conversions from
your published funnels.
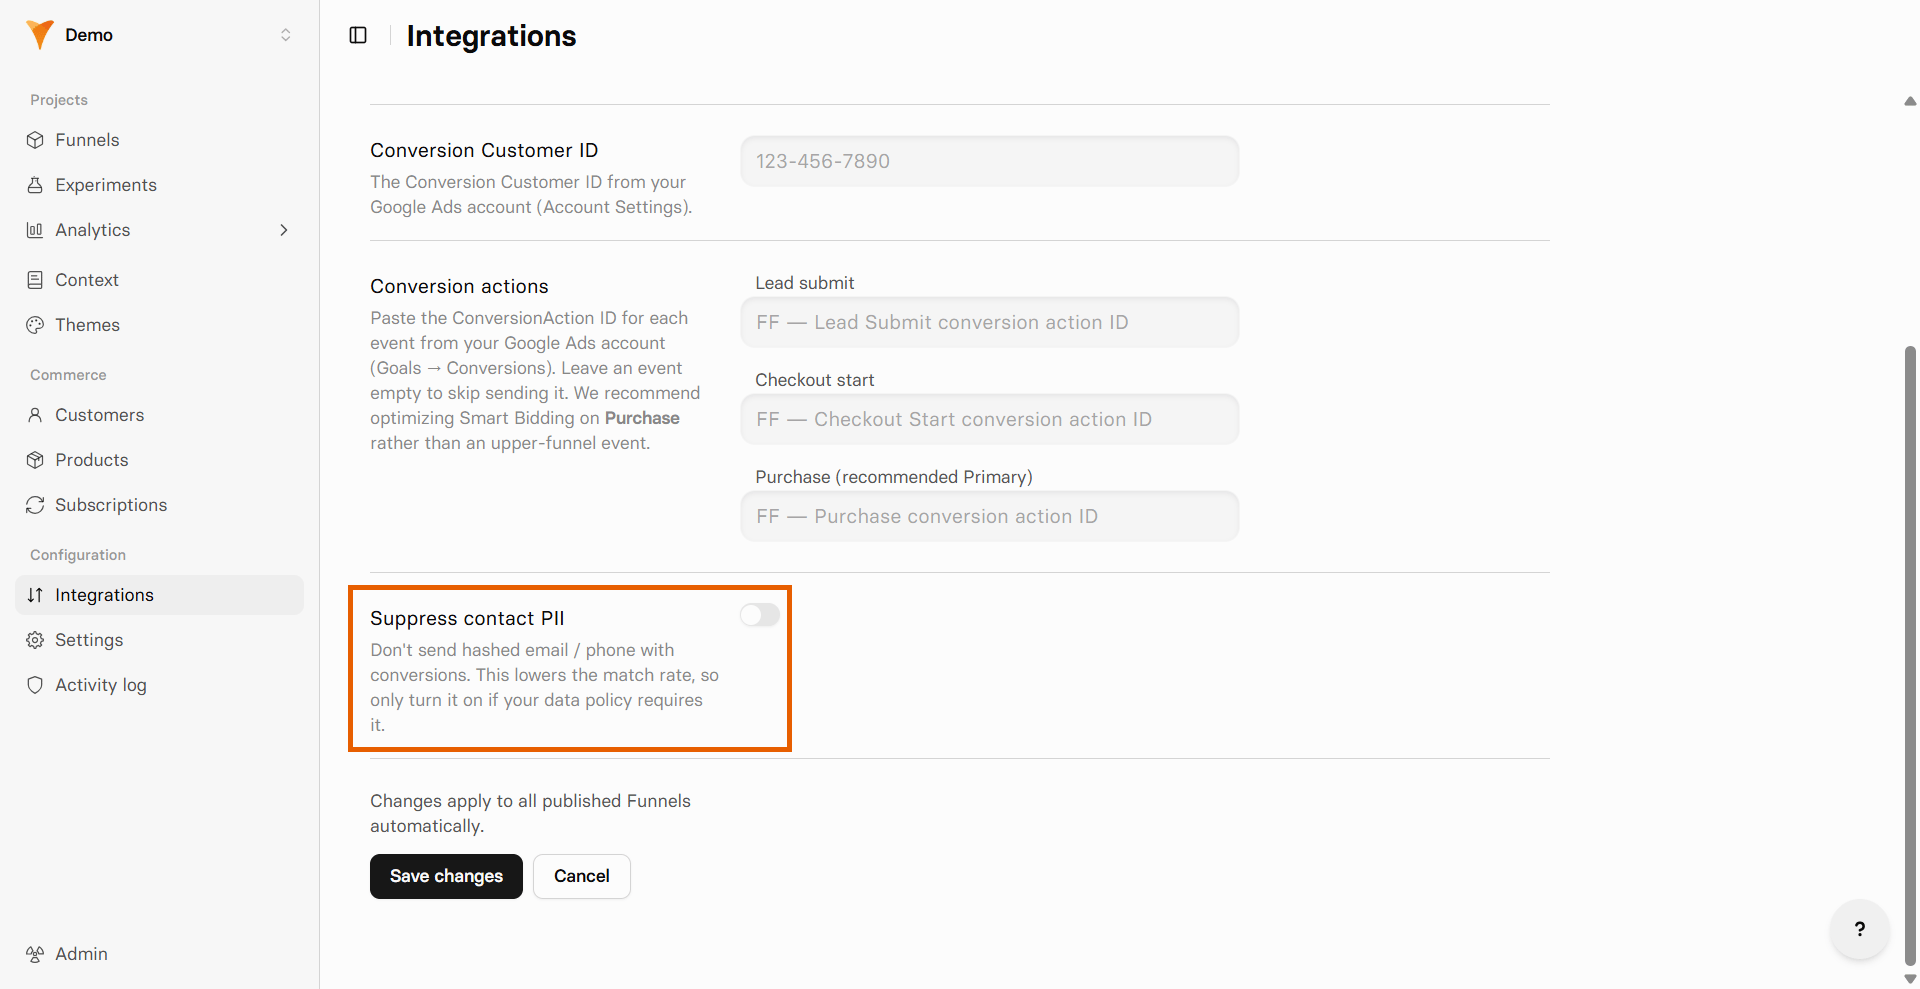
User identification
Google matches each conversion to an ad click using the identifiers FunnelFox attaches to it. A conversion with none is not uploaded, so at least one is required. FunnelFox sends every identifier it has:- Google click ID: The
gclid,wbraid, orgbraidvalue from the landing page URL. Auto-tagging is what puts it there. - Hashed email: A SHA-256 hash of the email address on the visitor’s profile.
- Hashed phone: A SHA-256 hash of the phone number on the visitor’s
profile, only when it is stored in international format with a
+and country code. Other formats are not used for matching.
Tracked events
Refunds and chargebacks are not adjusted in Google Ads. A refunded purchase
stays counted as a conversion.