Before you begin
Contact your Customer Success Manager to enable FunnelFox Billing for your project before you start.Set up FunnelFox Billing
- Integrated with FunnelFox
- Integrated with Web SDK
This setup works with funnels built with FunnelFox.
1
Integrate FunnelFox Billing with FunnelFox
Follow the integration guide to connect FunnelFox Billing as your unified billing layer for funnels built in FunnelFox.
View integration guide for FunnelFox Billing with FunnelFox
2
Create products and prices in FunnelFox
Define products and pricing in the Product catalog of your FunnelFox dashboard. Products and pricing remain consistent across all connected payment providers.
Create and manage products
3
Select FunnelFox Billing as PSP in Checkout
Add Checkout elements to your funnel and configure FunnelFox Billing as the payment provider.
Create Checkout element
4
Configure subscription products in Checkout
Choose which product(s) customers can purchase in that funnel step and configure subscription options.
Configure Checkout element
5
Manage and orchestrate payments in FunnelFox Billing
FunnelFox Billing routes payments across providers and protects your revenue with retry logic and payment cascading.
Manage payments
6
Manage subscriptions
View and manage the subscription lifecycle—including trials, upgrades, downgrades, pauses, and cancellations—from a unified subscription system.
Manage subscriptions
Your FunnelFox Billing dashboard
The FunnelFox Billing dashboard (Support Tool) is your team’s control center for managing billing, customers, and configuration.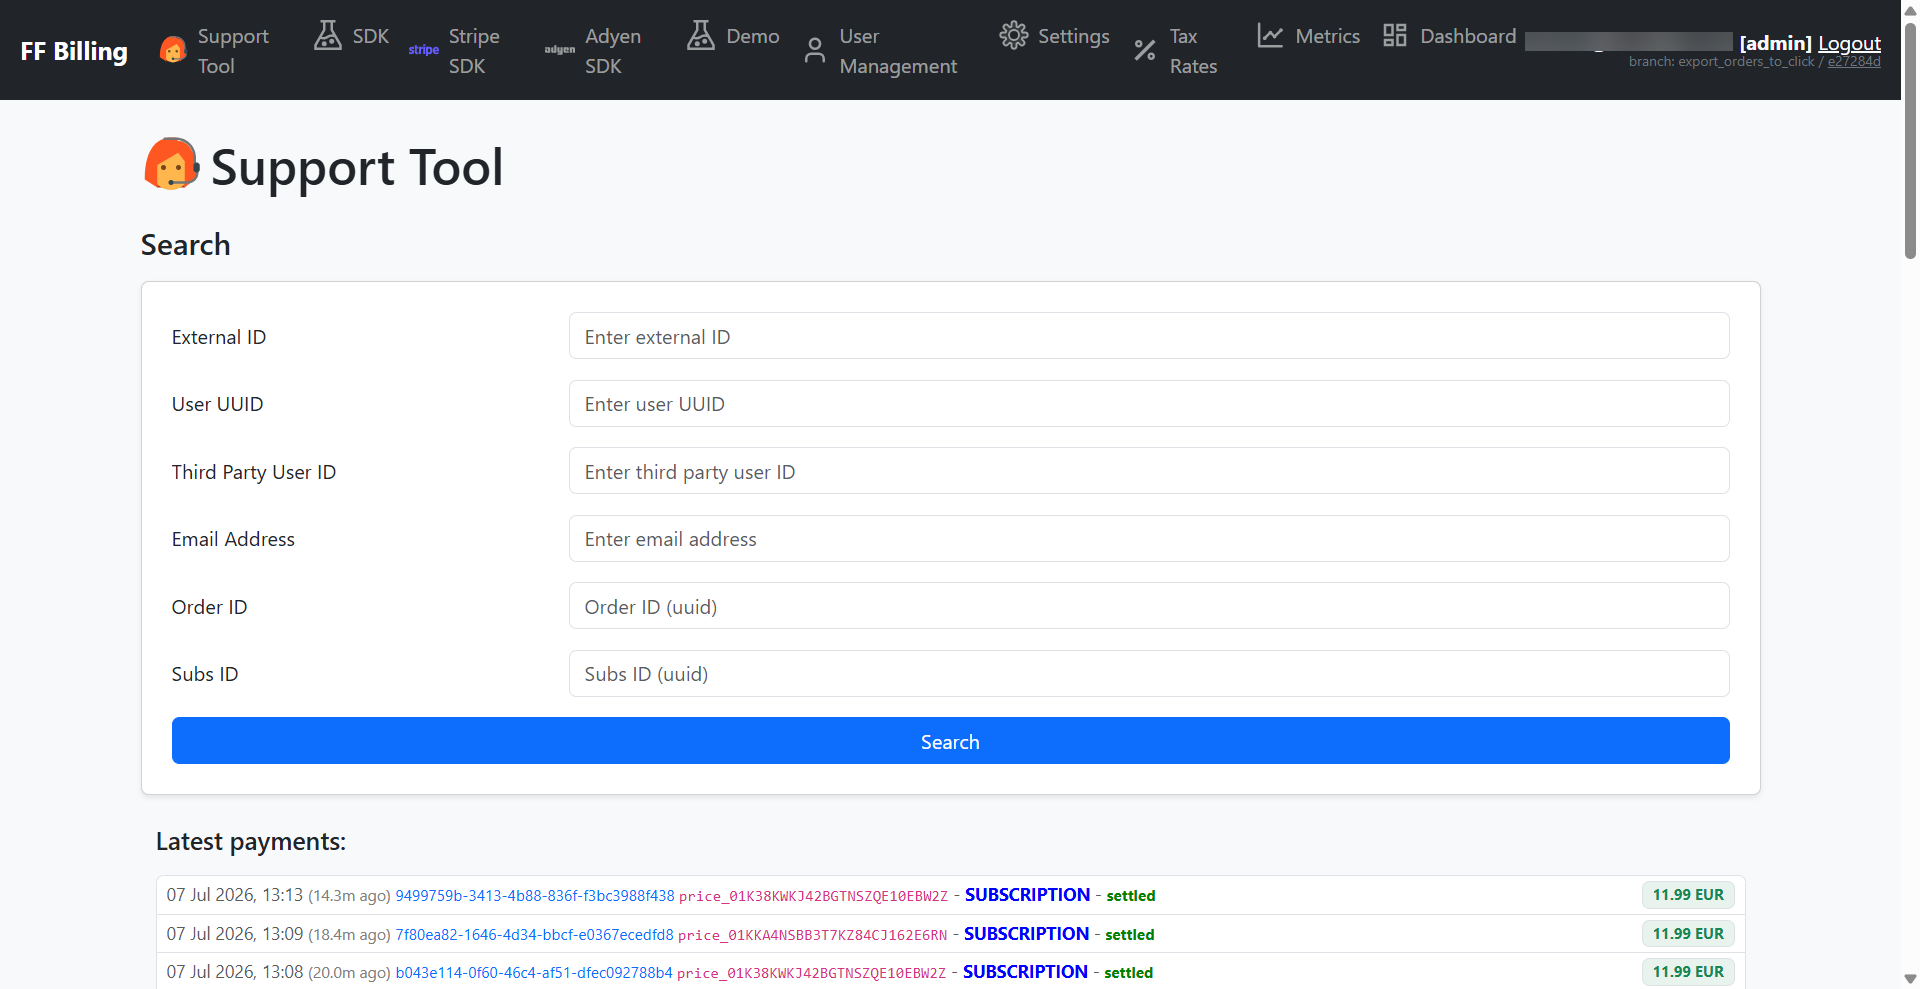
1
Open the dashboard
If you integrated FunnelFox Billing with FunnelFox, find the
dashboard link on your
Integrations > FunnelFox Billing
page.If you integrated through the Web SDK, ask your Solutions Manager
for your dashboard link.
2
Manage billing, customers, and configuration
From the dashboard you can:
- Support Tool: The console you land on after login. Search for a customer and manage their billing state, including viewing and refunding payments, managing subscriptions, reviewing disputes, inspecting delivered webhook events, and reading the audit log of every support action.
- Demo pages: A checkout playground listing your price points for test purchases.
- User management: Manage your team accounts for the dashboard itself, including creating users, setting their access level, and resetting passwords.
- Settings: Your organization configuration hub.
- Tax rates: Browse the per-country tax-rate table.
- Metrics: An operational dashboard for payment health. Monitor recent order volume, webhook delivery failures, disputes, user locks, and fraud alerts to spot incidents.
Detailed documentation on user management and settings is coming
soon!
Next steps
- Integrate FunnelFox Billing with FunnelFox
- Integrate FunnelFox Billing with your custom funnel via Web SDK