This is a paid service. Please contact your Solutions Manager to enable it.
How it works
FunnelFox Billing intercepts disputes before they become chargebacks. Compare the two scenarios below to see the difference. Without dispute alerts:1
Customer files a dispute
Customer files a transaction dispute with their bank.
2
Card network processes chargeback
Card network processes the chargeback and withdraws funds.
3
Account block risk
PSP blocks your merchant account due to frequent chargebacks.
1
Customer files a dispute
Customer files a transaction dispute with their card issuer.
2
Automatic refund
FunnelFox Billing automatically refunds the transaction before it becomes a chargeback.
3
Account stays protected
Your merchant account remains in good standing since no chargeback is recorded with the card network.
Setup
To enable dispute alerts, provide your merchant account details and connect your Stripe account. This allows FunnelFox Billing to monitor and respond to disputes automatically. Before you start, ask your Solutions Manager to enable dispute alerts, then follow the steps below.1. Provide identifiers
Collect the following details and send them to your Solutions Manager.1
Billing org ID
Your Billing org ID is part of your FF Billing dashboard URL:
https://billing.funnelfox.com/{ORG_ID}/Copy the {ORG_ID} portion from your browser’s address bar.2
Bank details (BIN/CAID)
Provide your BIN (Bank Identification Number) and CAID (Card Acceptance ID). Contact Stripe Support to get these values.
3
Billing descriptor
Your billing descriptor is the text shown on your customer’s card statement. If you use one Stripe account with multiple apps, provide a descriptor for each app.To find your billing descriptor:
- Log in to your Stripe Dashboard.
- Go to Settings in the top right corner.
- Select Business > Business details.
- Find yoour billing descriptor under the Statement descriptor.
4
Visa ARNs — optional
If you cannot find your BIN/CAID, provide Visa Acquirer Reference Numbers (ARNs) for 5 recent transactions instead.You can find ARNs in your Visa transactions where a refund has already been processed.
2. Create restricted key
- Log in to your Stripe dashboard.
- Go to Developers > API keys at the bottom left.

- Click + Create restricted key.

- Select Building your own integration and click Continue.
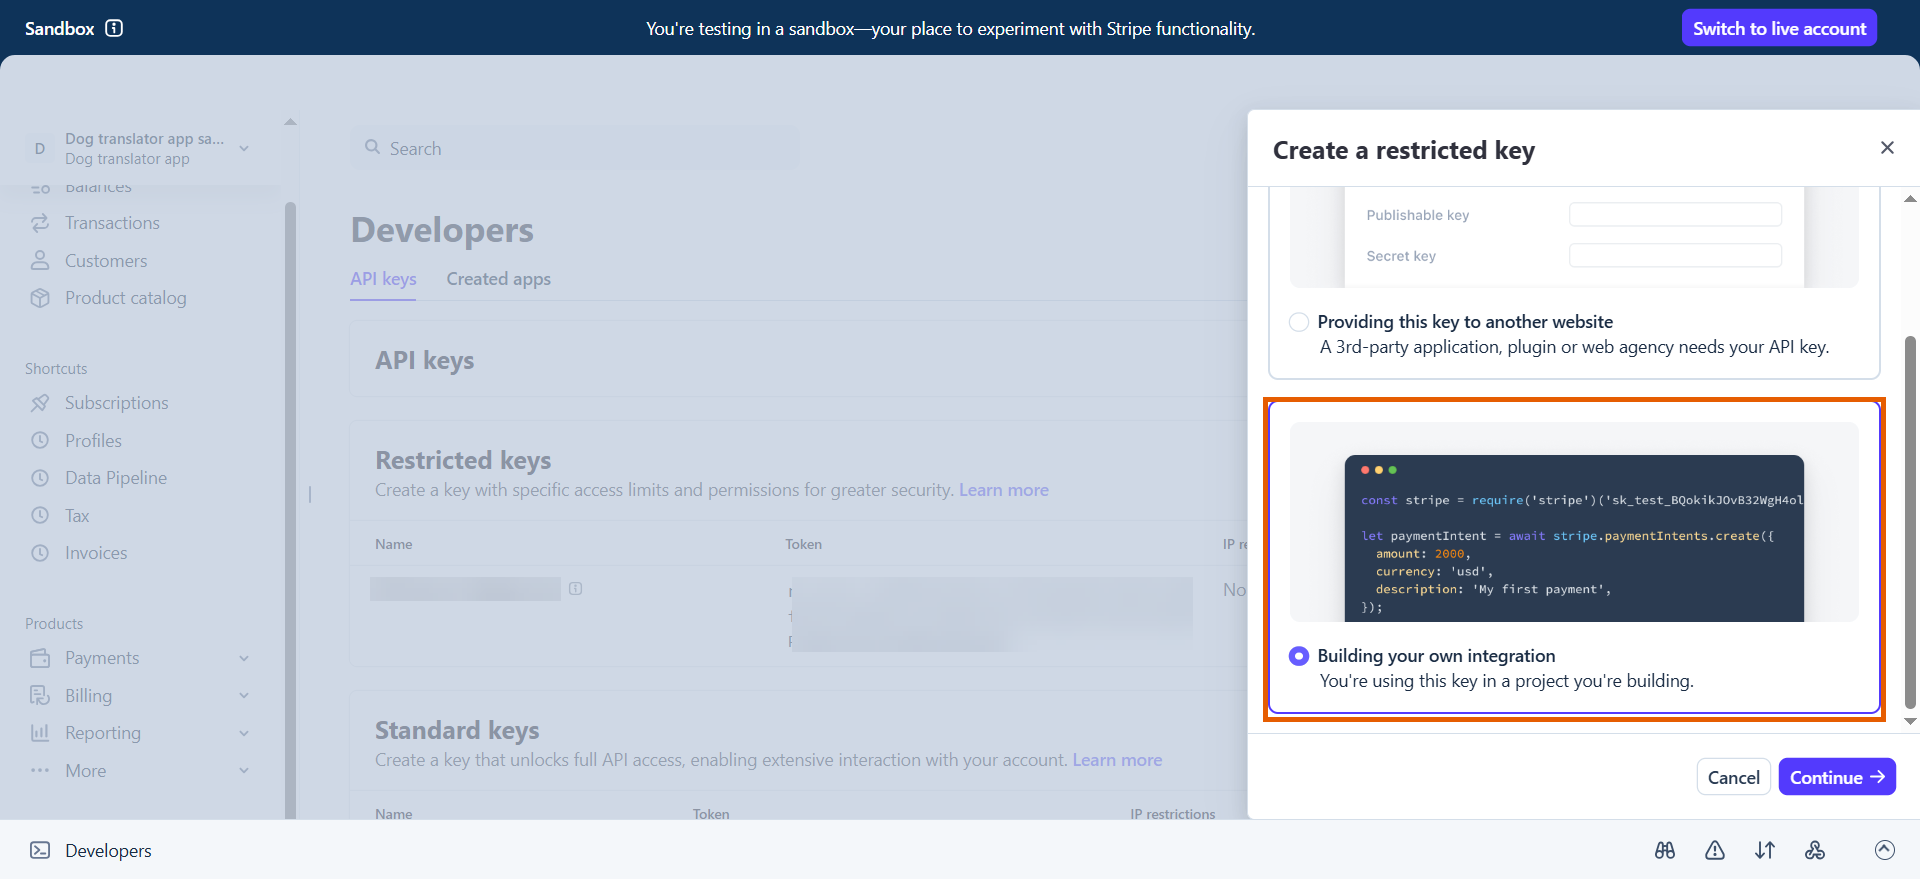
- Name your key.
- Set the following permissions:
- Charges and refunds: Write
- Invoices: Read
- Credit notes: Read
- Subscriptions: Write
- Connect category: Read
- Click Create key.
- Provide the key to your Solutions Manager.
3. Set up FunnelFox Billing webhook
Skip this step if you’ve already completed the Set up FunnelFox Billing webhook step during your FunnelFox integration or Web SDK integration setup.
- Click + Add destination on the Developers > Webhooks page in Stripe.
- Select Your account under Events from.
- Select the following events and click Continue:
- charge.refunded
- charge.succeeded
- Select Webhook endpoint under Destination type and click Continue.
-
Find your Organization ID in your FF Billing dashboard URL:
https://billing.funnelfox.com/{ORG_ID}/ -
Replace
{ORG_ID}inhttps://billing.funnelfox.com/{ORG_ID}/v1/stripe/webhook?region=defaultwith your Organization ID.
- Paste the endpoint URL into the Endpoint URL field and click Create destination.
Your setup is complete. Due to the Visa and MasterCard application review process, this integration will go live in approximately two weeks.
Migration
If you’re already using a dispute prevention tool, you can migrate to FunnelFox Billing dispute alerts without going through the full setup. Your existing tool can transfer your account details, including BIN, descriptor, and identifiers directly to Merchanto, so you don’t need to collect and provide them manually.1
Contact your existing dispute prevention provider
Send the following message to your current dispute prevention tool to initiate the transfer.
Transfer request message
Transfer request message
Hi Team,Hope all is well.We have decided to start working with a new provider. Could you please transfer our account to the new provider?Here are their details for the transfer:Ethoca - LeadProm - USD Account MM ()Verifi - Entity ID: Organization ID: Additionally, could you please provide the Ethoca and Verifi IDs of our account, so that our new provider can also open a transfer ticket on their side?Please initiate the transfer process, and our new provider will confirm the transfer from their end.Best regards,
Contact your Solutions Manager to get the FunnelFox Billing values for
{ETHOCA_ACCOUNT_NUMBER}, {VERIFI_ENTITY_ID}, and {ORGANIZATION_ID} before sending this message.2
Complete the remaining setup steps
Once the transfer is initiated, complete steps 2 and 3 from the Setup section above to create a restricted Stripe key and set up the FunnelFox Billing webhook if you haven’t already.