> ## Documentation Index
> Fetch the complete documentation index at: https://funnelfox.com/docs/llms.txt
> Use this file to discover all available pages before exploring further.
# Set up Snapchat Pixel integration
> Step-by-step guide to configure Snapchat Pixel for your funnels
The [Snapchat Pixel integration](/integrations/tracking/snapchat-pixel) sends events like `Purchase` and `Sign Up` to Snap Events Manager. Use these events to track conversions, optimize campaigns, and build audiences in Snapchat Ads.
## Set up Snapchat Pixel
Create a Pixel in Snapchat Ads Manager, configure the events you want to track, and connect it to FunnelFox.
### 1. Create Pixel
1. Go to [Snapchat Ads Manager](http://ads.snapchat.com/).
2. Select **Pixels** from the dropdown at the top left.
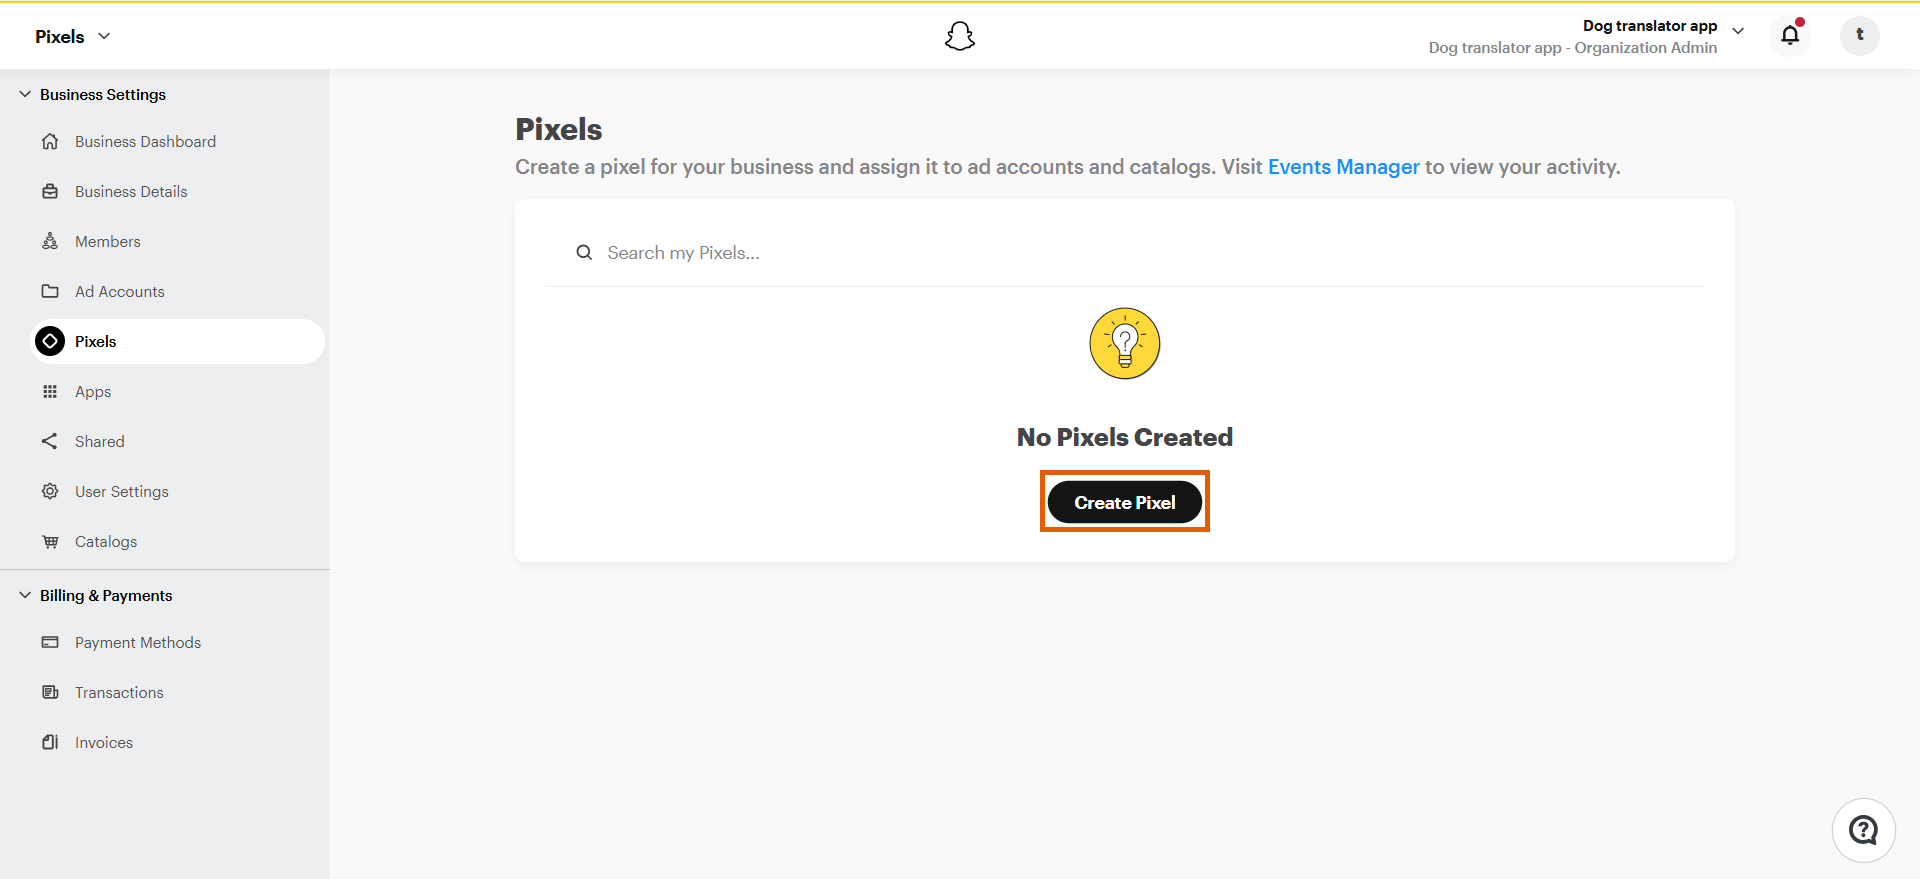
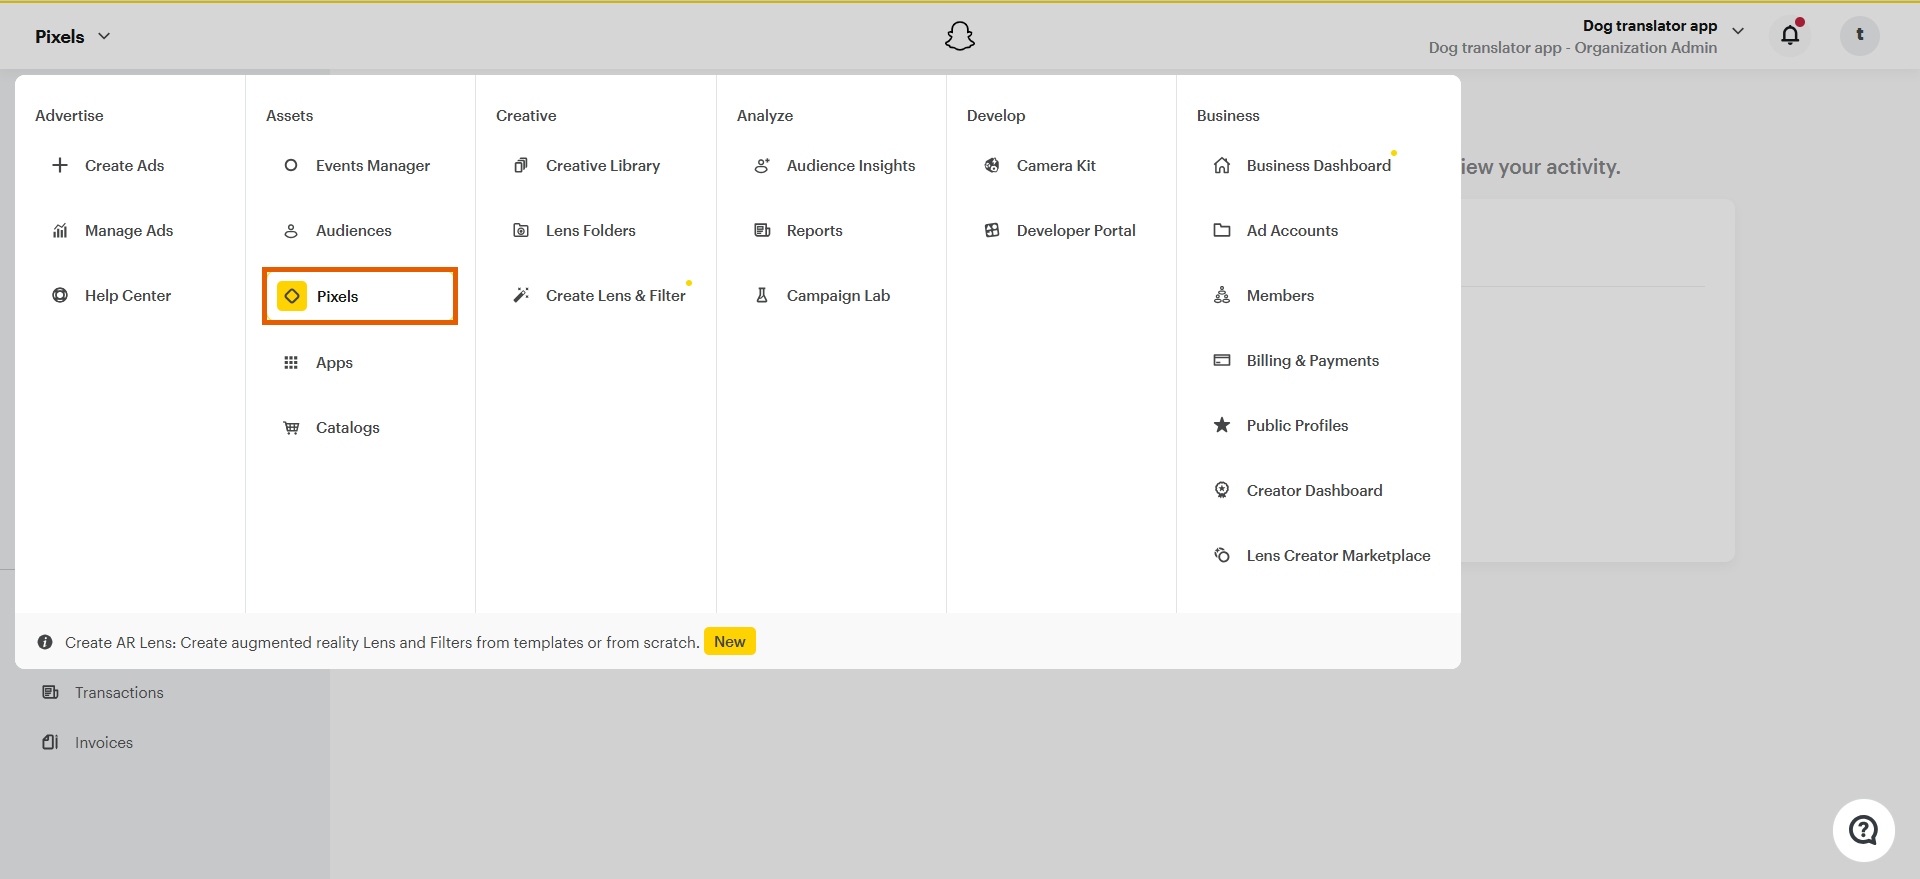 3. Click **Create Pixel**, then confirm.
 4. Paste your project domain (e.g., `https://demo-app.fnlfx.com/`) from [Settings > Domains](https://app.funnelfox.com/settings/domains) in FunnelFox.
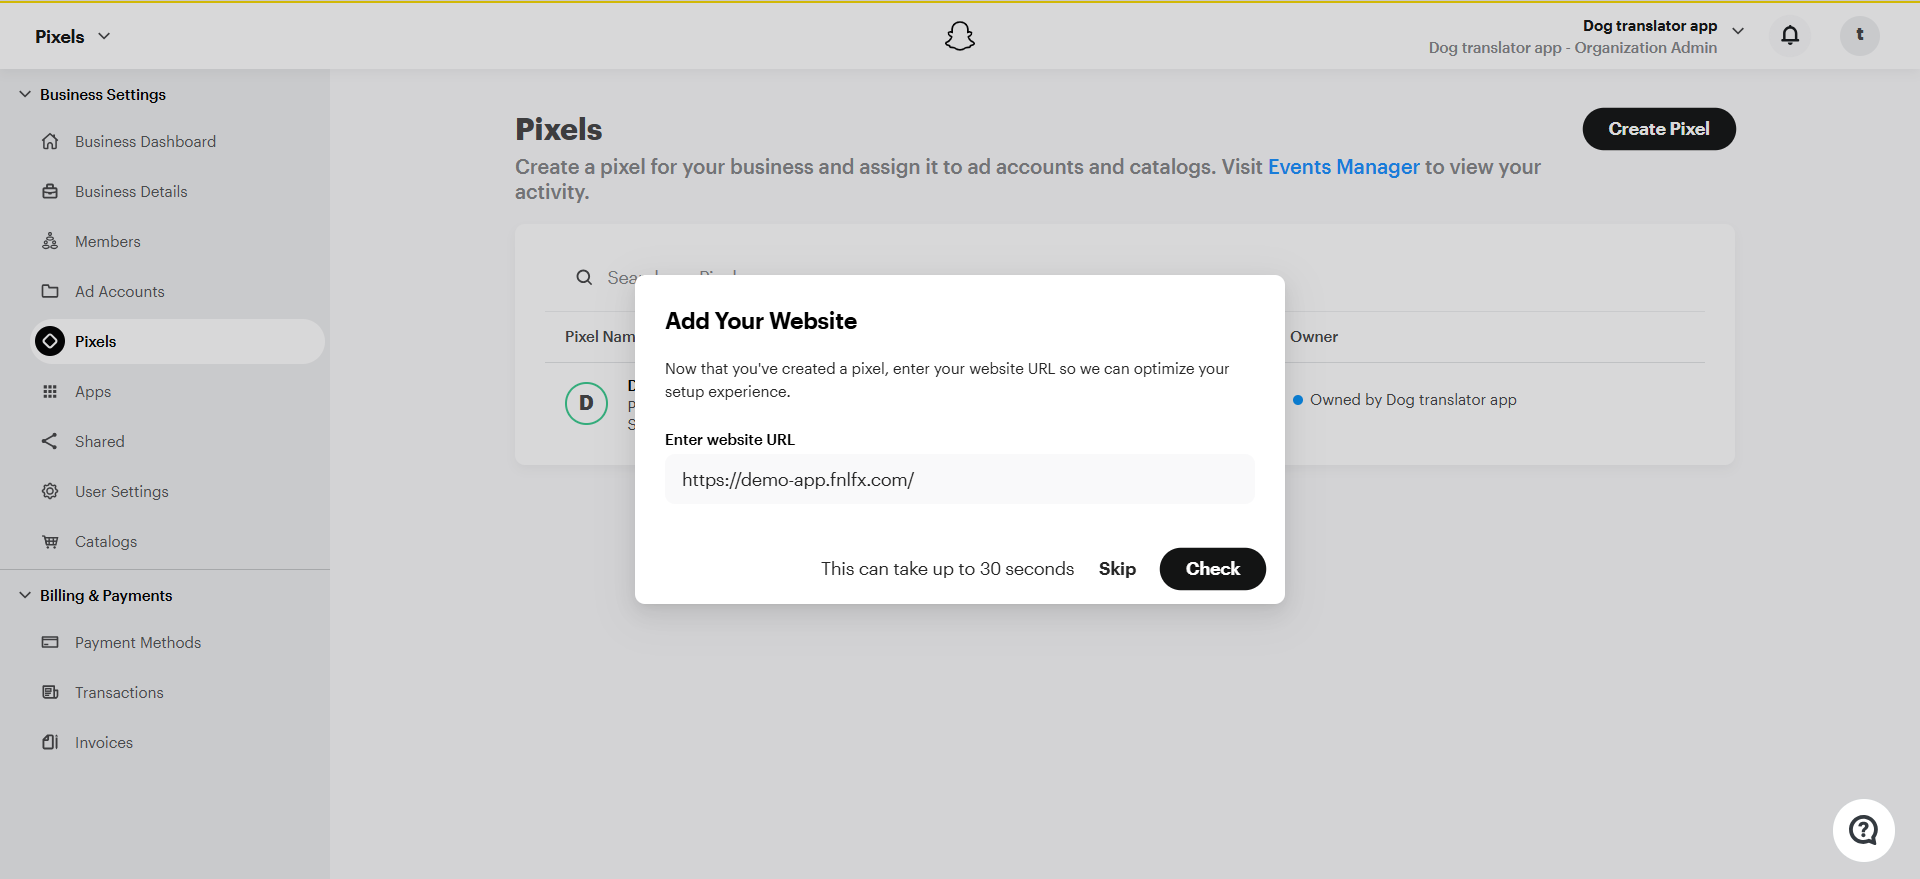 5. Click **Check**.
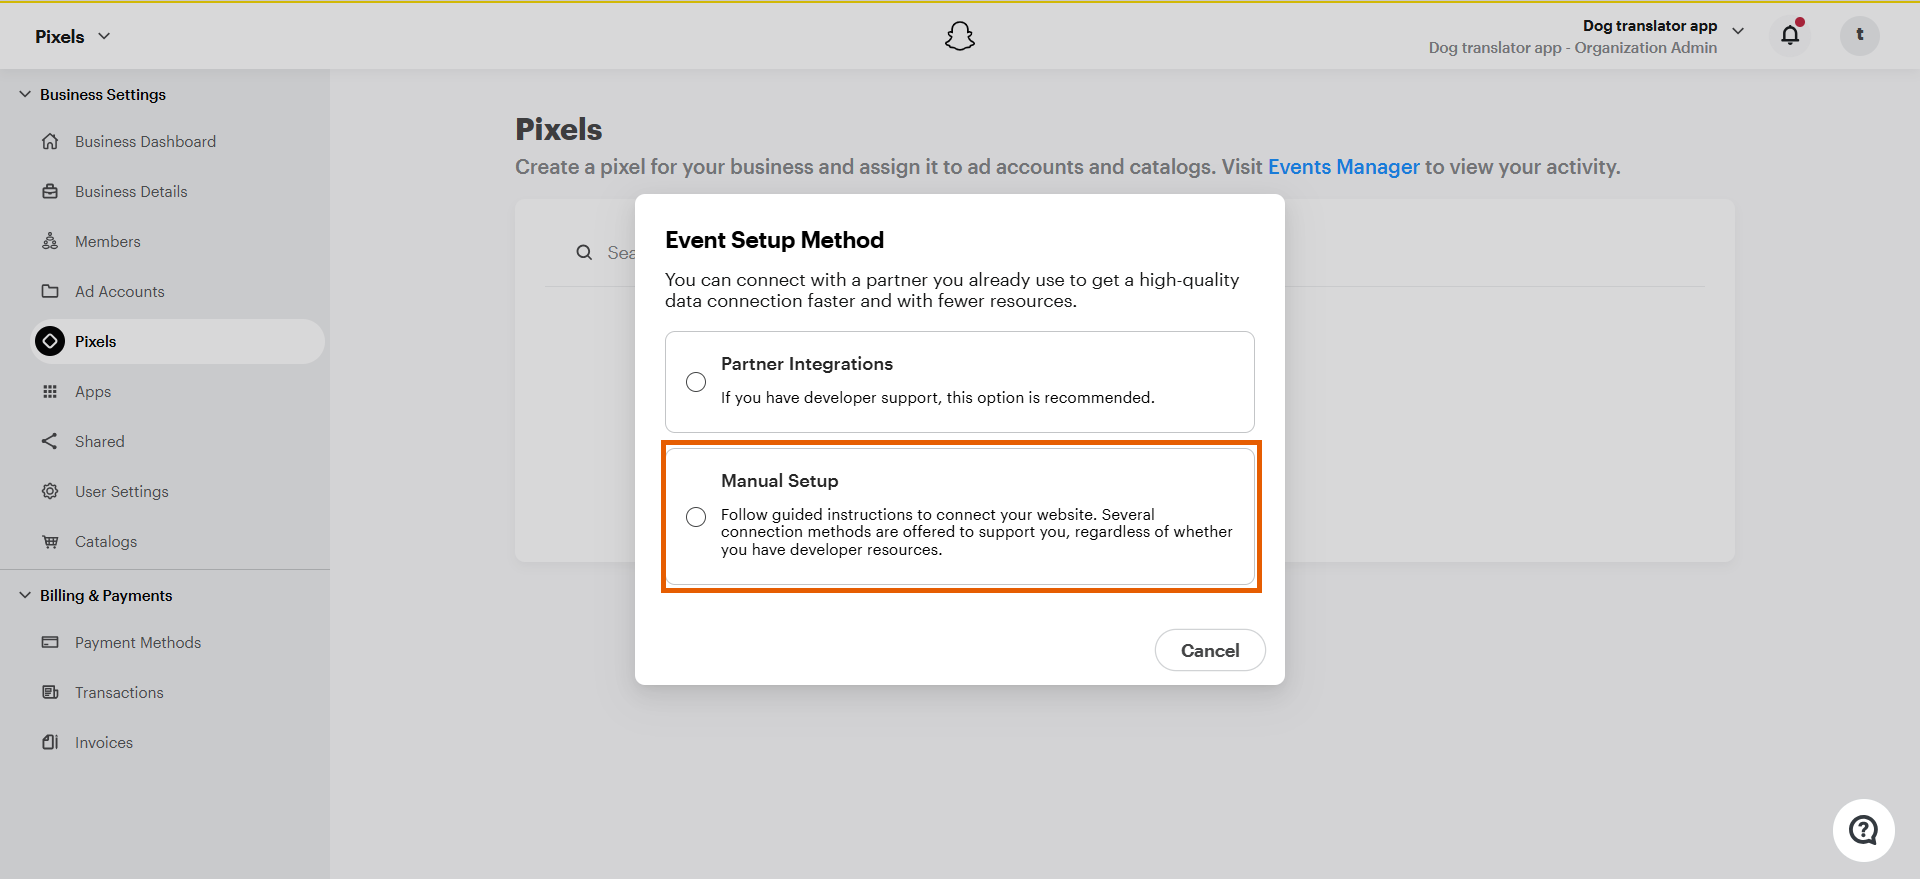
6. Select **Manual Setup**.
5. Click **Check**.
6. Select **Manual Setup**.
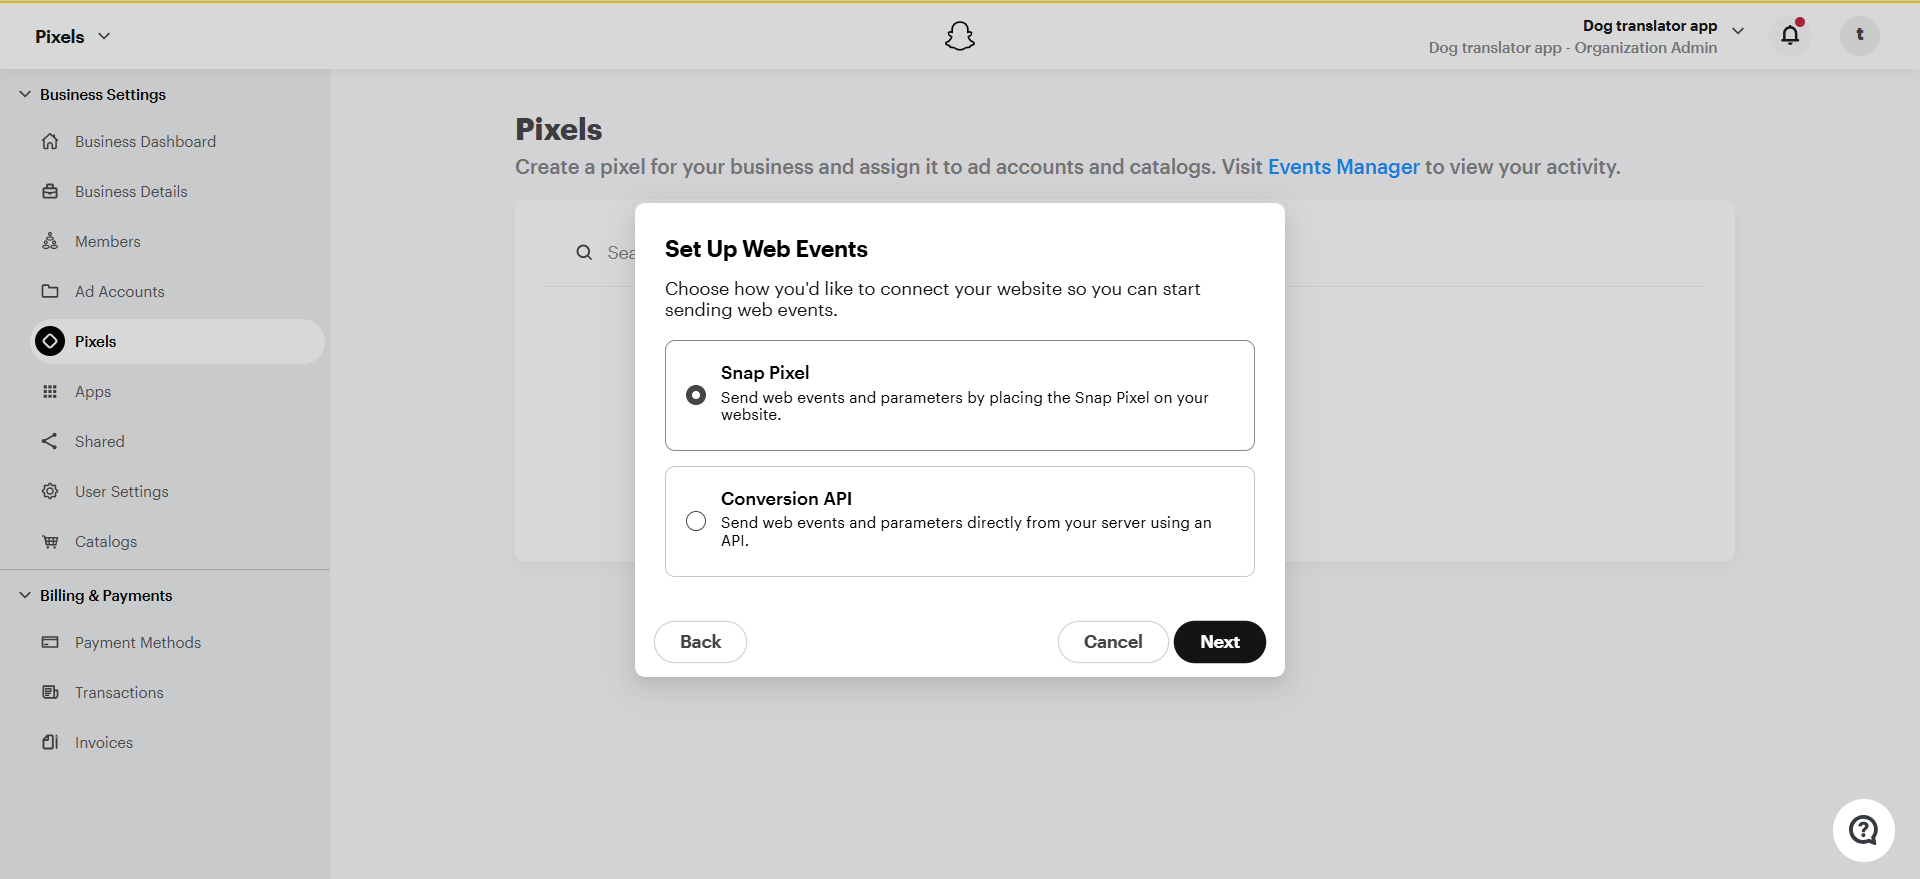
 7. Select **Snap Pixel** and click **Next**.
 8. Select **Developer Setup**.
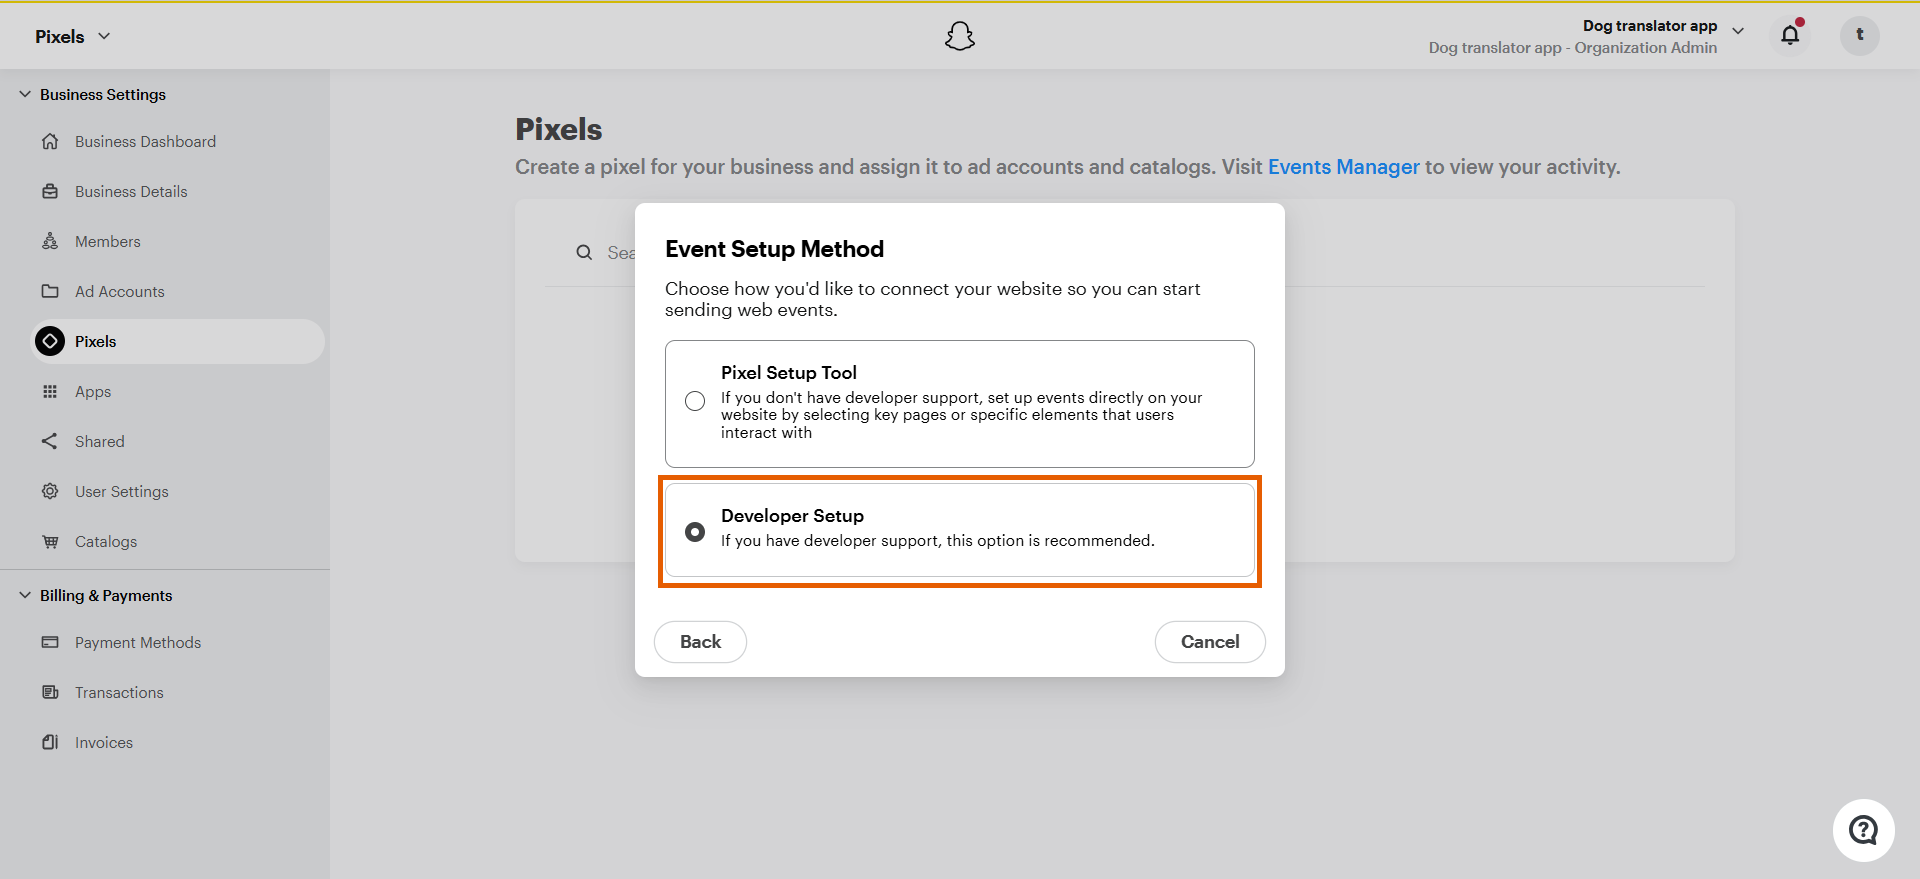 This opens the **Events Source Setup** page.
### 2. Configure events
1. Select the following events and click **Next**:
* **Page View**
* **Sign Up**
* **Start Checkout**
* **Purchase**
This opens the **Events Source Setup** page.
### 2. Configure events
1. Select the following events and click **Next**:
* **Page View**
* **Sign Up**
* **Start Checkout**
* **Purchase**
 2. Enable these parameters in addition to the default ones:
* **All events**: Client Deduplication ID
* **Page View**: Description
* **Purchase**: Price, Currency, Item IDs
* **Start Checkout**: Price, Currency
2. Enable these parameters in addition to the default ones:
* **All events**: Client Deduplication ID
* **Page View**: Description
* **Purchase**: Price, Currency, Item IDs
* **Start Checkout**: Price, Currency
 3. Click **Finish**.
### 3. Apply Pixel ID in FunnelFox
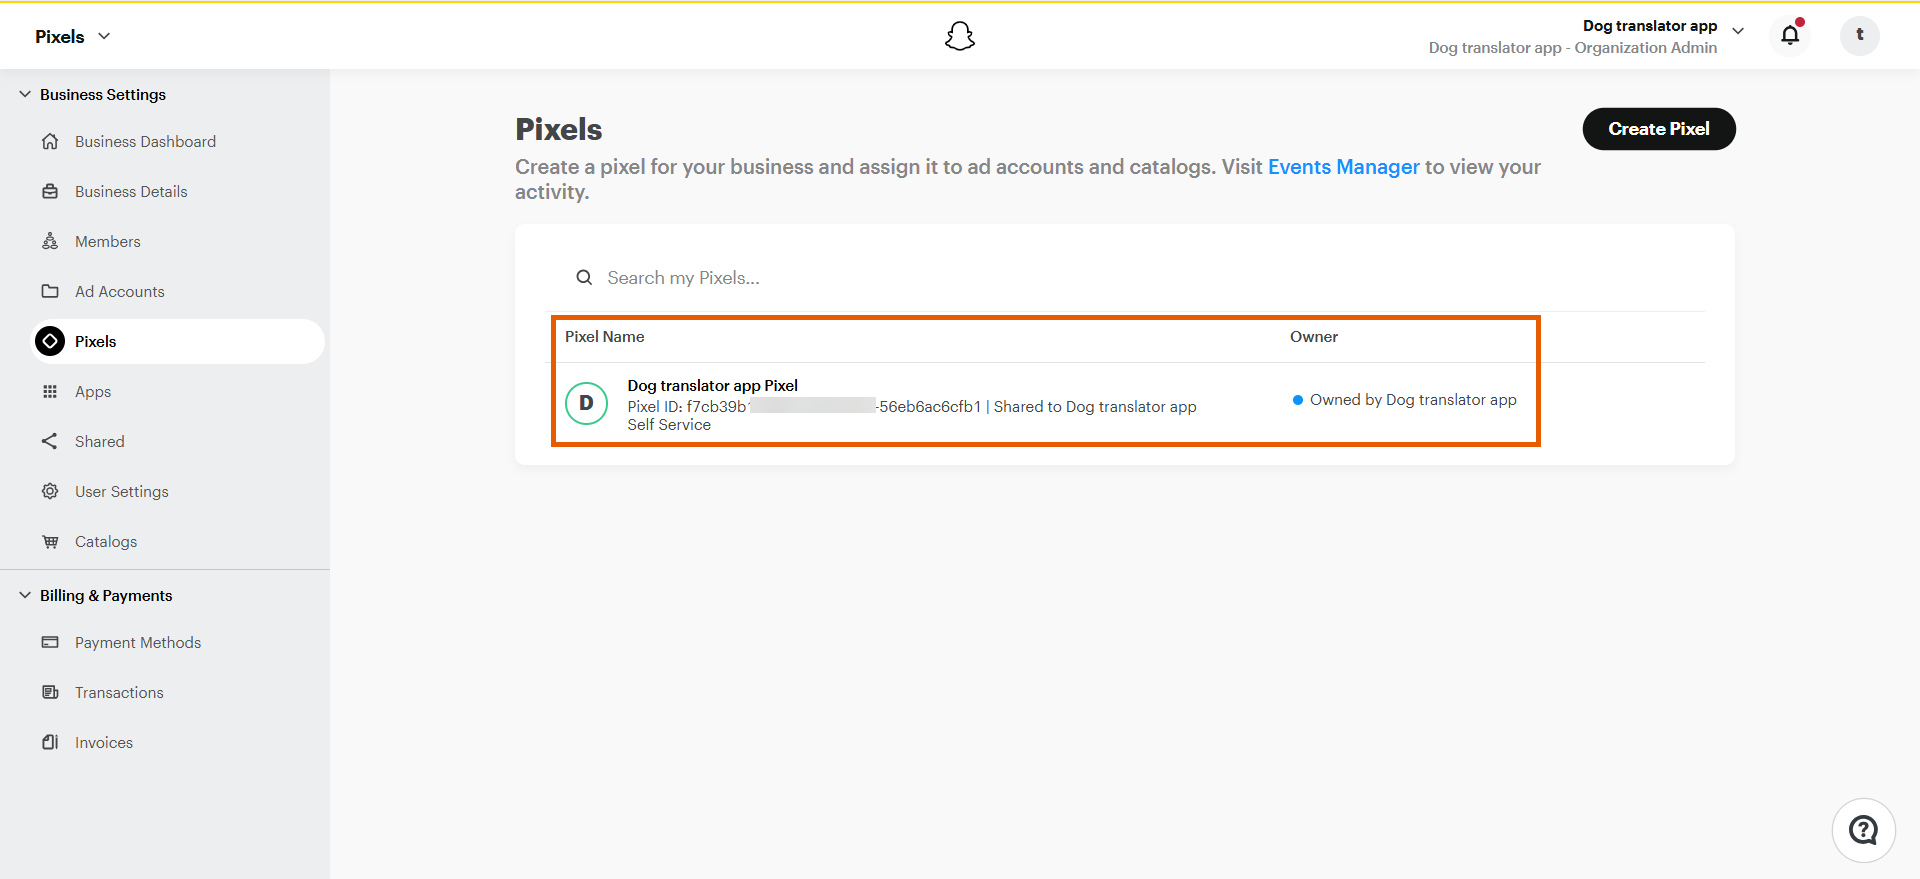
1. Go back to **Pixels** in Snapchat.
2. Open the Pixel you just created.
3. Click **Finish**.
### 3. Apply Pixel ID in FunnelFox
1. Go back to **Pixels** in Snapchat.
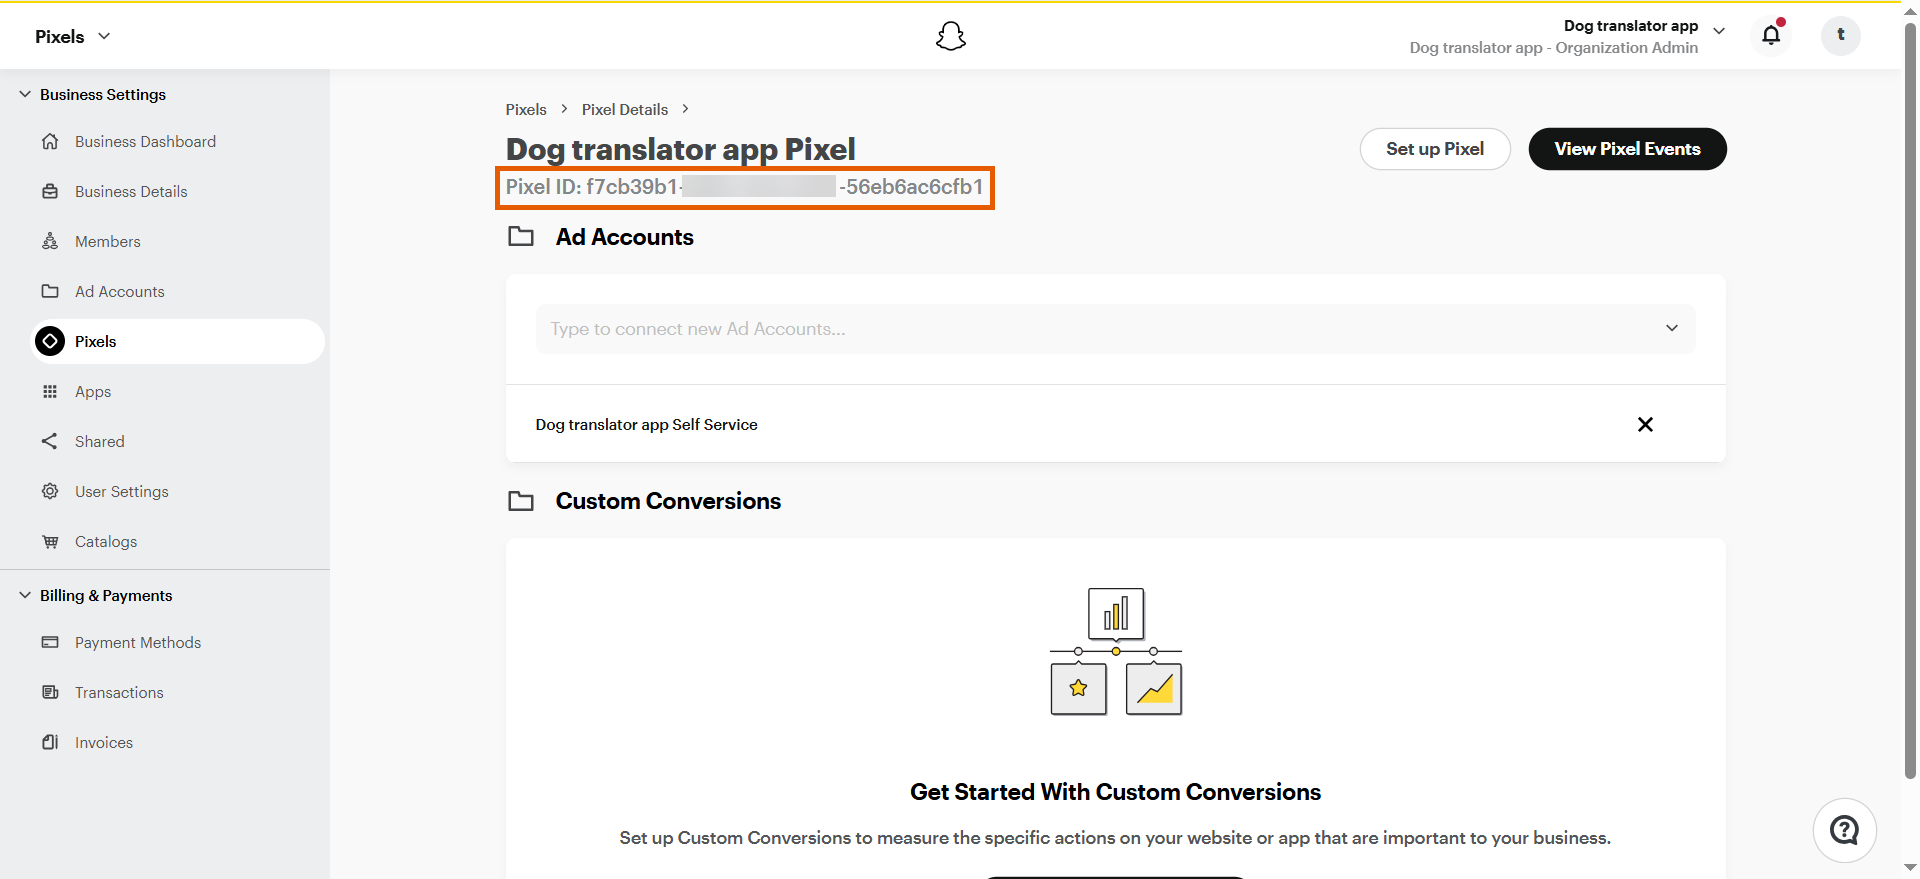
2. Open the Pixel you just created.
 3. Copy the **Pixel ID**.
 4. Go to [Integrations > Snapchat](https://app.funnelfox.com/integrations/snapchat) in FunnelFox.
5. Paste your Pixel ID into the **Snapchat Tag ID** field.
4. Go to [Integrations > Snapchat](https://app.funnelfox.com/integrations/snapchat) in FunnelFox.
5. Paste your Pixel ID into the **Snapchat Tag ID** field.
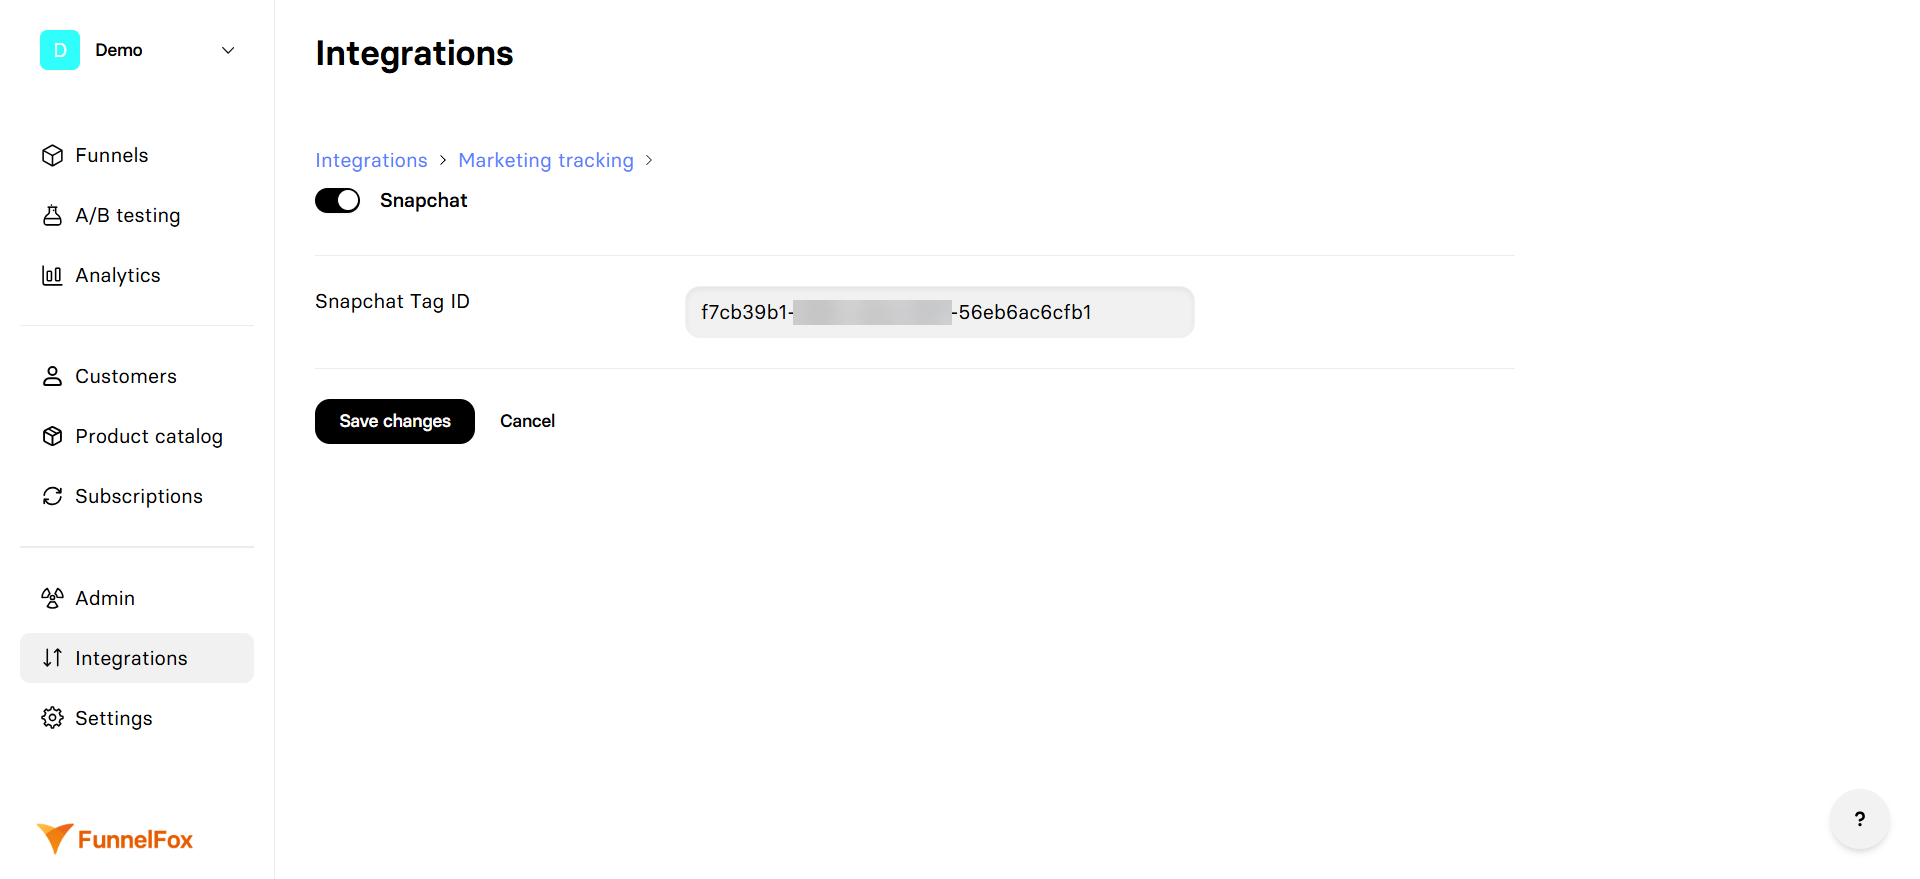 6. Click **Save changes**.
Snapchat Pixel tracking is now active! Republish your funnels and test event tracking.
## Test your integration
Send test events from your funnel to verify that tracking works:
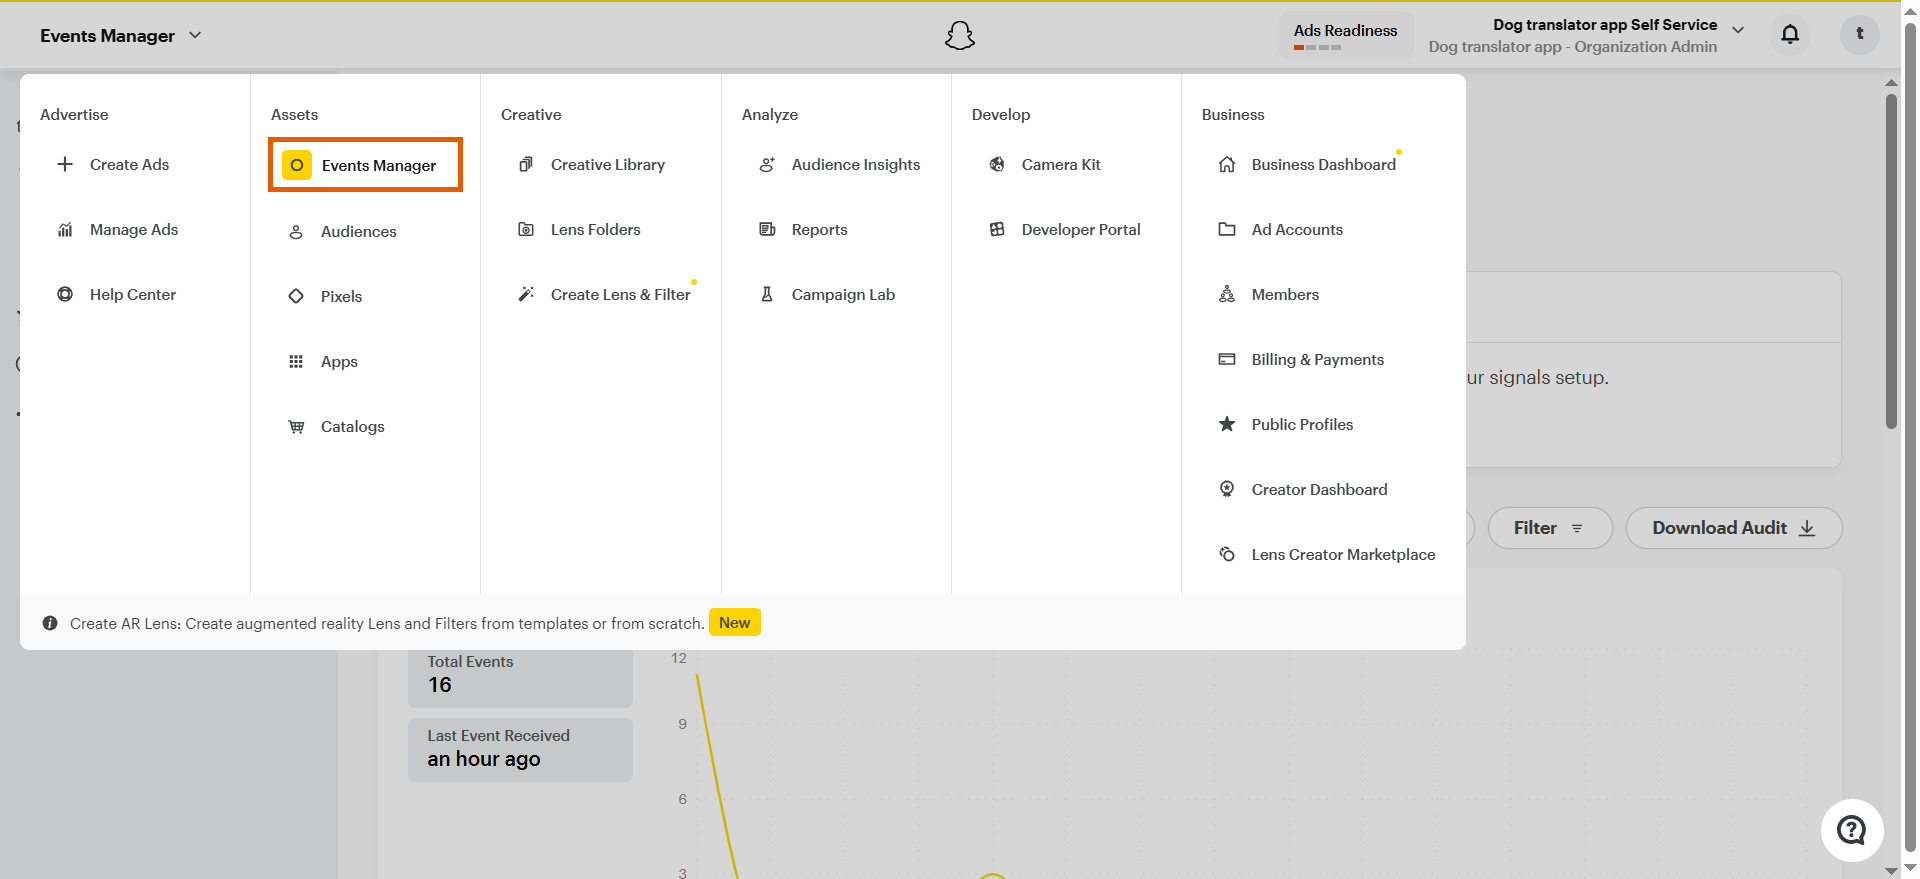
1. Go to [Snapchat Ads Manager](http://ads.snapchat.com/).
2. Select **Events Manager** from the dropdown at the top left.
6. Click **Save changes**.
Snapchat Pixel tracking is now active! Republish your funnels and test event tracking.
## Test your integration
Send test events from your funnel to verify that tracking works:
1. Go to [Snapchat Ads Manager](http://ads.snapchat.com/).
2. Select **Events Manager** from the dropdown at the top left.
 3. Go to **Test Events** on the left.
4. Paste your funnel URL under **Pixel SDK** and click **Open Website**.
5. Interact with your funnel. Events will appear under **Test Events**.
3. Go to **Test Events** on the left.
4. Paste your funnel URL under **Pixel SDK** and click **Open Website**.
5. Interact with your funnel. Events will appear under **Test Events**.
 Test events might take a few minutes to appear after initial setup. Check your Pixel page under **Event Sources** if they don't show up immediately.