> ## Documentation Index
> Fetch the complete documentation index at: https://funnelfox.com/docs/llms.txt
> Use this file to discover all available pages before exploring further.
# Image element
> Add and configure images in FunnelFox funnels. Set responsive sizing, alt text, lazy loading, and link images to actions.
Images and videos let you add visual content to your funnels with automatic
optimization for fast loading and perfect display across devices. Every item
is compressed and served in the optimal format for maximum performance.
 ## Use cases
Use media elements in different ways depending on their role in your funnel:
* **Media as a screen element**: Use when the image or video is core content visitors should notice, such as product photos, logos, tutorials, or screenshots.
* **Background media**: Use when the image or video support the design or mood without being the main focus, such as hero imagery or subtle patterns. Images can also be applied globally through [funnel themes](/editor/themes).
## Images
All images you upload must meet these requirements:
* **Supported formats**: JPG, PNG, GIF, WebP.
* **Maximum size**: 10MB (automatically compressed).
### Image as element
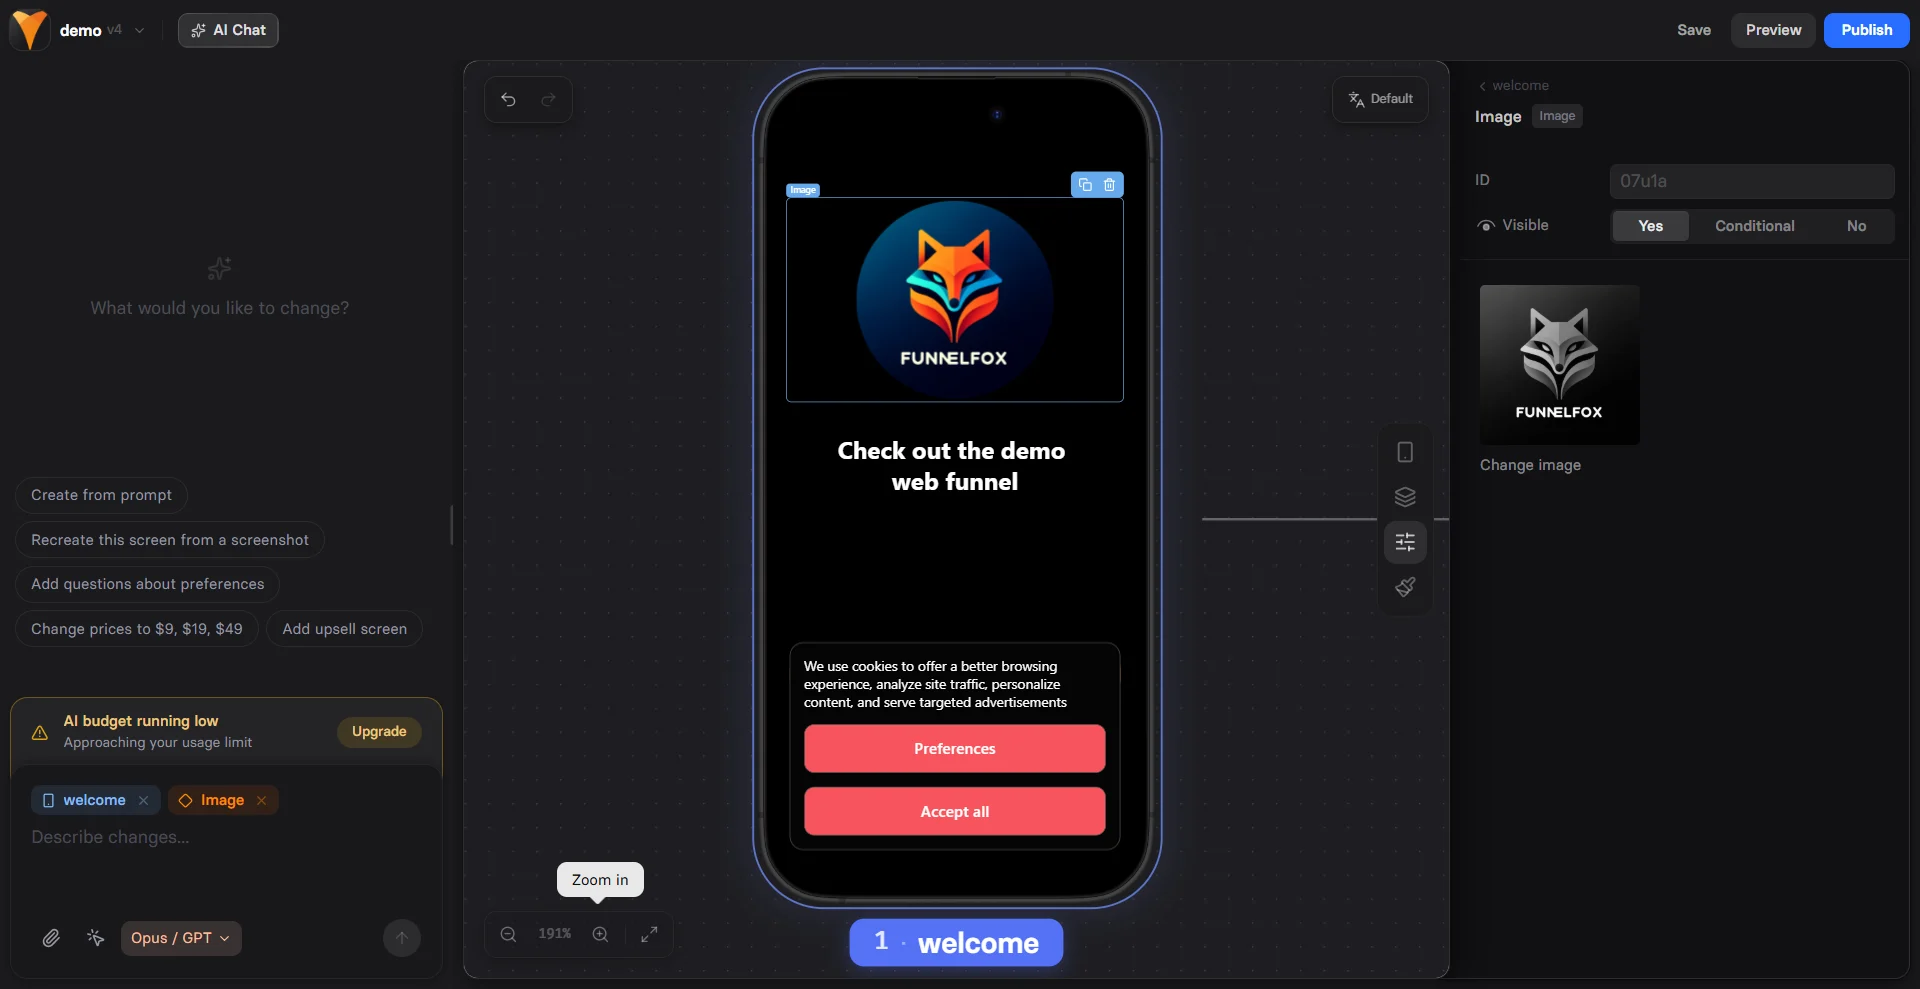
When you upload an image as an element, it becomes part of your screen’s main content.
Prompt the AI Chat in Editor to add an Image element.
Or open the **Layers** tab, click **+ Add element** and go to **Media & Display > Image**.
Go to the **Parameters** tab on the right and click the upload area to select a file from you device.
To remove the image, click the upload area again.
Go to the **Styles** tab on the right and adjust layout properties such as size, roundness, opacity, and alignment.
To control how the image fits inside its container, choose one of the following options under the **Object Fit**:
* **Contain**: Scales the image to fit entirely within the container.
* **Cover**: Fills the container while preserving the image’s aspect ratio.
* **Fill**: Stretches the image to fully fill the container.
### Background image
Background images define the visual style of a screen behind its content.
Go to the **Style** tab for the screen and click the upload area under **Background** to select a file from you device.
Adjust layout options such as image size, vertical position, and whether the image repeats horizontally or vertically.
You can set a background image as part of your [funnel theme](/editor/themes) and reuse it across all screens or funnels in just a few clicks.
## Videos
Videos are ideal for demonstrating features, explaining how things work, and making your funnels more compelling.
Each video must meet the following requirements:
* **Hosting**: Videos must be hosted on a CDN of your choice (e.g., Cloudflare). Only CDN URLs are supported.
* **Supported formats**: MP4, WebM, OGG, MOV, AVI, MKV, FLV.
* **Sound**: Always muted, even if the video includes an audio track.
* **Duration and size**: No fixed limit, but shorter and lighter videos perform better due to browser limitations.
Videos autoplay and loop by default.
You can add videos as funnel elements or use them as background media. Learn more below.
### Video as element
When you add a video as an element, it becomes part of your screen’s main content.
Prompt the AI Chat in Editor to add a Video element.
Or open the **Layers** tab, click **+ Add element** and go to **Media & Display > Video**
Go to the **Parameters** tab on the right and paste the URL of your CDN-hosted video.
Go to the **Styles** tab on the right and adjust layout properties such as size, roundness, and opacity.
To control how the image fits inside its container, choose one of the following options under the **Object Fit**:
* **Contain**: Scales the video to fit entirely within the container.
* **Cover**: Fills the container while preserving the video’s aspect ratio.
* **Fill**: Stretches the video to fully fill the container.
### Video as background
Background videos define the visual style of a screen behind its content.
1. Go to the **Style** tab for the screen and set **Media** to **Video**.
2. Paste the URL of your CDN-hosted video.
Adjust layout options such as video size and vertical position.
## Media library
The Media library lets you upload, organize, and reuse brand visuals
across your funnels without external hosting. The library
is project-wide, so you can upload an image once and reuse it in any
funnel in the same project without reuploading.
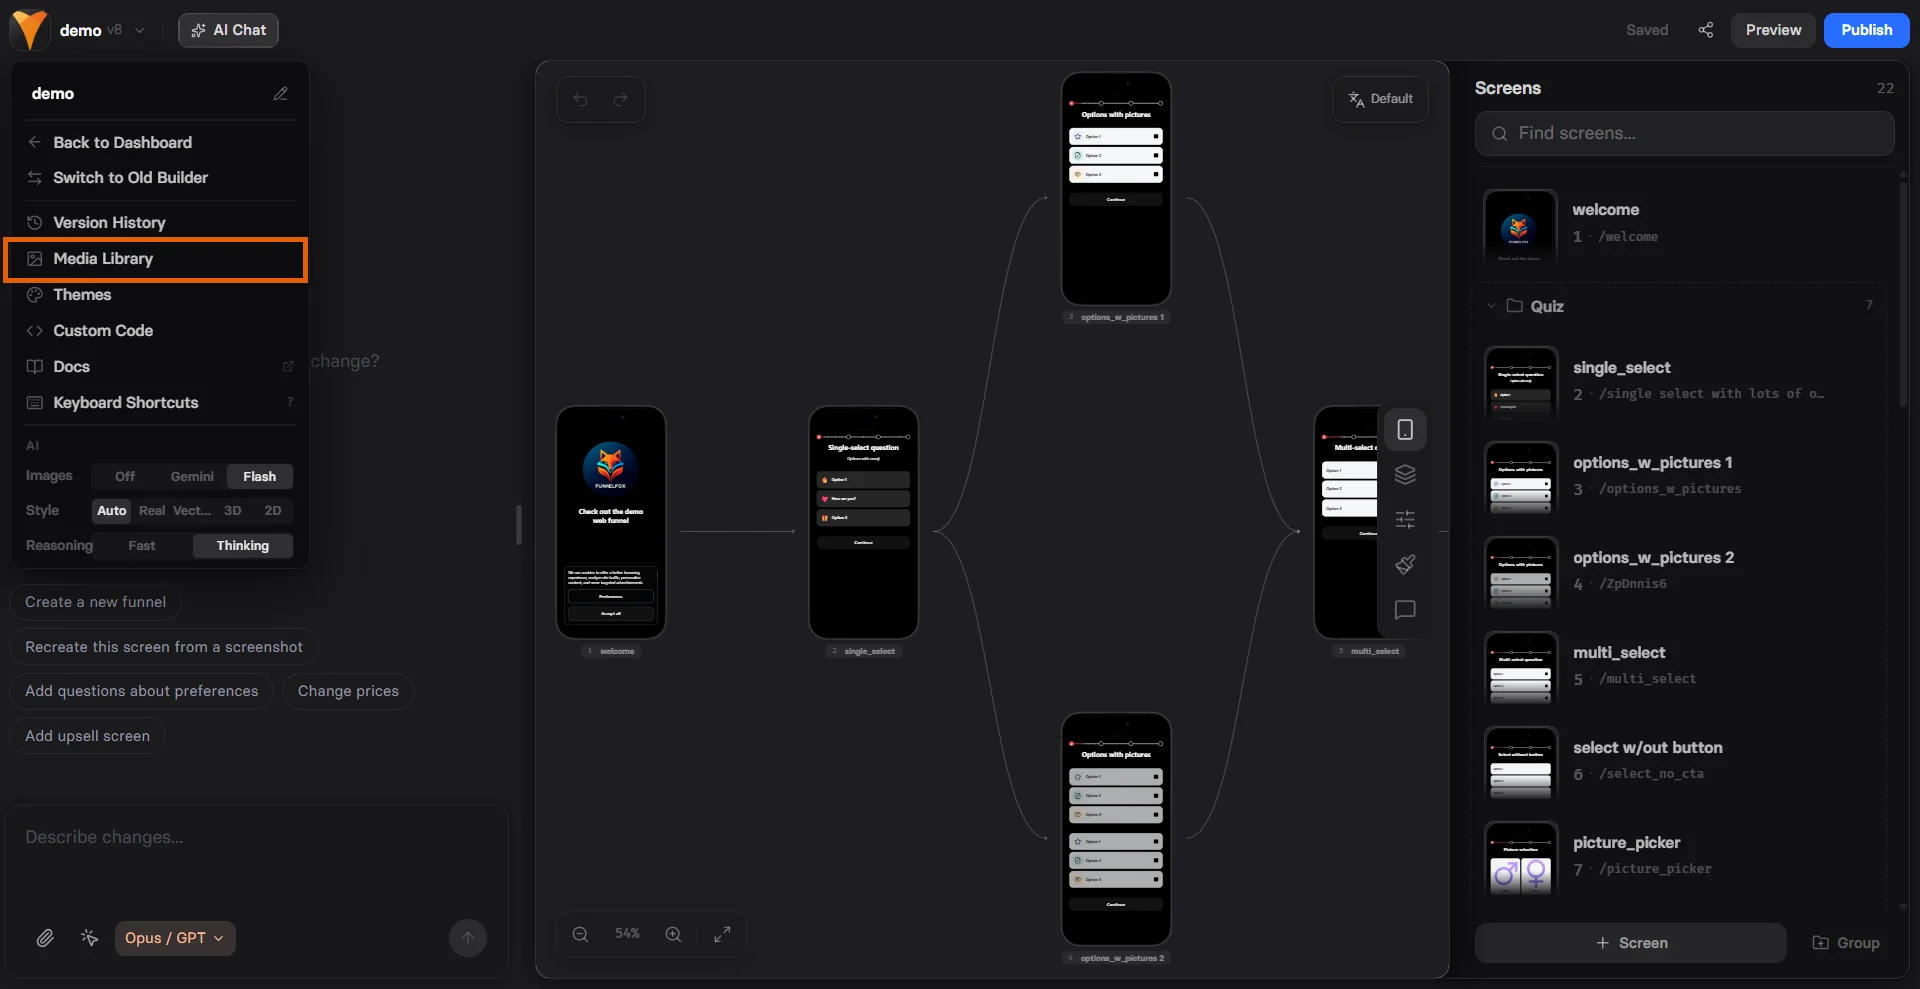
Click the Editor menu in the top-left corner and select
**Media library**.
## Use cases
Use media elements in different ways depending on their role in your funnel:
* **Media as a screen element**: Use when the image or video is core content visitors should notice, such as product photos, logos, tutorials, or screenshots.
* **Background media**: Use when the image or video support the design or mood without being the main focus, such as hero imagery or subtle patterns. Images can also be applied globally through [funnel themes](/editor/themes).
## Images
All images you upload must meet these requirements:
* **Supported formats**: JPG, PNG, GIF, WebP.
* **Maximum size**: 10MB (automatically compressed).
### Image as element
When you upload an image as an element, it becomes part of your screen’s main content.
Prompt the AI Chat in Editor to add an Image element.
Or open the **Layers** tab, click **+ Add element** and go to **Media & Display > Image**.
Go to the **Parameters** tab on the right and click the upload area to select a file from you device.
To remove the image, click the upload area again.
Go to the **Styles** tab on the right and adjust layout properties such as size, roundness, opacity, and alignment.
To control how the image fits inside its container, choose one of the following options under the **Object Fit**:
* **Contain**: Scales the image to fit entirely within the container.
* **Cover**: Fills the container while preserving the image’s aspect ratio.
* **Fill**: Stretches the image to fully fill the container.
### Background image
Background images define the visual style of a screen behind its content.
Go to the **Style** tab for the screen and click the upload area under **Background** to select a file from you device.
Adjust layout options such as image size, vertical position, and whether the image repeats horizontally or vertically.
You can set a background image as part of your [funnel theme](/editor/themes) and reuse it across all screens or funnels in just a few clicks.
## Videos
Videos are ideal for demonstrating features, explaining how things work, and making your funnels more compelling.
Each video must meet the following requirements:
* **Hosting**: Videos must be hosted on a CDN of your choice (e.g., Cloudflare). Only CDN URLs are supported.
* **Supported formats**: MP4, WebM, OGG, MOV, AVI, MKV, FLV.
* **Sound**: Always muted, even if the video includes an audio track.
* **Duration and size**: No fixed limit, but shorter and lighter videos perform better due to browser limitations.
Videos autoplay and loop by default.
You can add videos as funnel elements or use them as background media. Learn more below.
### Video as element
When you add a video as an element, it becomes part of your screen’s main content.
Prompt the AI Chat in Editor to add a Video element.
Or open the **Layers** tab, click **+ Add element** and go to **Media & Display > Video**
Go to the **Parameters** tab on the right and paste the URL of your CDN-hosted video.
Go to the **Styles** tab on the right and adjust layout properties such as size, roundness, and opacity.
To control how the image fits inside its container, choose one of the following options under the **Object Fit**:
* **Contain**: Scales the video to fit entirely within the container.
* **Cover**: Fills the container while preserving the video’s aspect ratio.
* **Fill**: Stretches the video to fully fill the container.
### Video as background
Background videos define the visual style of a screen behind its content.
1. Go to the **Style** tab for the screen and set **Media** to **Video**.
2. Paste the URL of your CDN-hosted video.
Adjust layout options such as video size and vertical position.
## Media library
The Media library lets you upload, organize, and reuse brand visuals
across your funnels without external hosting. The library
is project-wide, so you can upload an image once and reuse it in any
funnel in the same project without reuploading.
Click the Editor menu in the top-left corner and select
**Media library**.
 Drag and drop files into the library or click the **Upload**
button to select files from your device.
Supported formats: PNG, WebP, JPEG, GIF.
Add an uploaded image to a screen as an [image
element](#image-as-element) or as a [background
image](#background-image).
Drag and drop files into the library or click the **Upload**
button to select files from your device.
Supported formats: PNG, WebP, JPEG, GIF.
Add an uploaded image to a screen as an [image
element](#image-as-element) or as a [background
image](#background-image).